DIY Face-Framing Layers
How to cut Long face framing layers
Today, I’m going to cut my hair! I haven’t cut my hair since I last cut it on this channel back on December of 2018!
Since then, I’ve been just letting it grow and grow.
These are my grown out bangs.

The rest of my hair is all one length. Today I am going to create some face-framing layers that will blend in these grown out bangs to the rest of my hair.
The general shape os the back of my hair is currently pretty square-ish and I’d really like a curved or V-shape in the back. I’ve given consideration to doing a layered cut instead. However, My brightest silvers are the top layer of my hair and I want those lines to run the length of my hair.
As an Amazon associate, I earn a small commission when you click-thru and make a purchase.
The first thing I’m going to do is wash my hair.

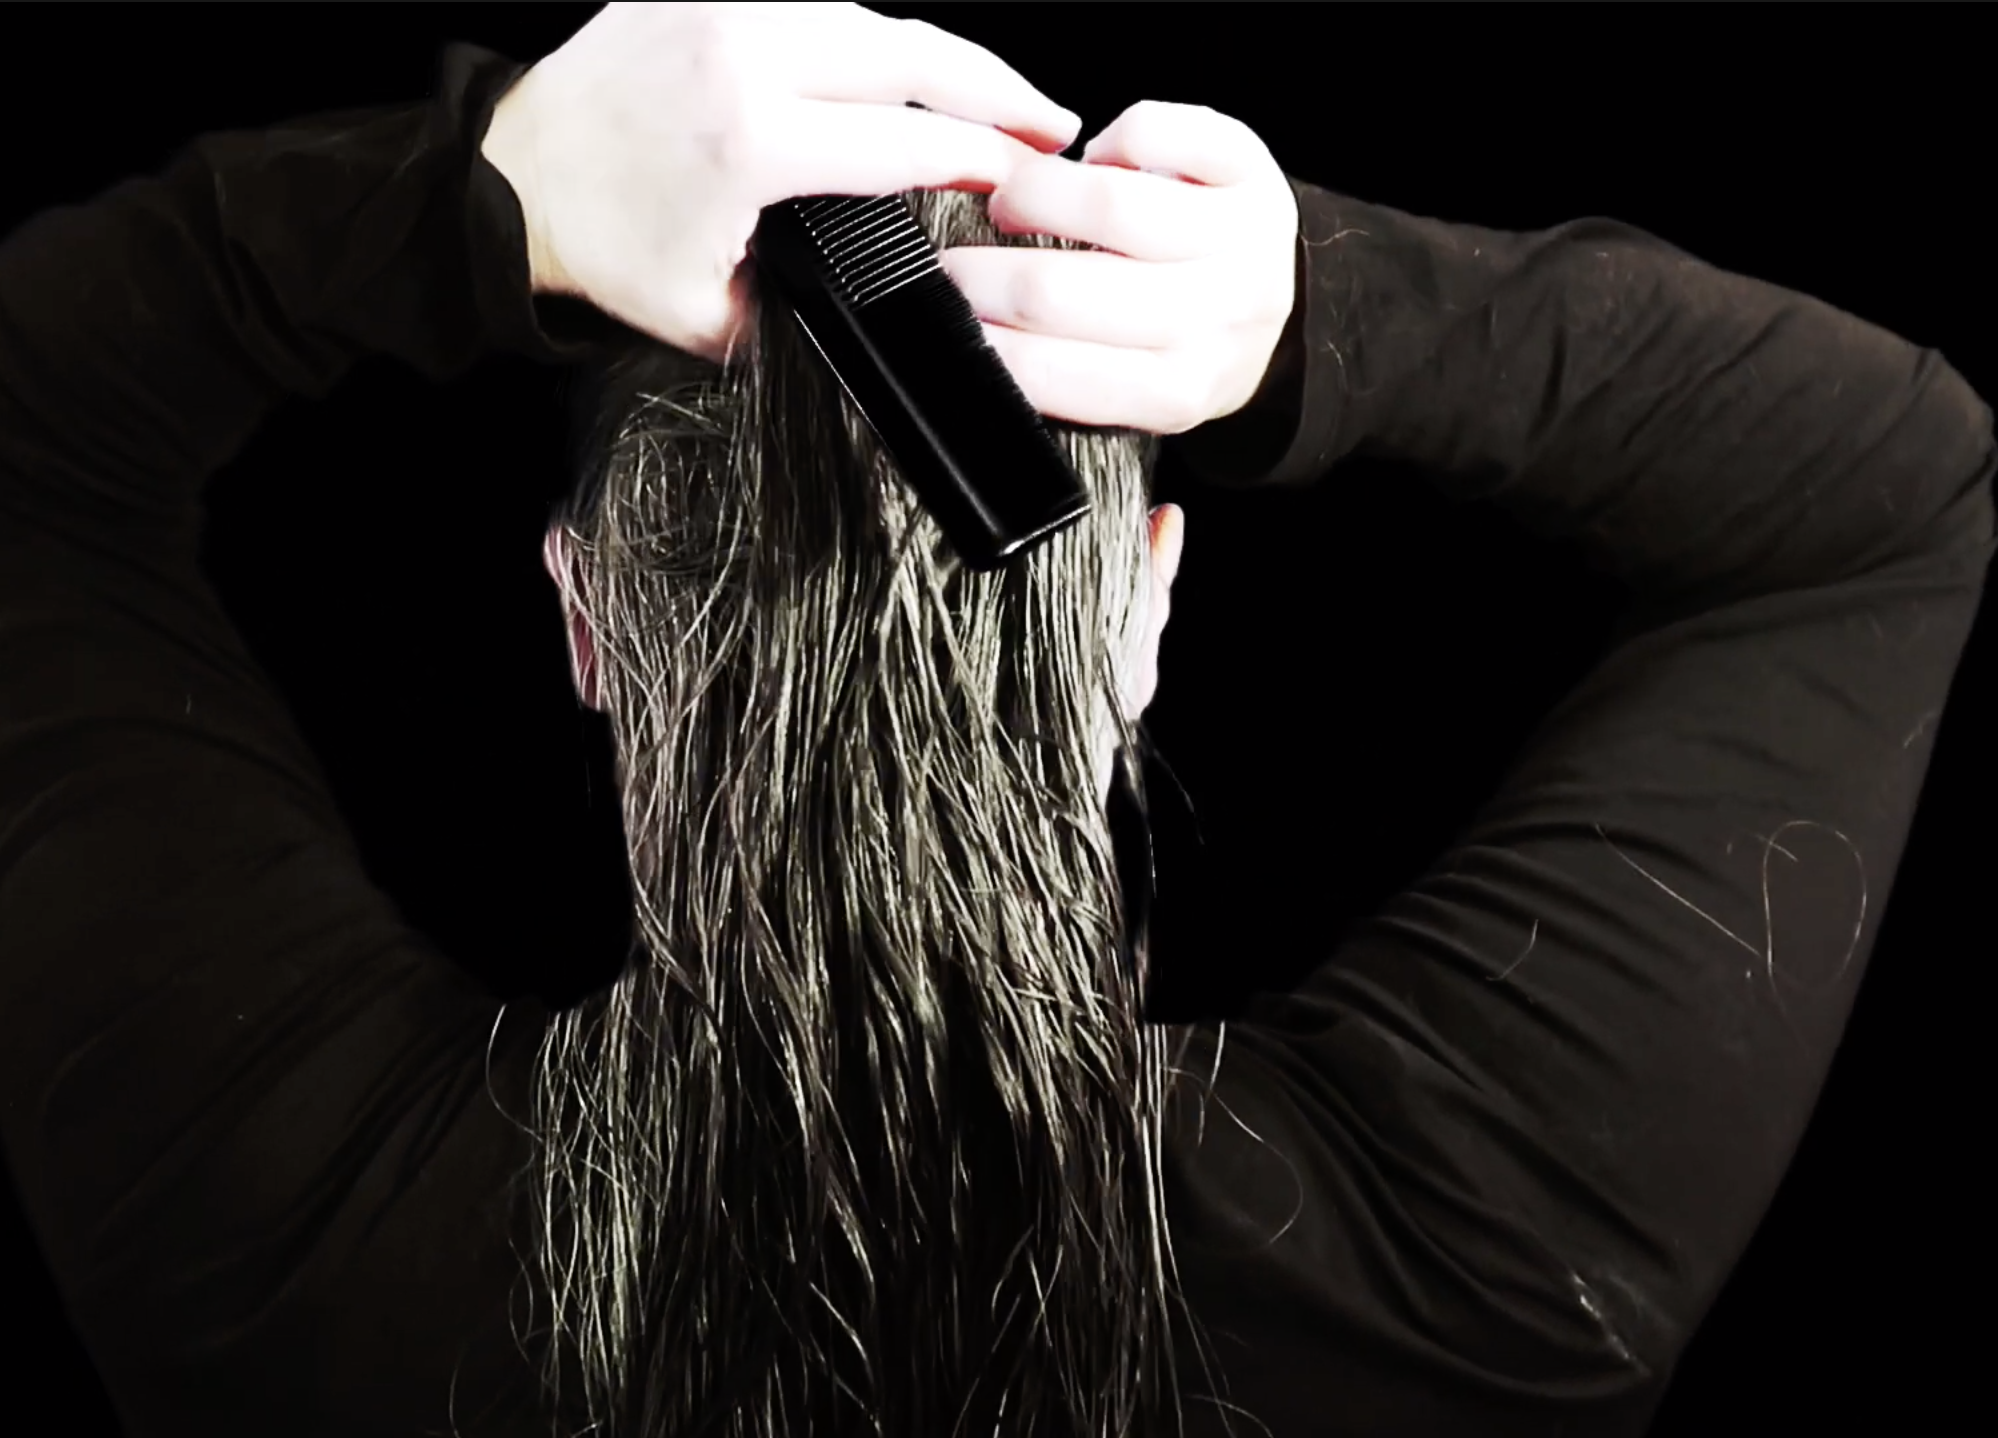
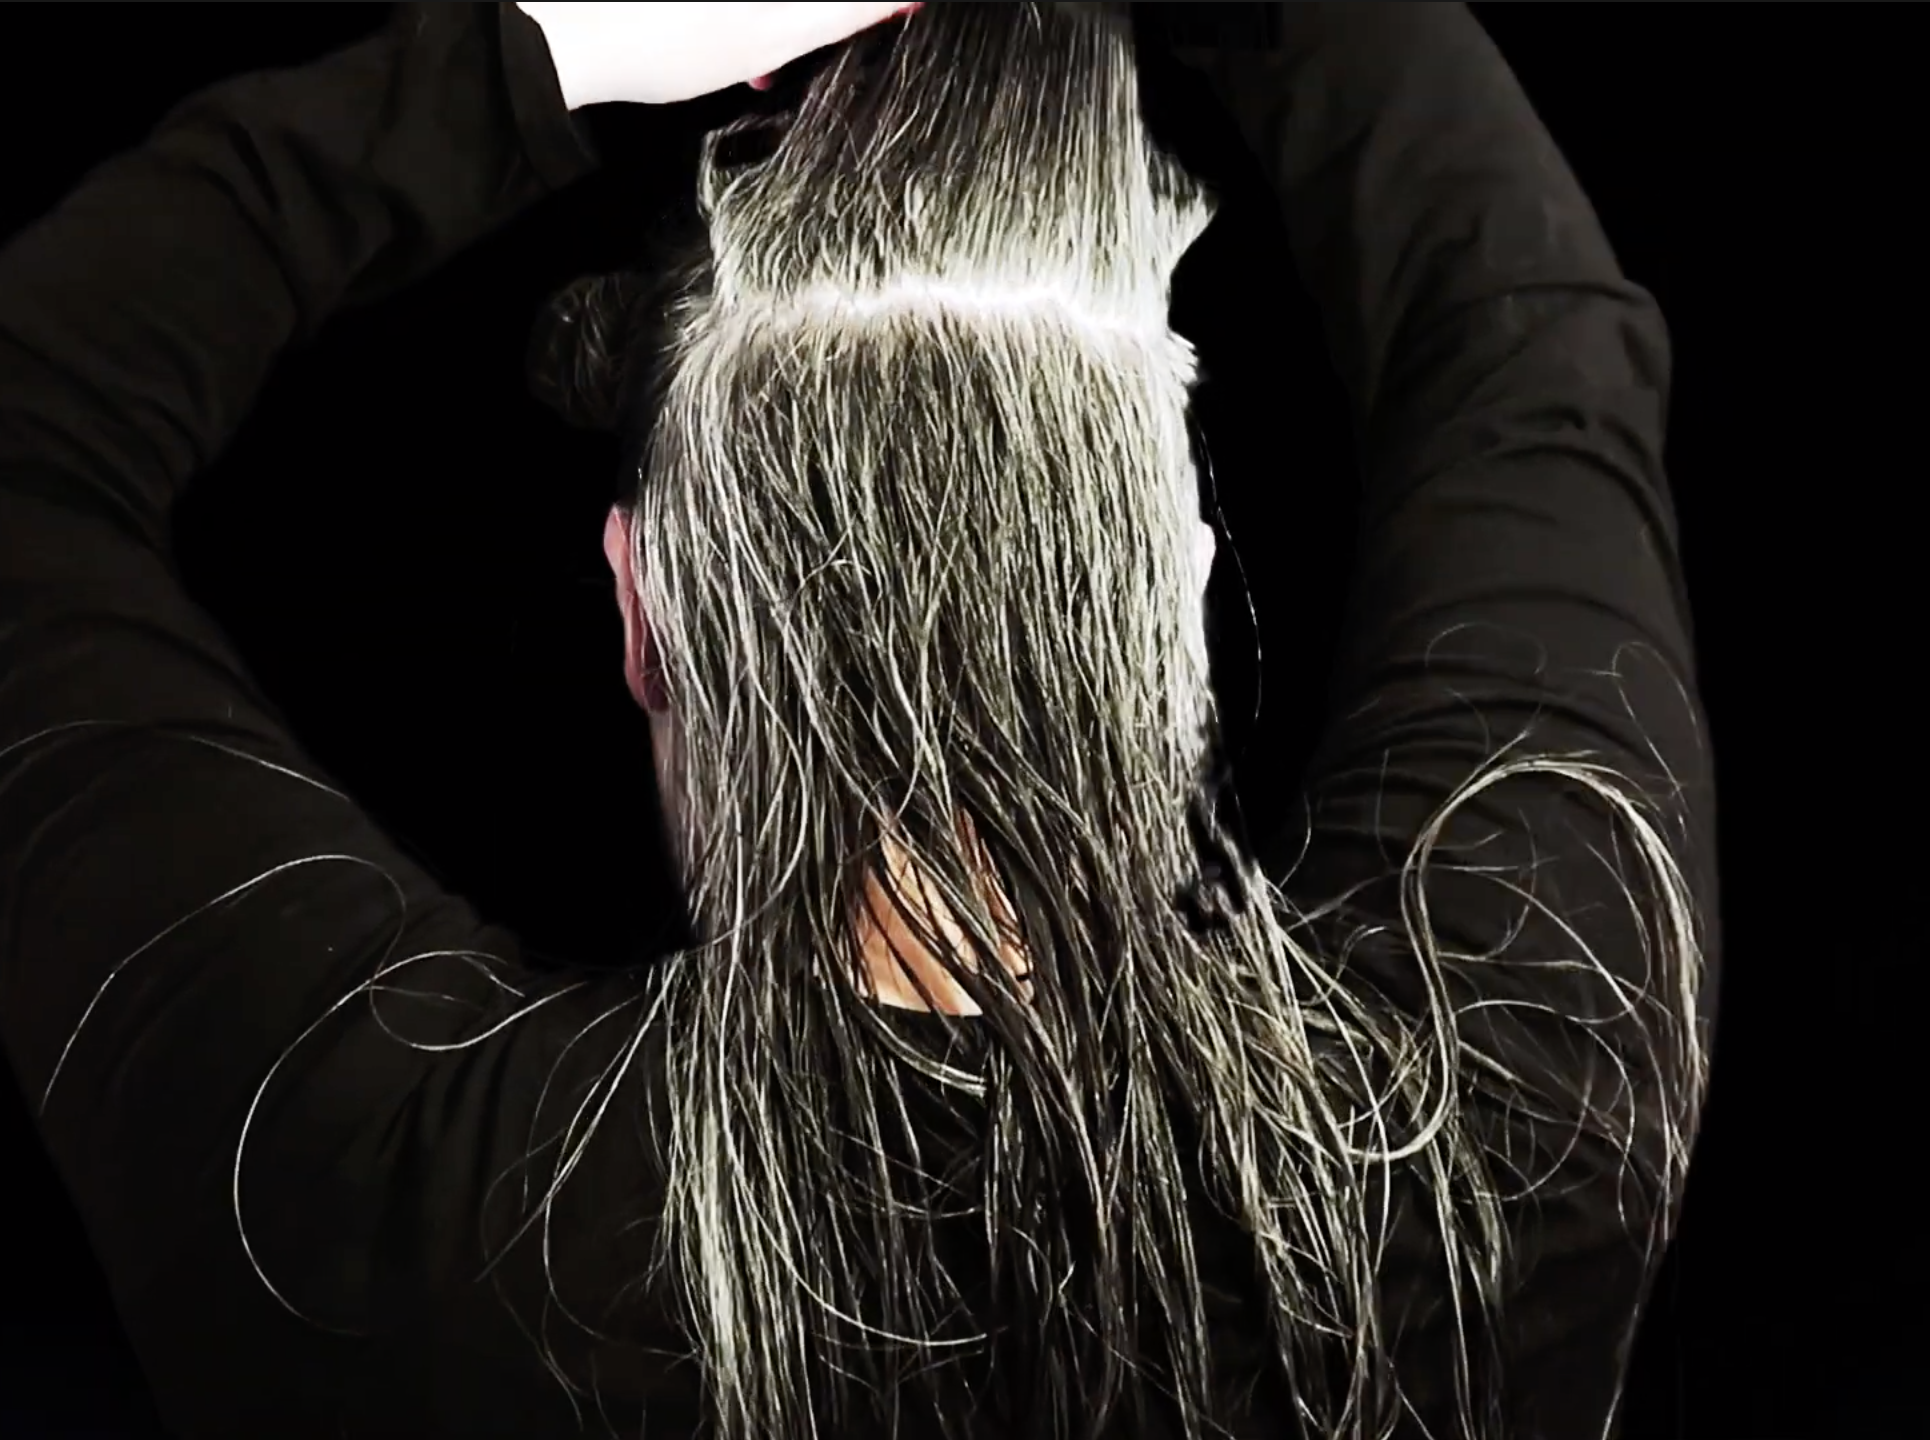
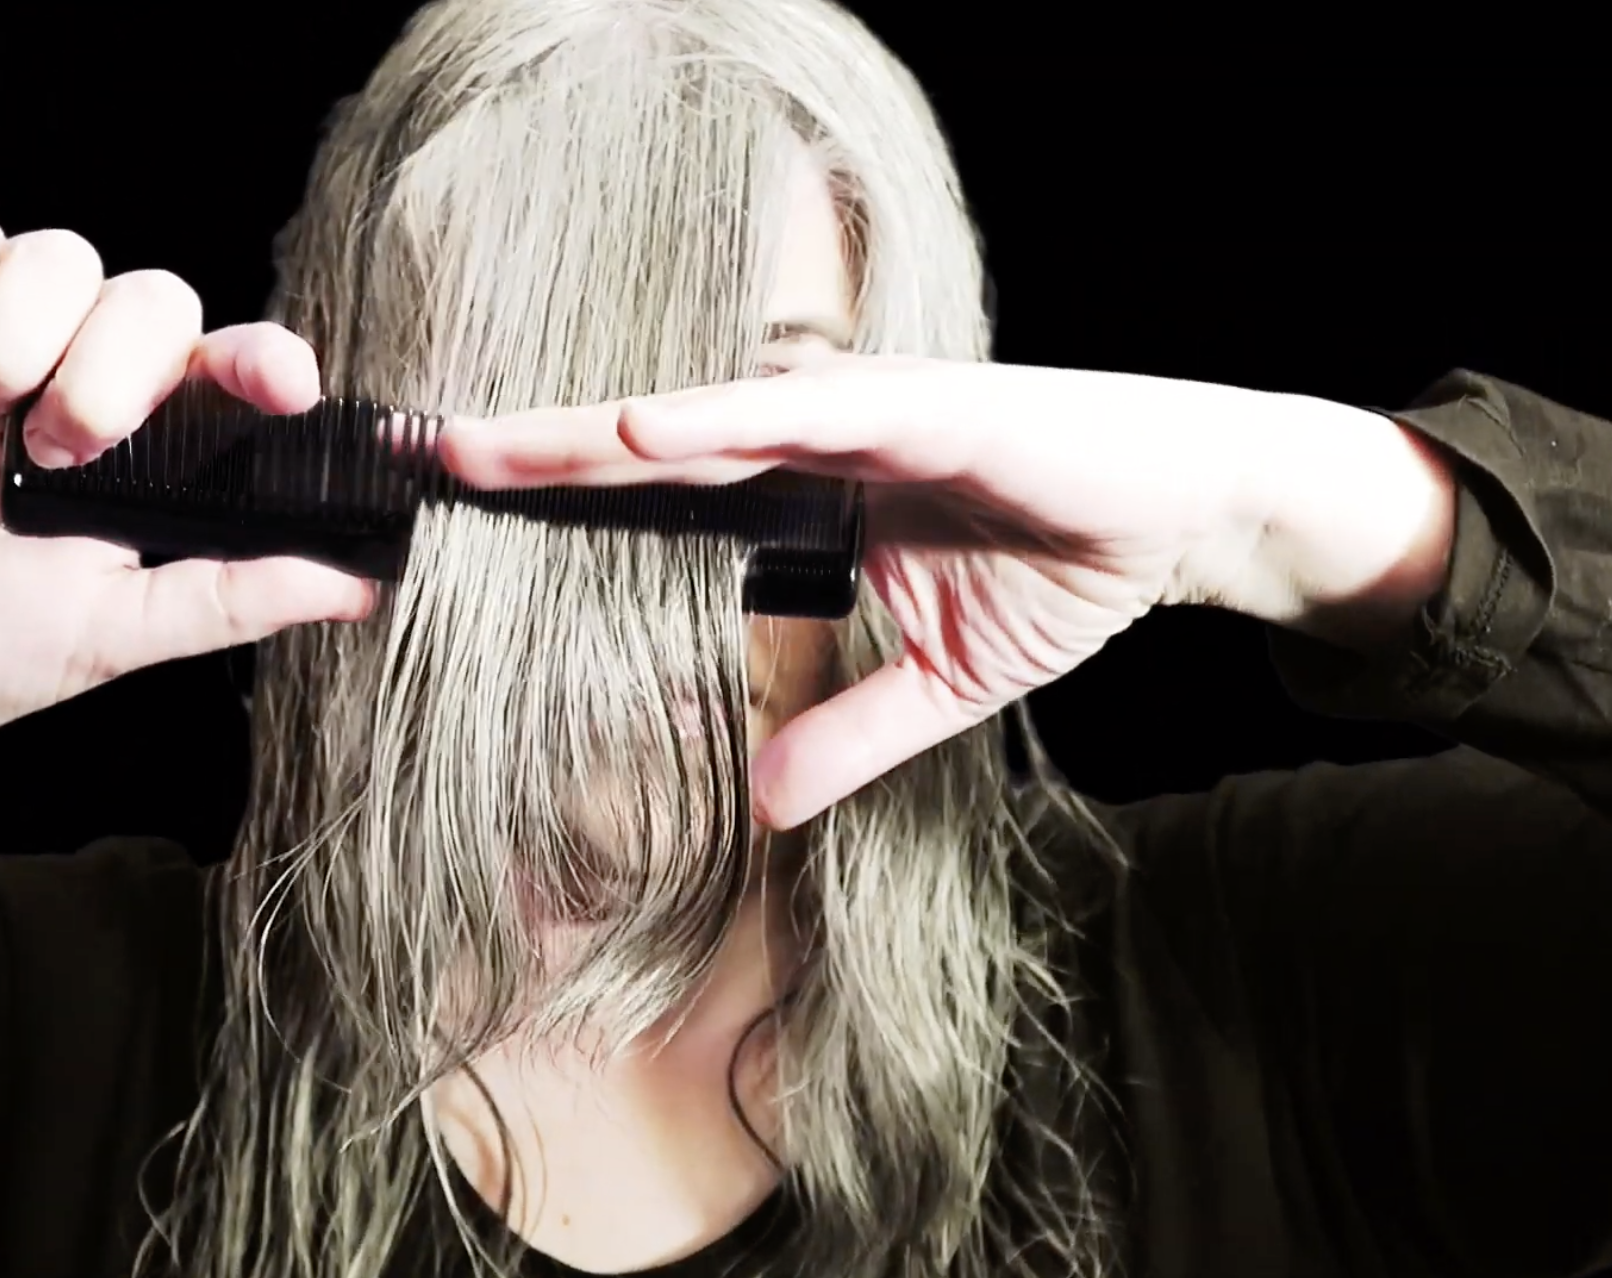
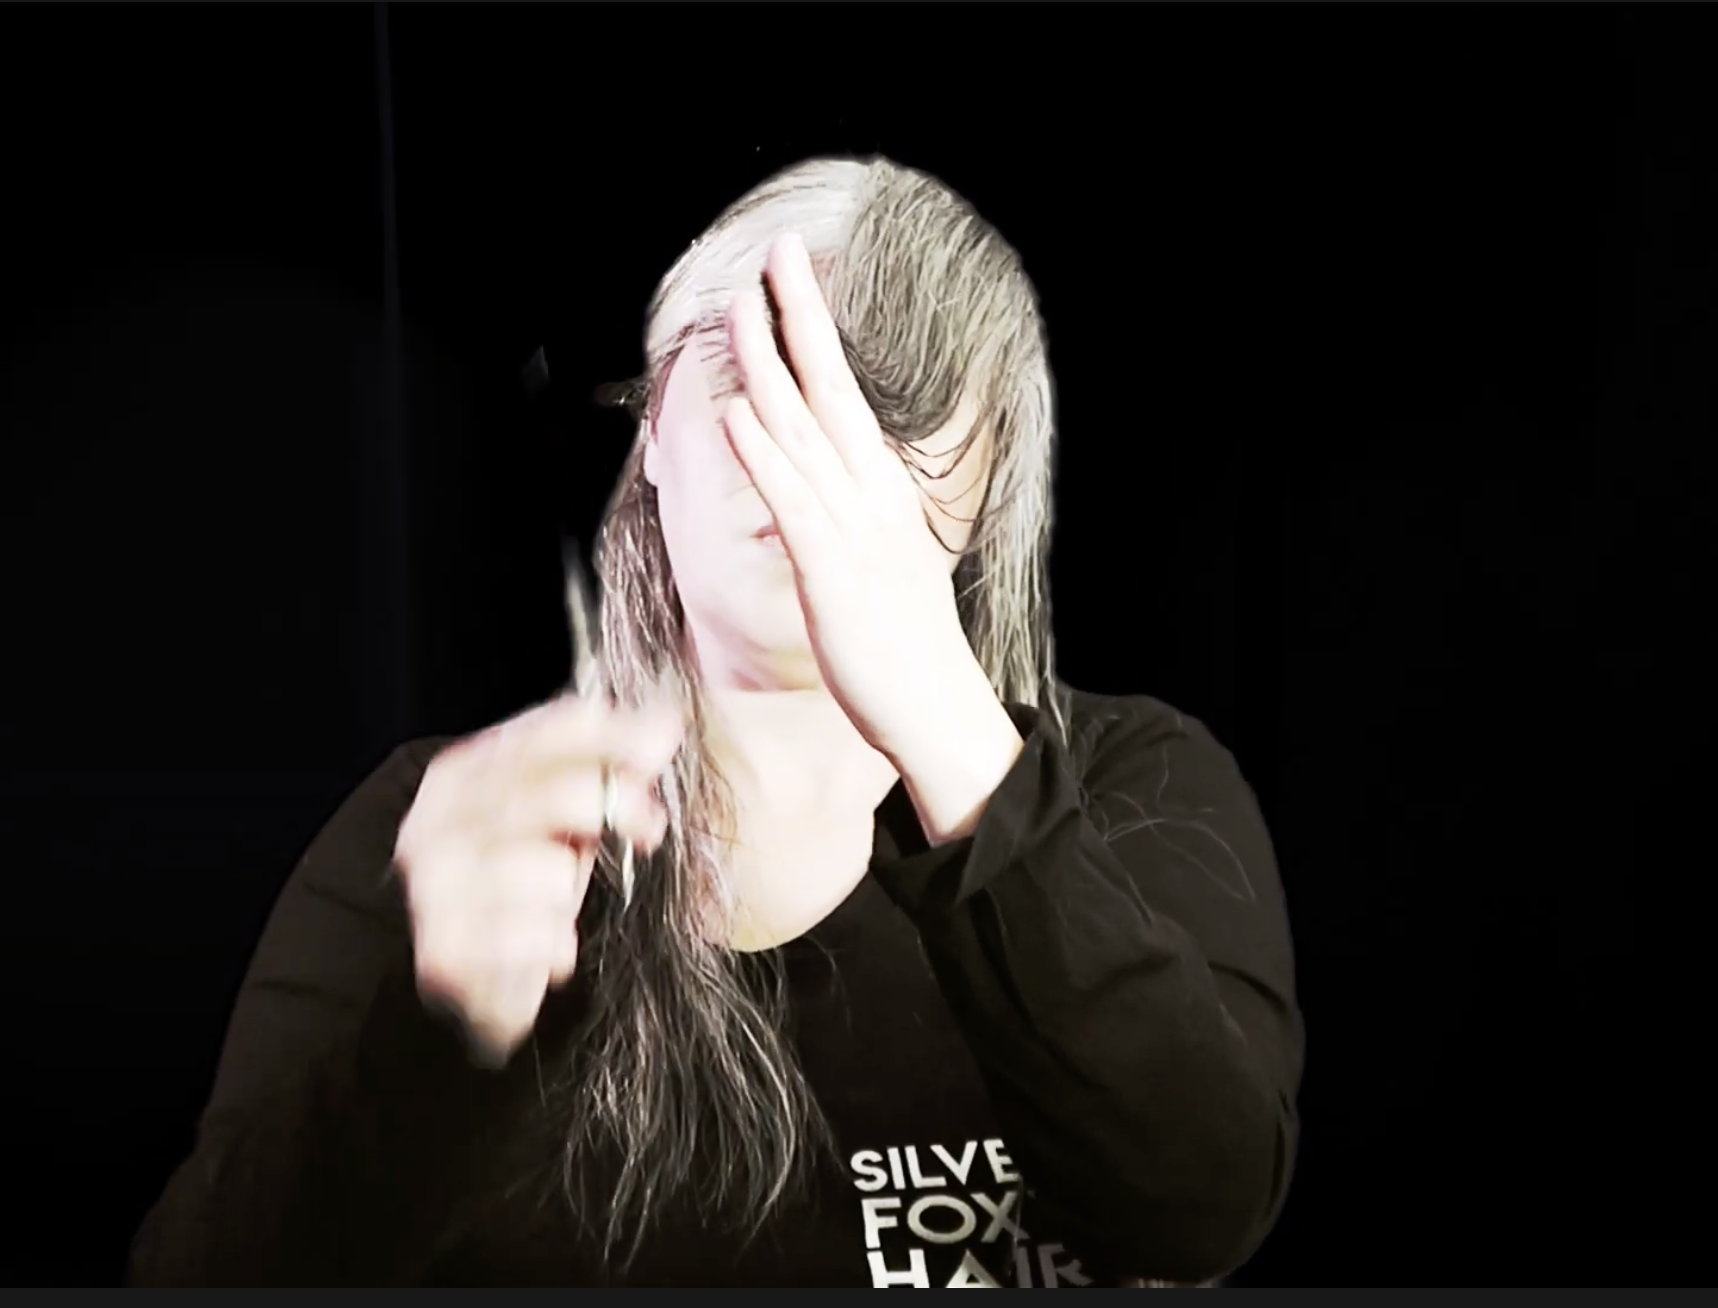
Sectioning the hair is probably the most important part of the haircut. This will help you to get a more consistent and predictable haircut. I’m starting with sectioning away the sides. These will get the most hair removed.
I am taking my comb and drawing a line from the top of my side down to my finger which is right behind my ear.
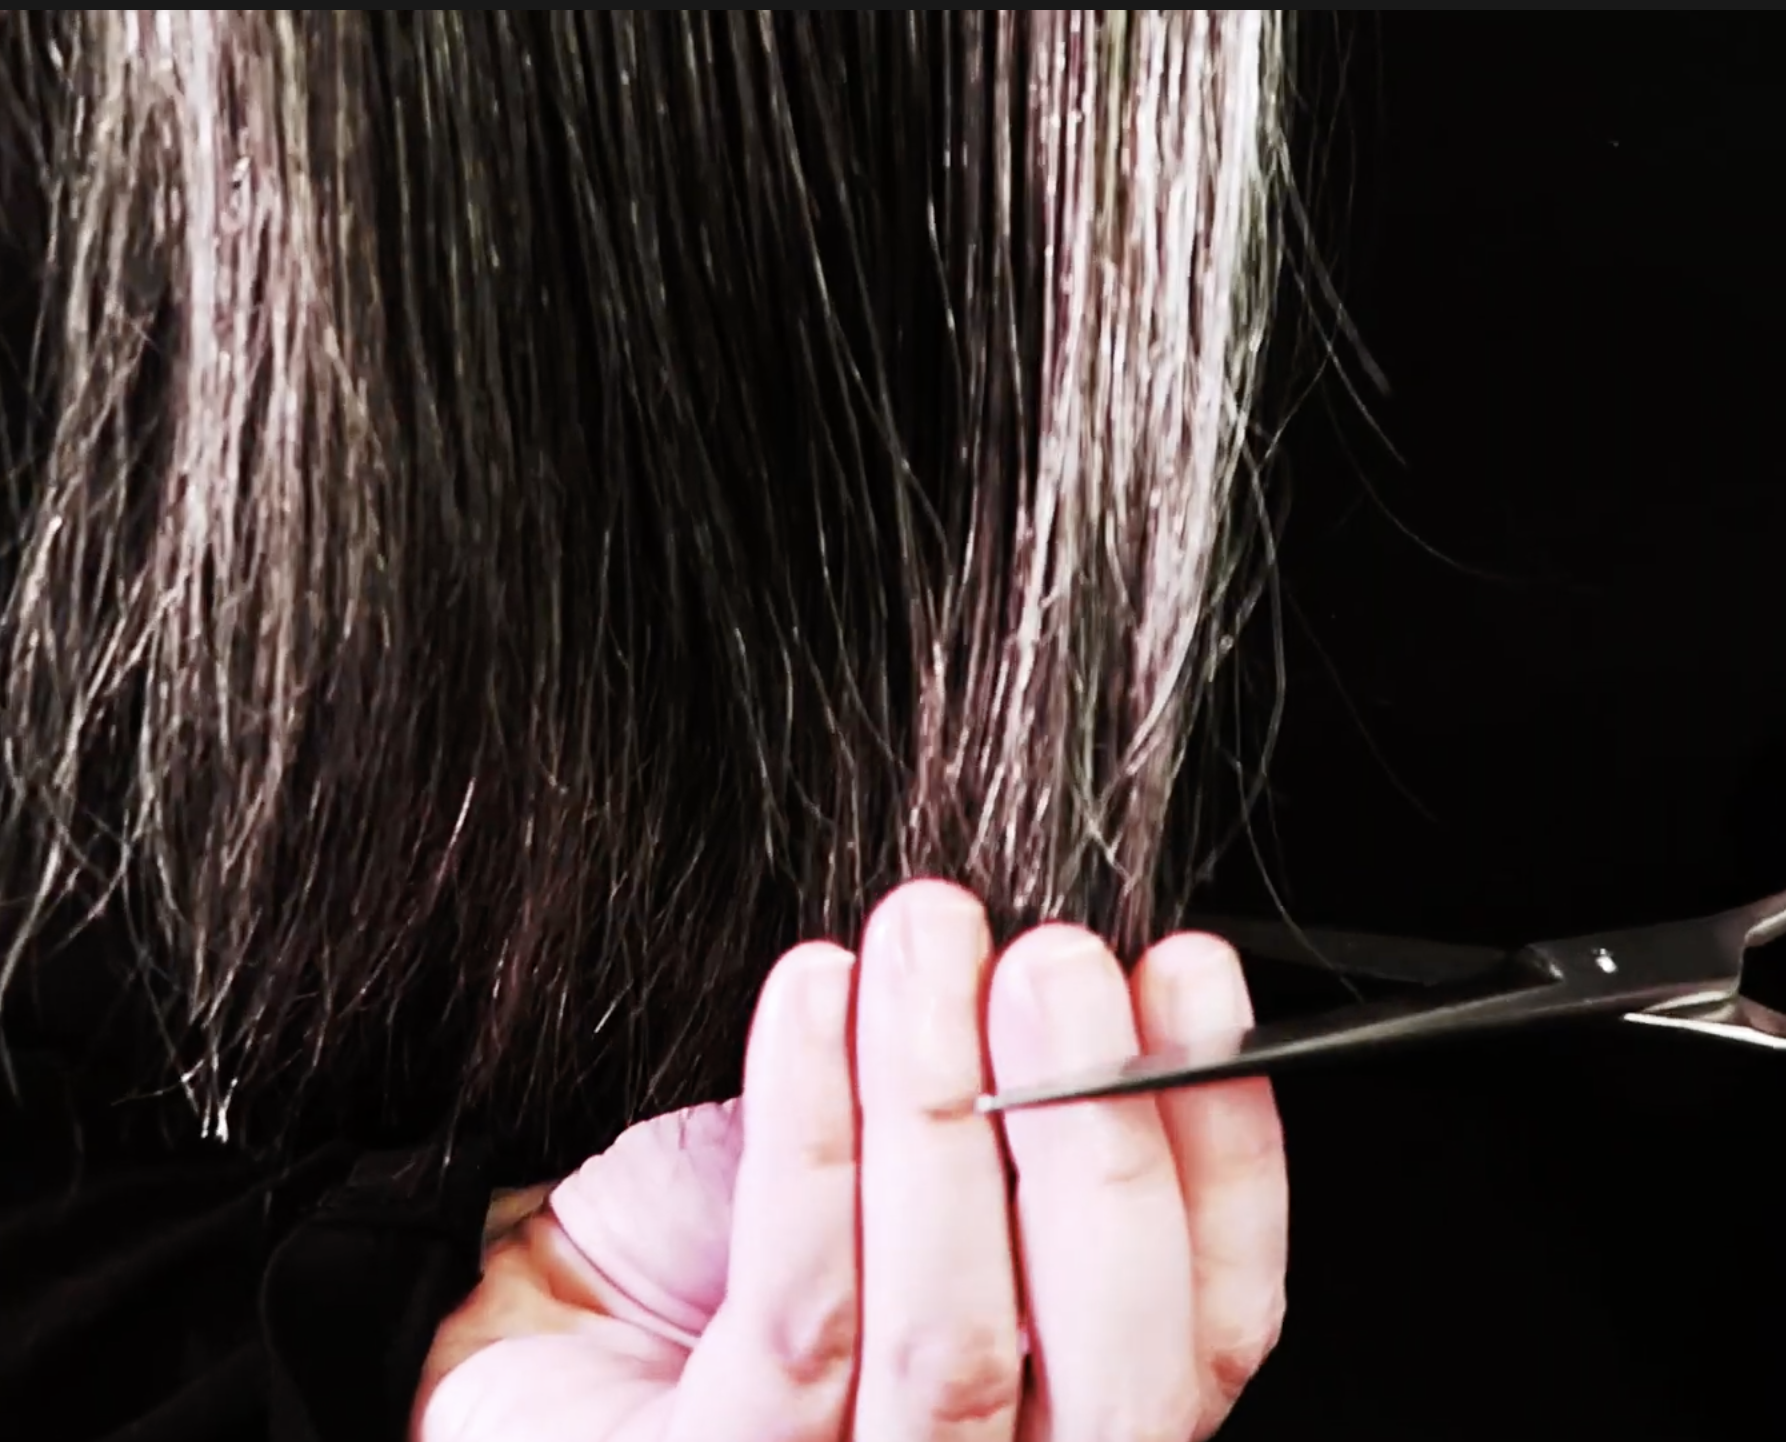
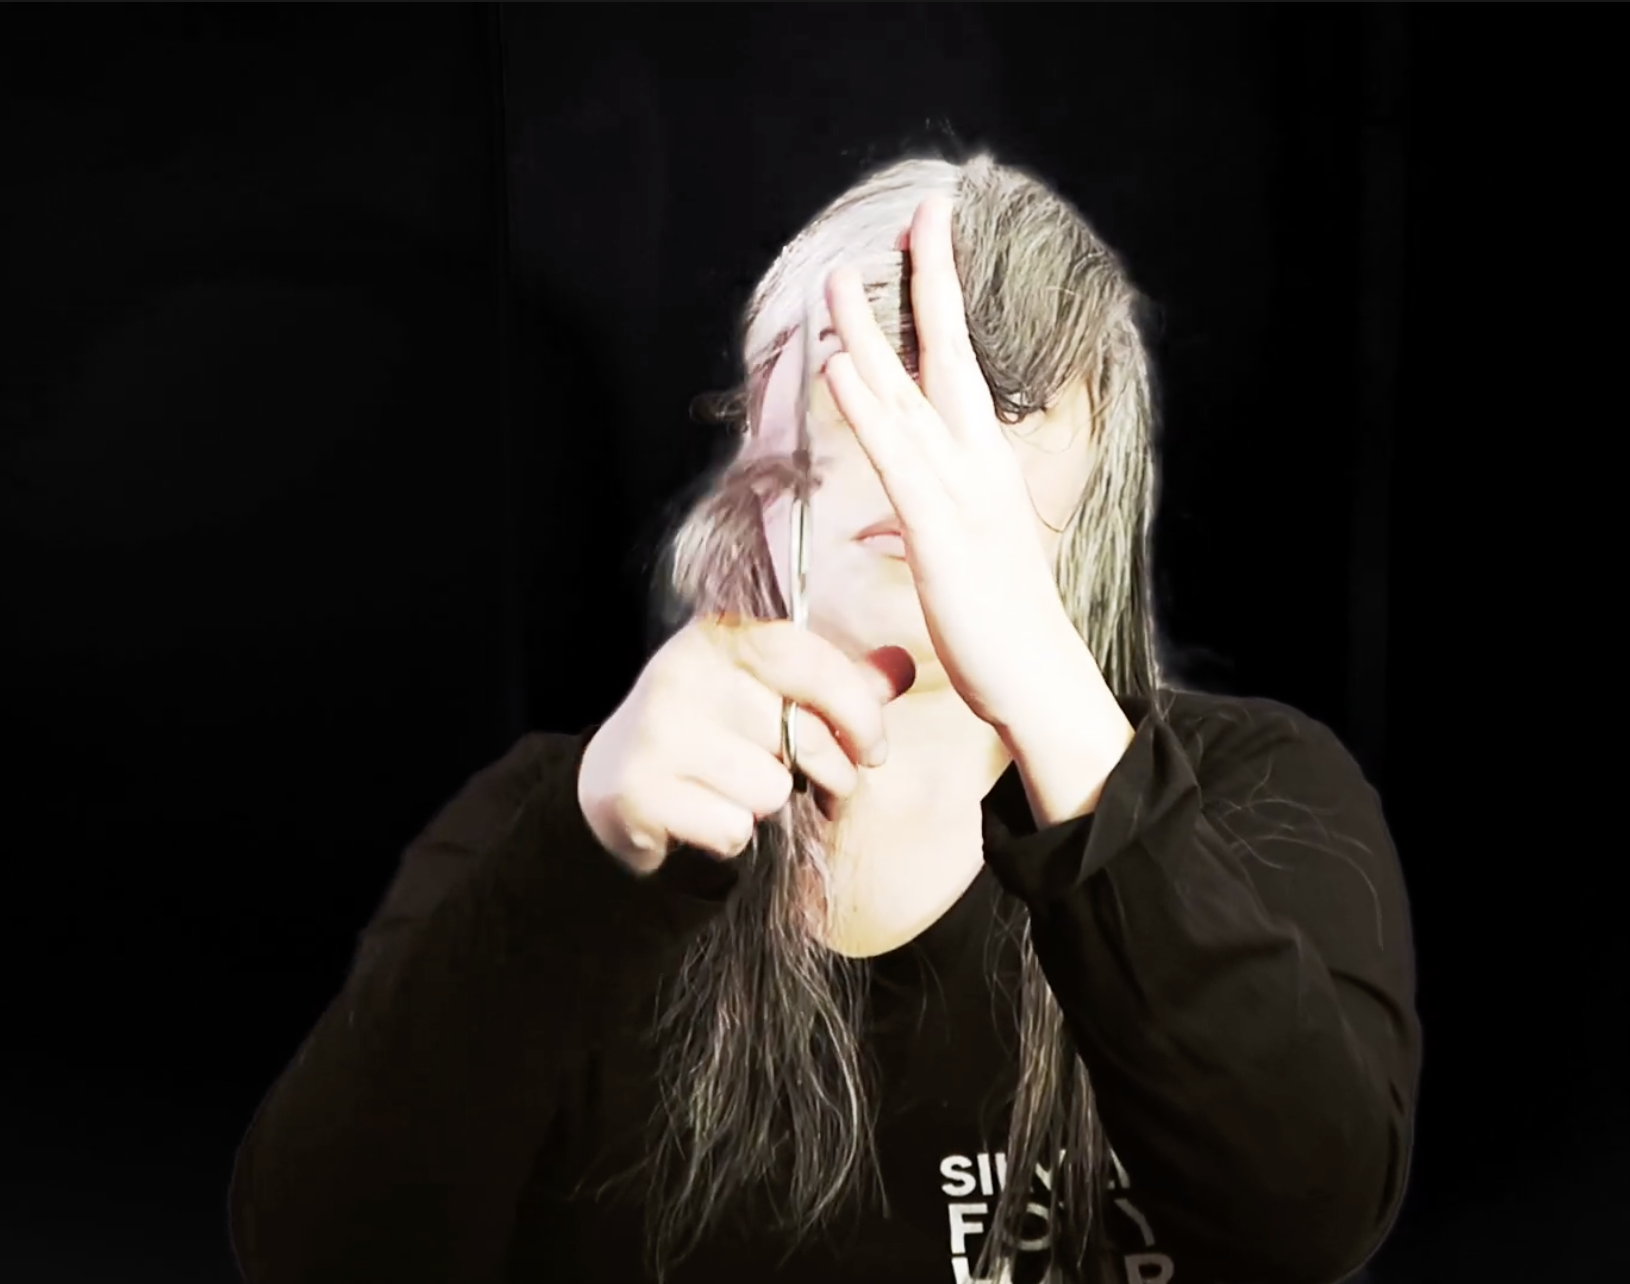
Since I haven’t trimmed the length of my hair in a couple of years, I really need to tidy up these ends. I am going to split the top half from the bottom so that it’s easier to cut. Then after combing my hair straight down, I’m going to just take an inch off the bottom. I’m just holding the scissors behind my back at a right angle to the floor and making a cut across.

checking from the front
I would definitely recommend buying a new pair of haircutting scissors before you try this. I did have a pair of haircutting scissors, but I bought them a few years ago and I want this to come out good. I’m also going to split my hair in half and check the hair in the front also.
Supplements for hair growth
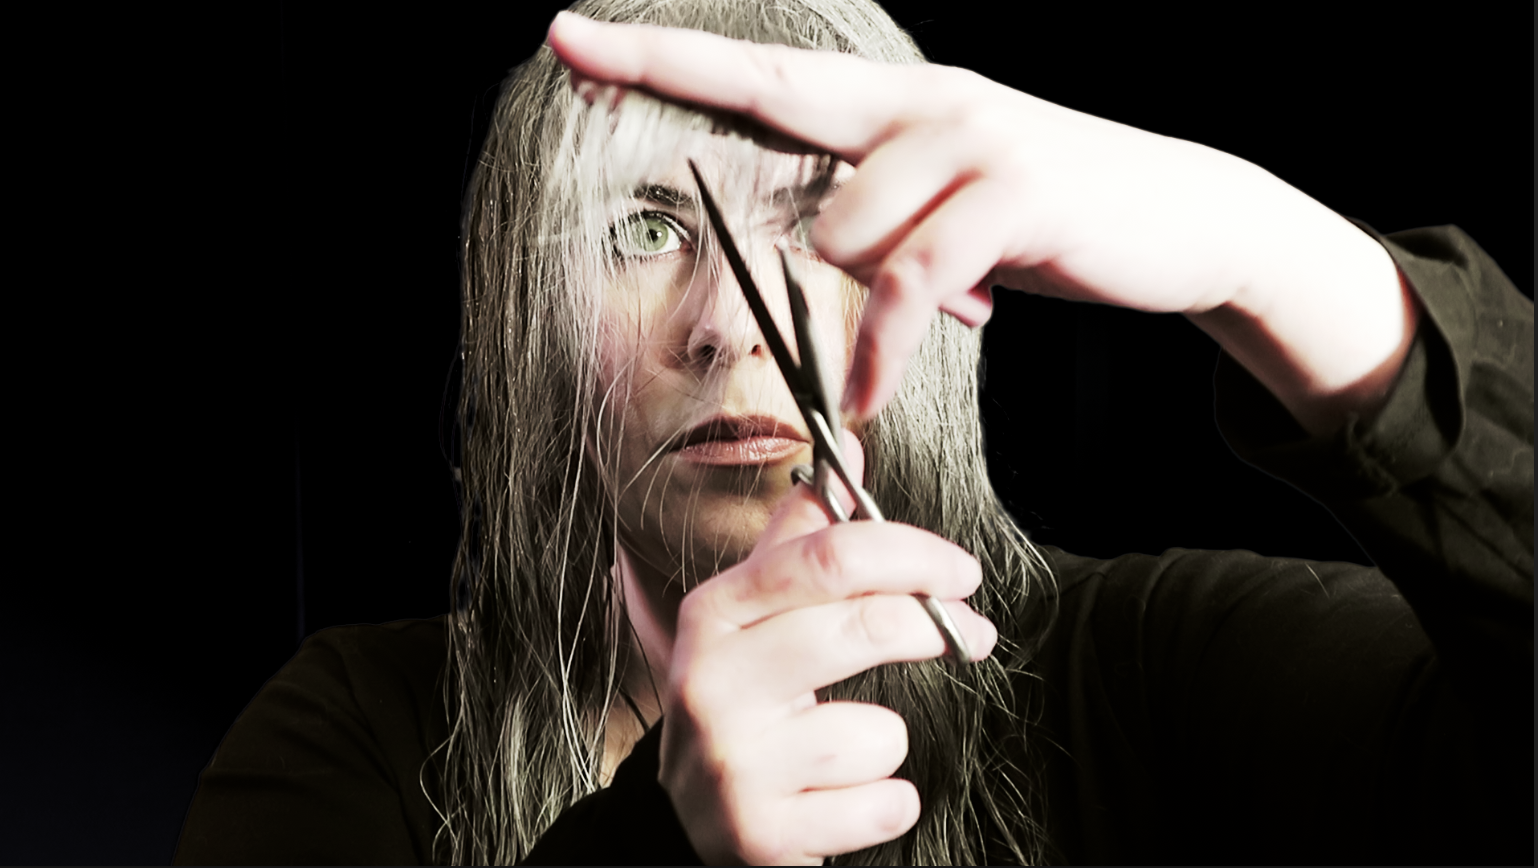
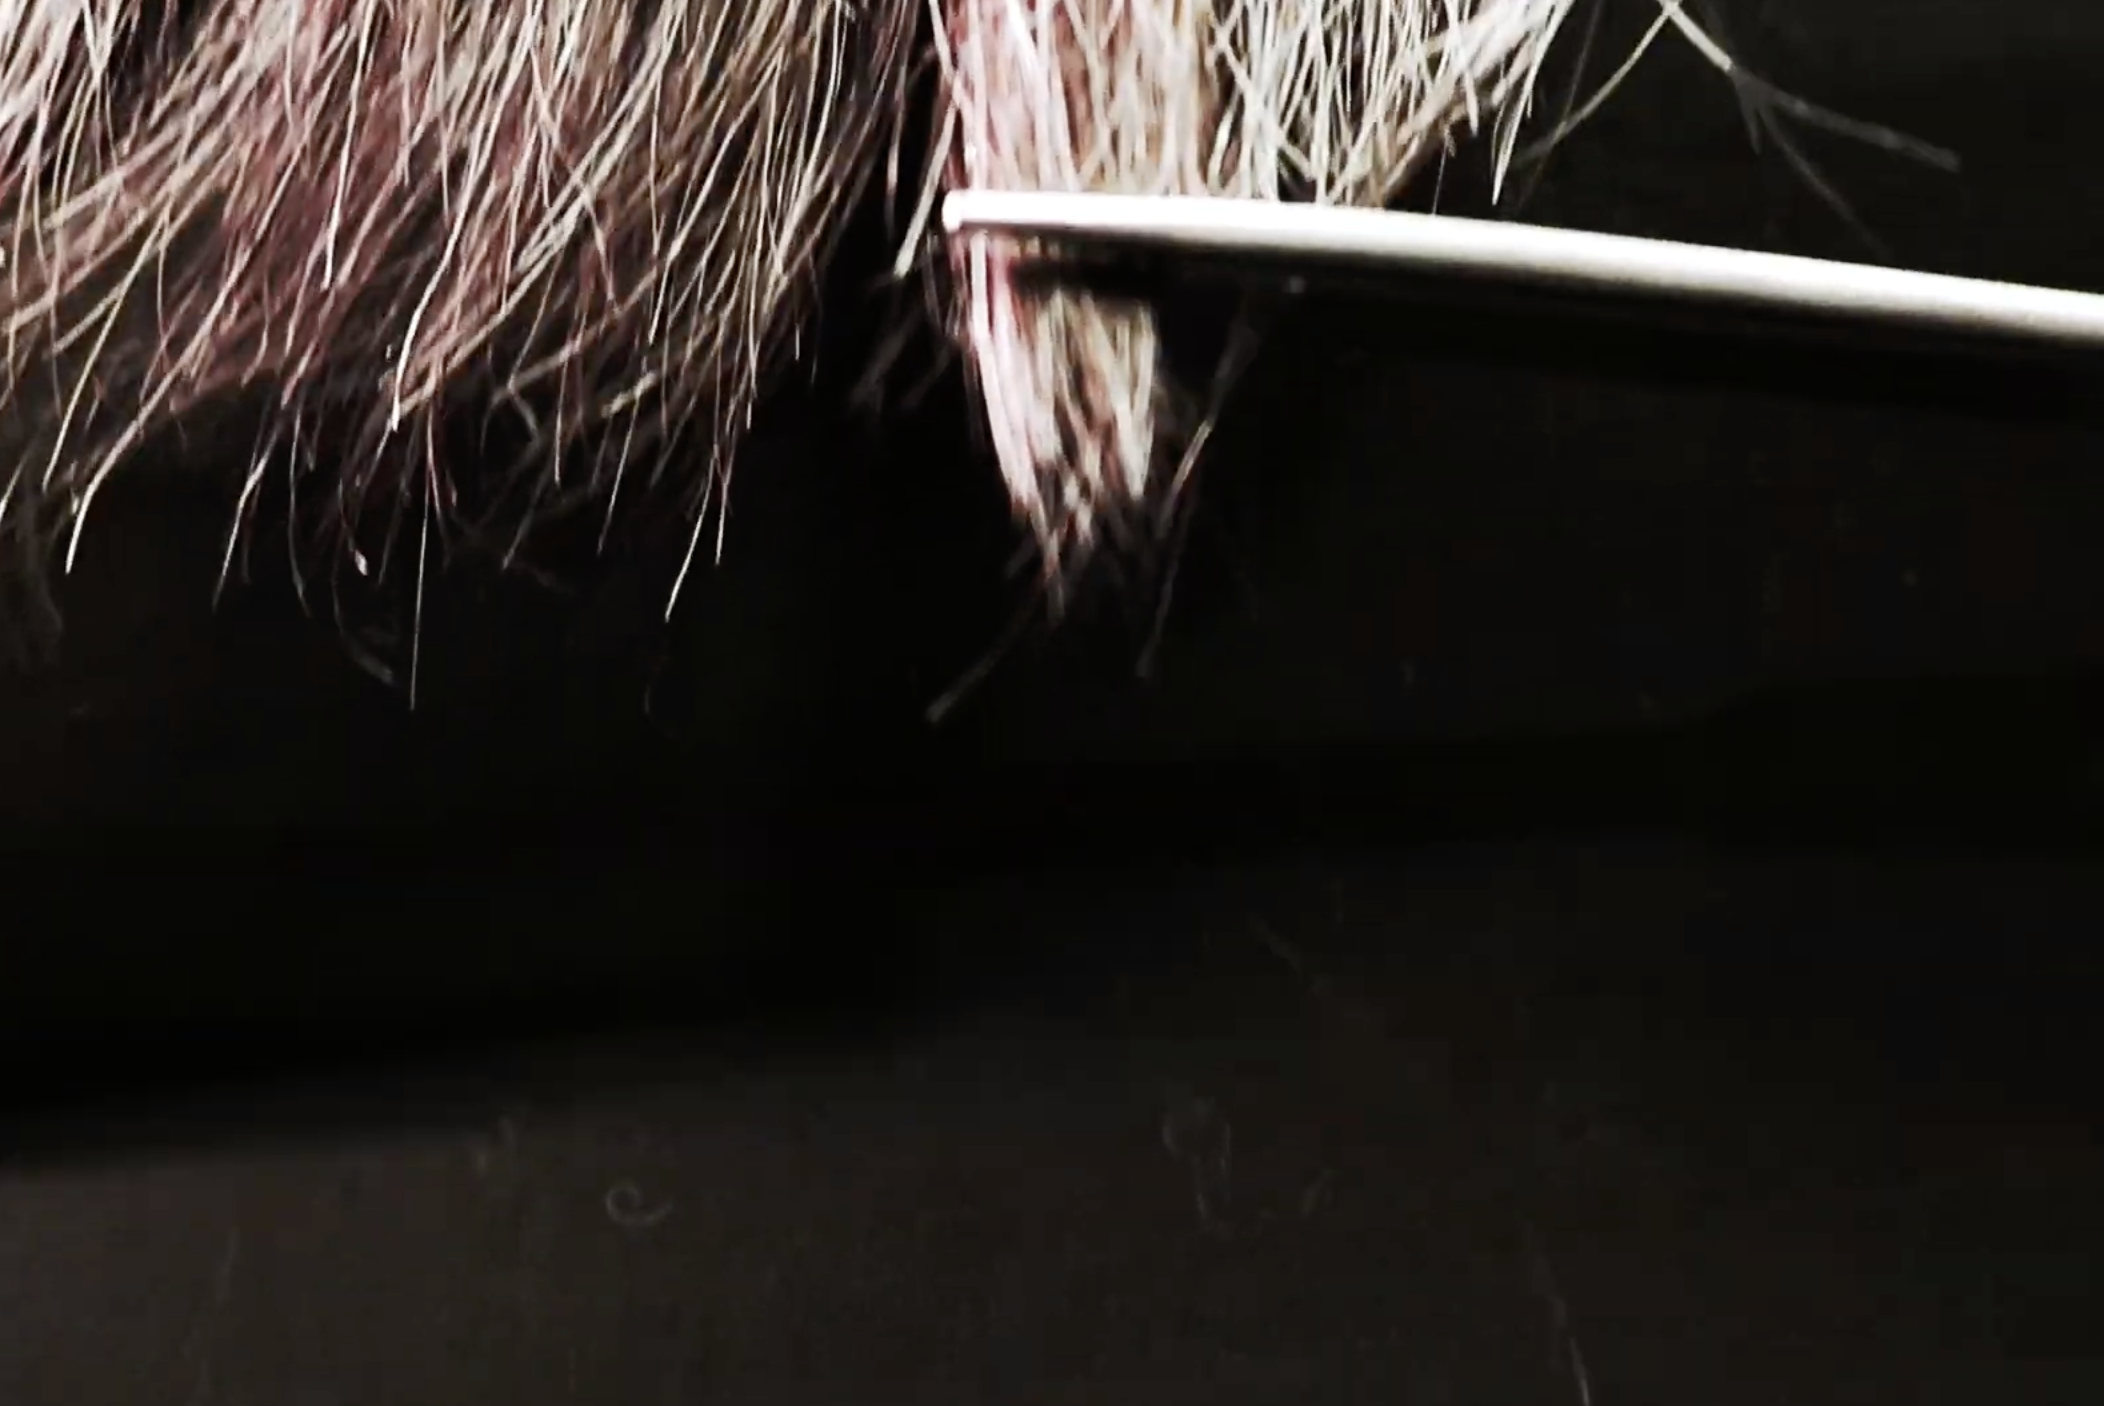
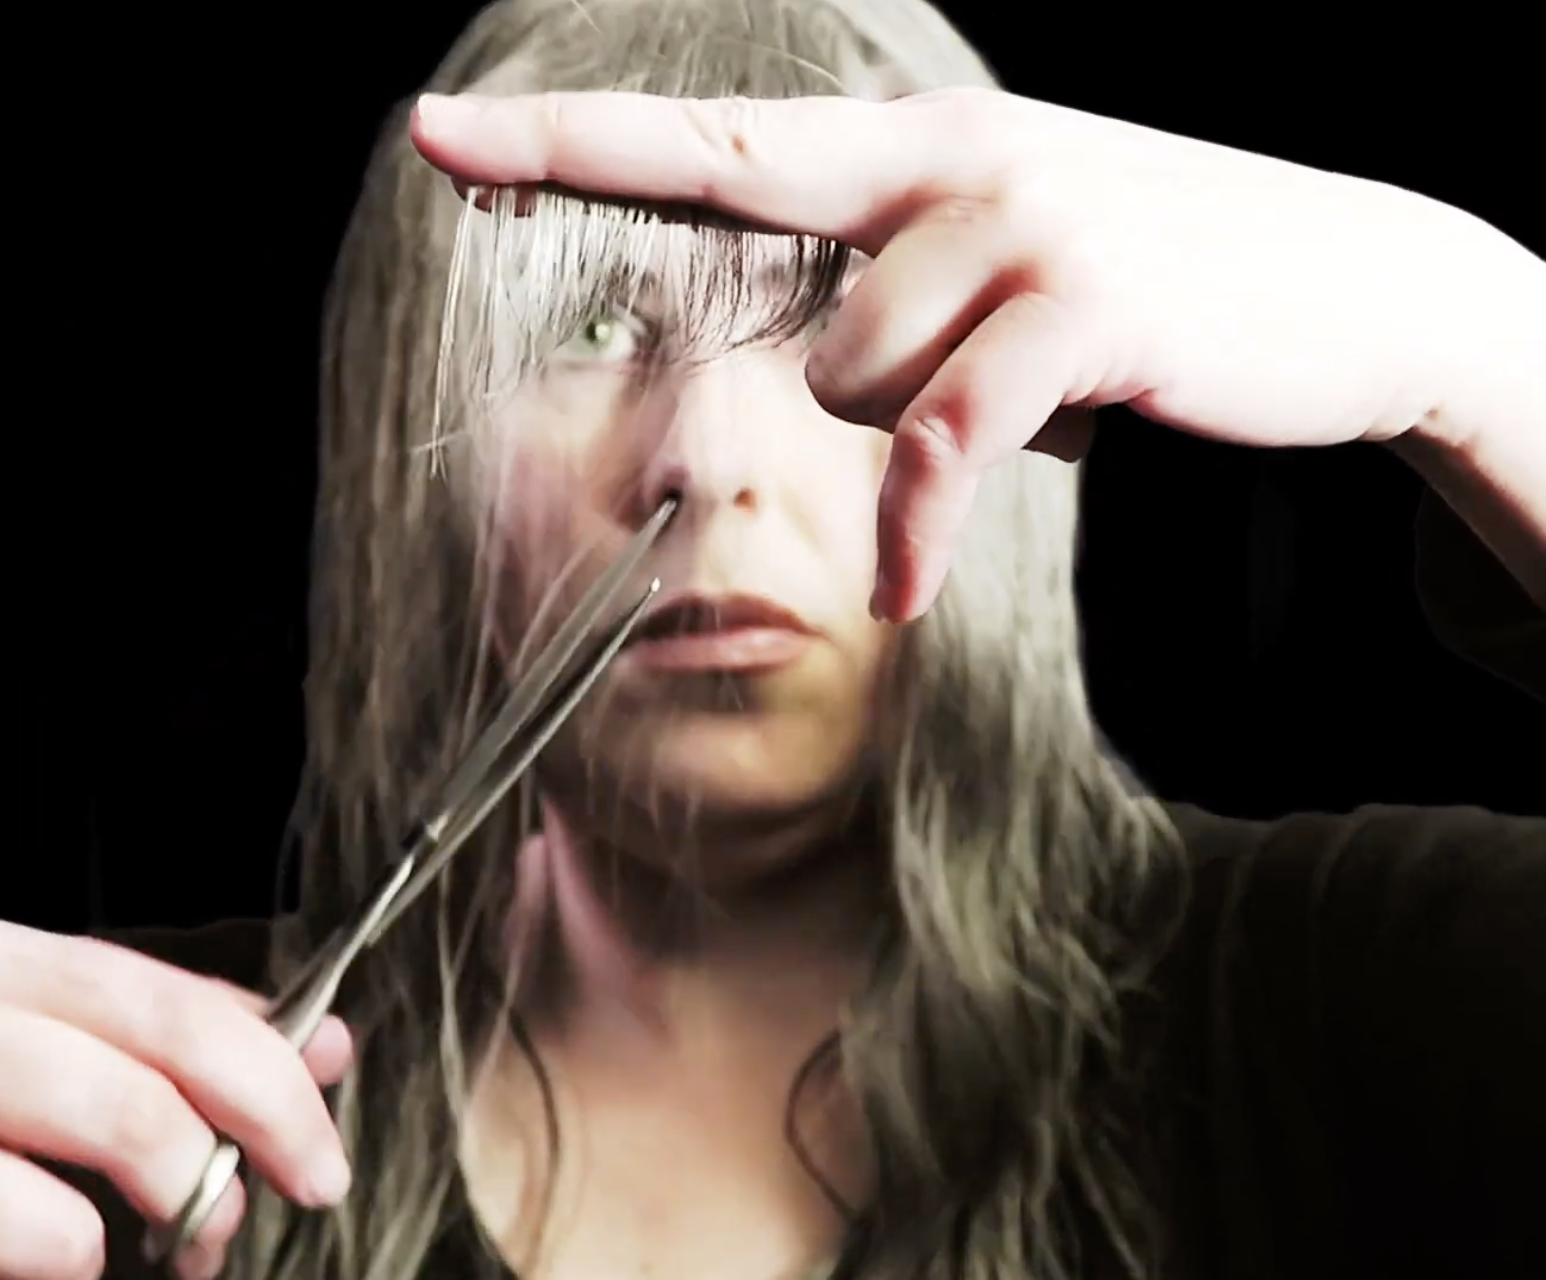
I’m going to start with finding my old bangs and separating them from my hair. If you don’t already have bangs, this is where you may want to section a small front triangle to cut the shortest length. My hair is quite long and I want these layers to start below my chin. I’m going to take my bangs, comb them out flat and then cut an inverted V-shape.
Taking small vertical sections near the front, I’m going to overdirect my hair to the opposite side and cut the rest of my hair to the length of my bangs. I’m going to overdirect every section to the same place and cut a vertical line. With each section that I add to the hair, the hair will gradually be cut from shortest to longest creating some really nice front layers.
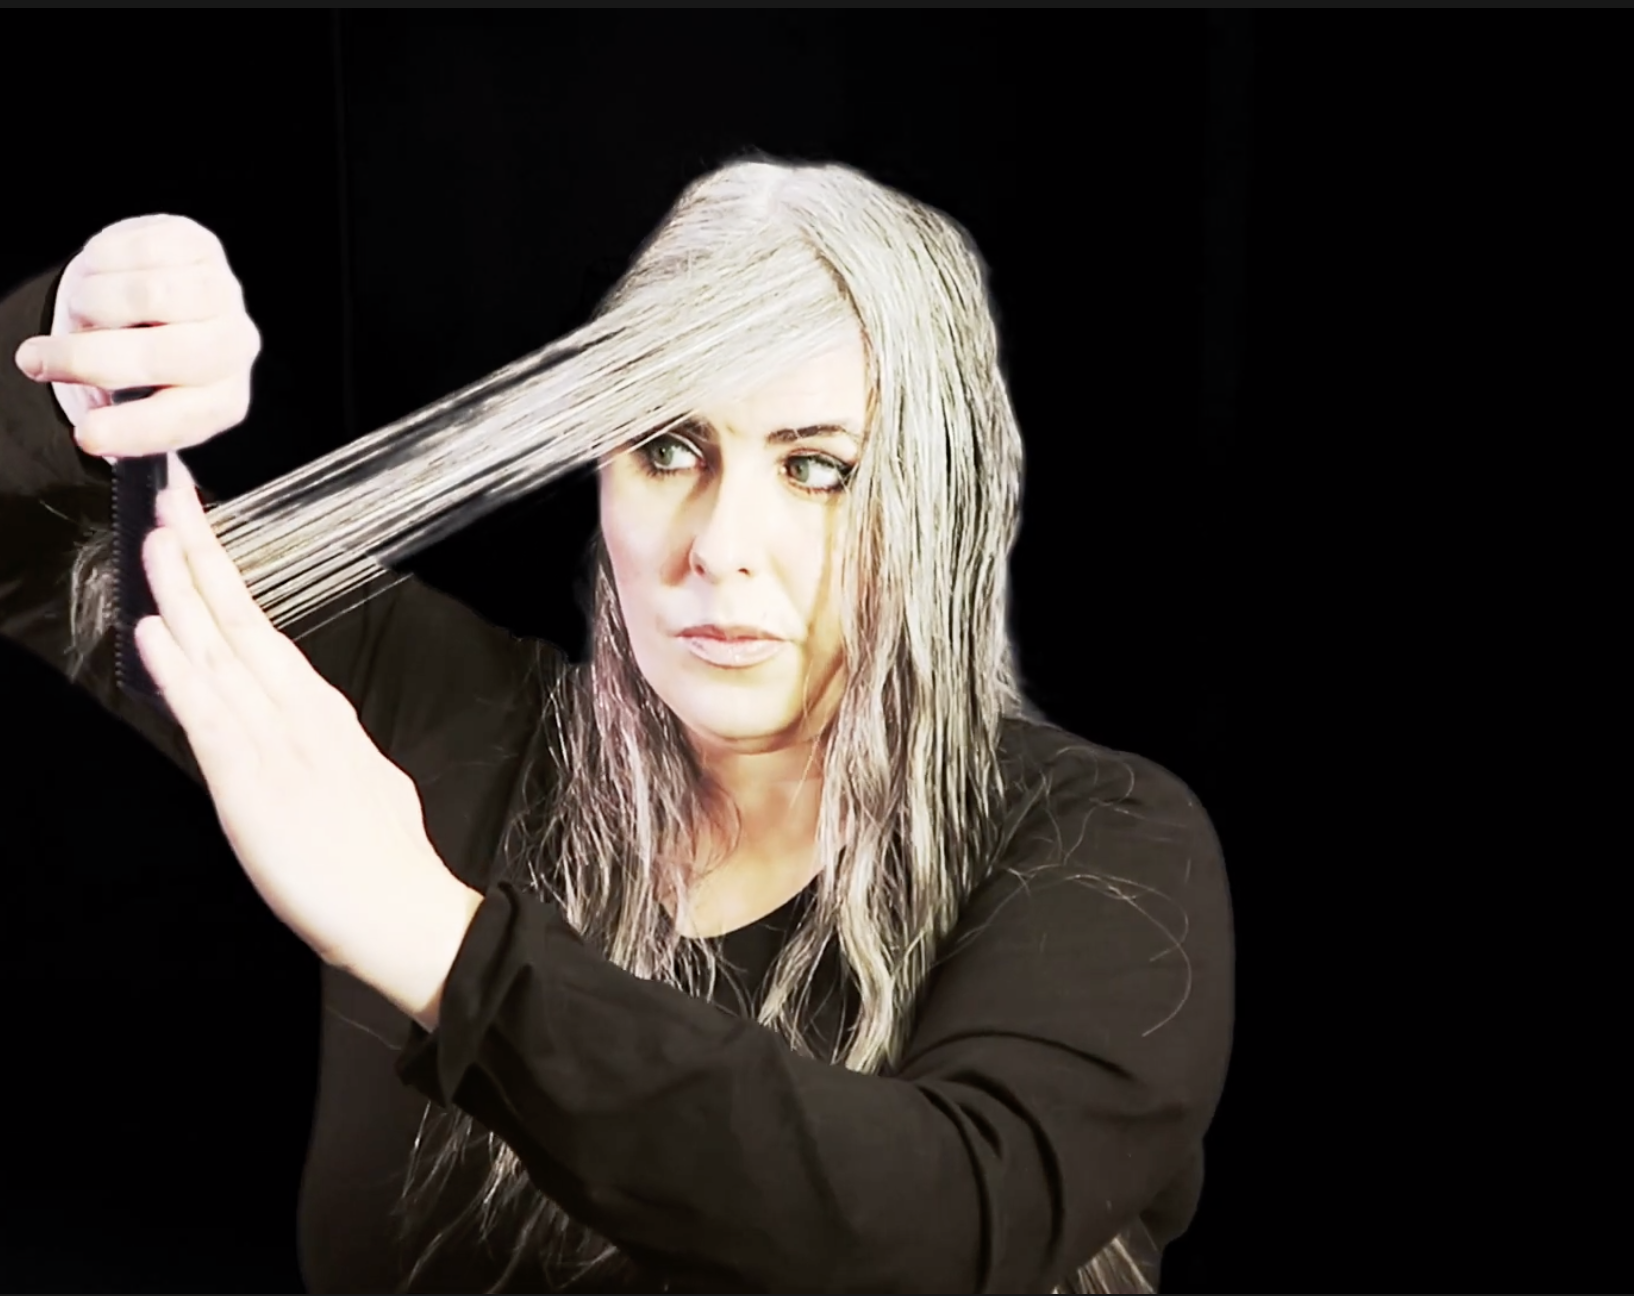
This also helps taper the shape in the back to a nice curved shape instead of a square straight across line.
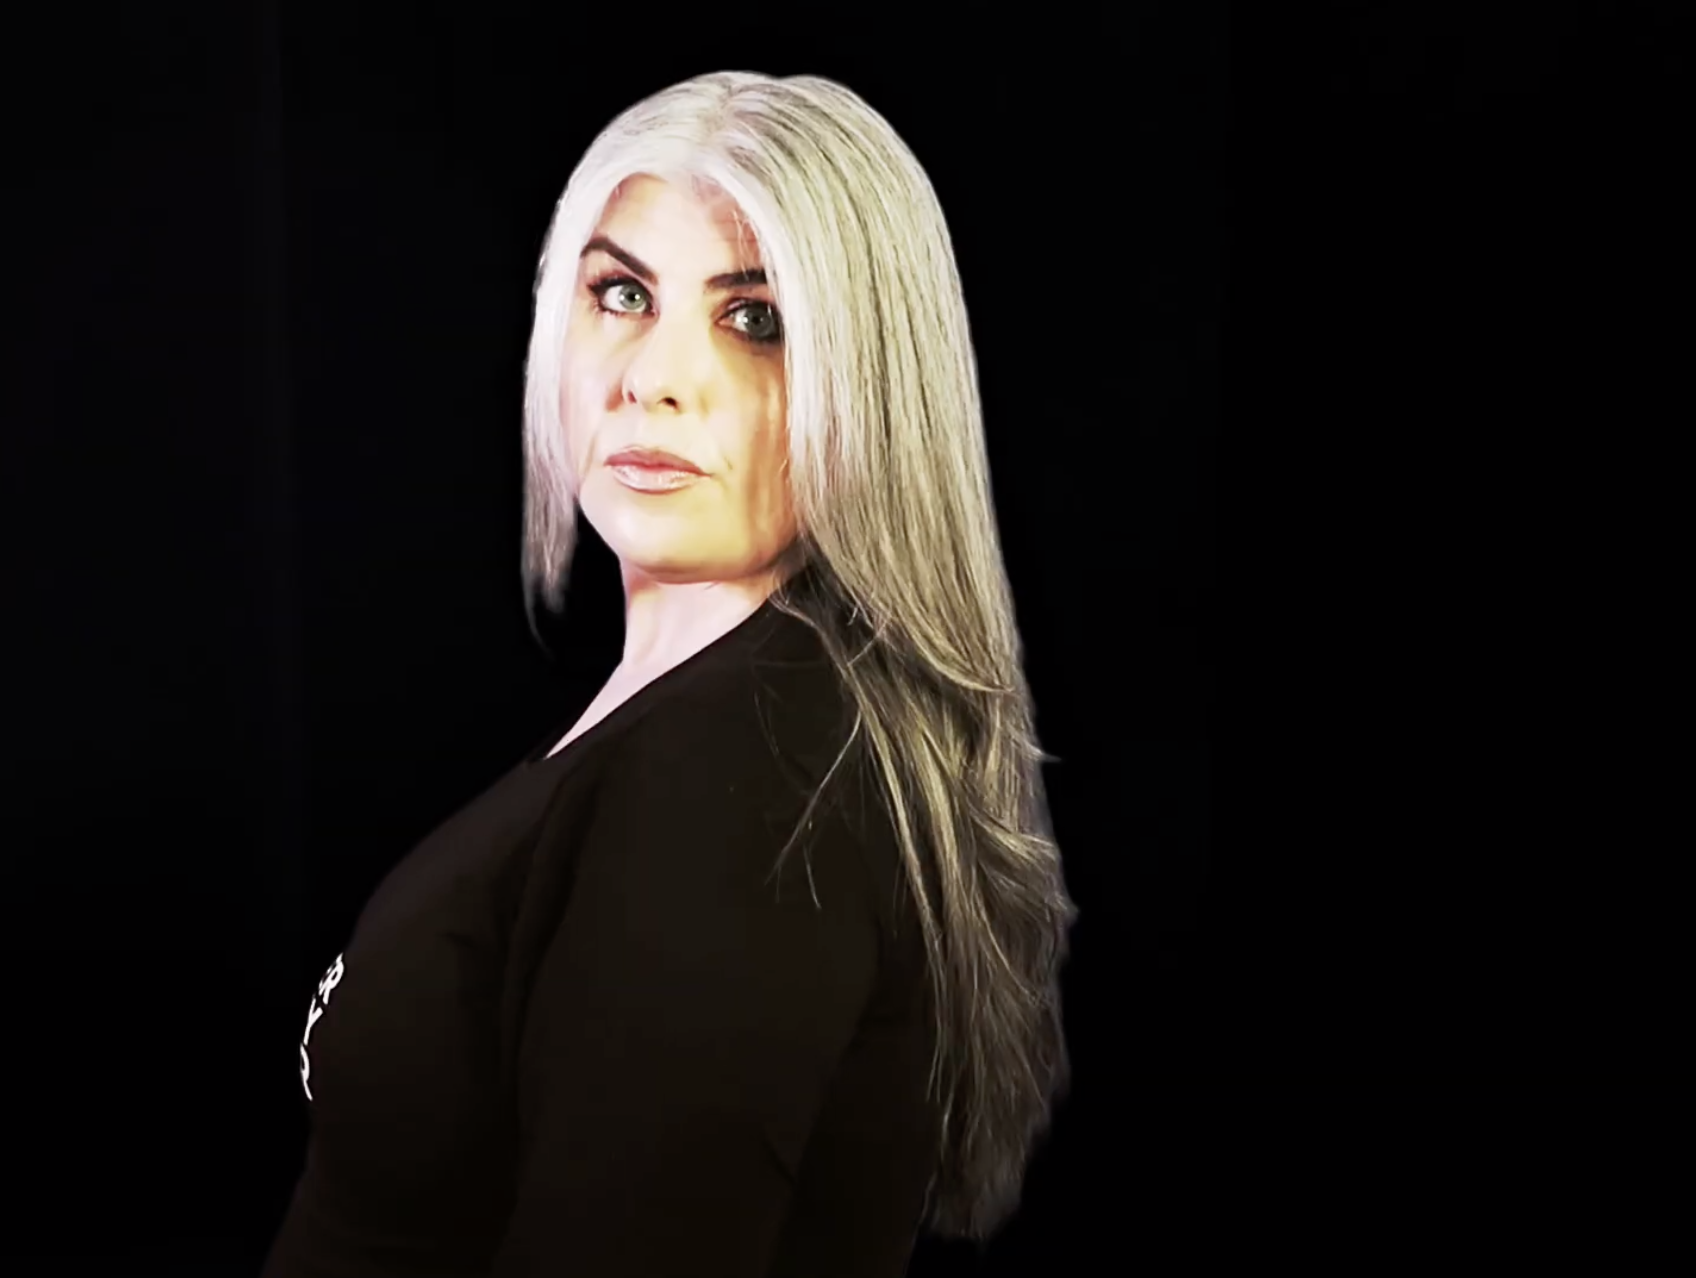
Haircut - done! Time to blow-dry!

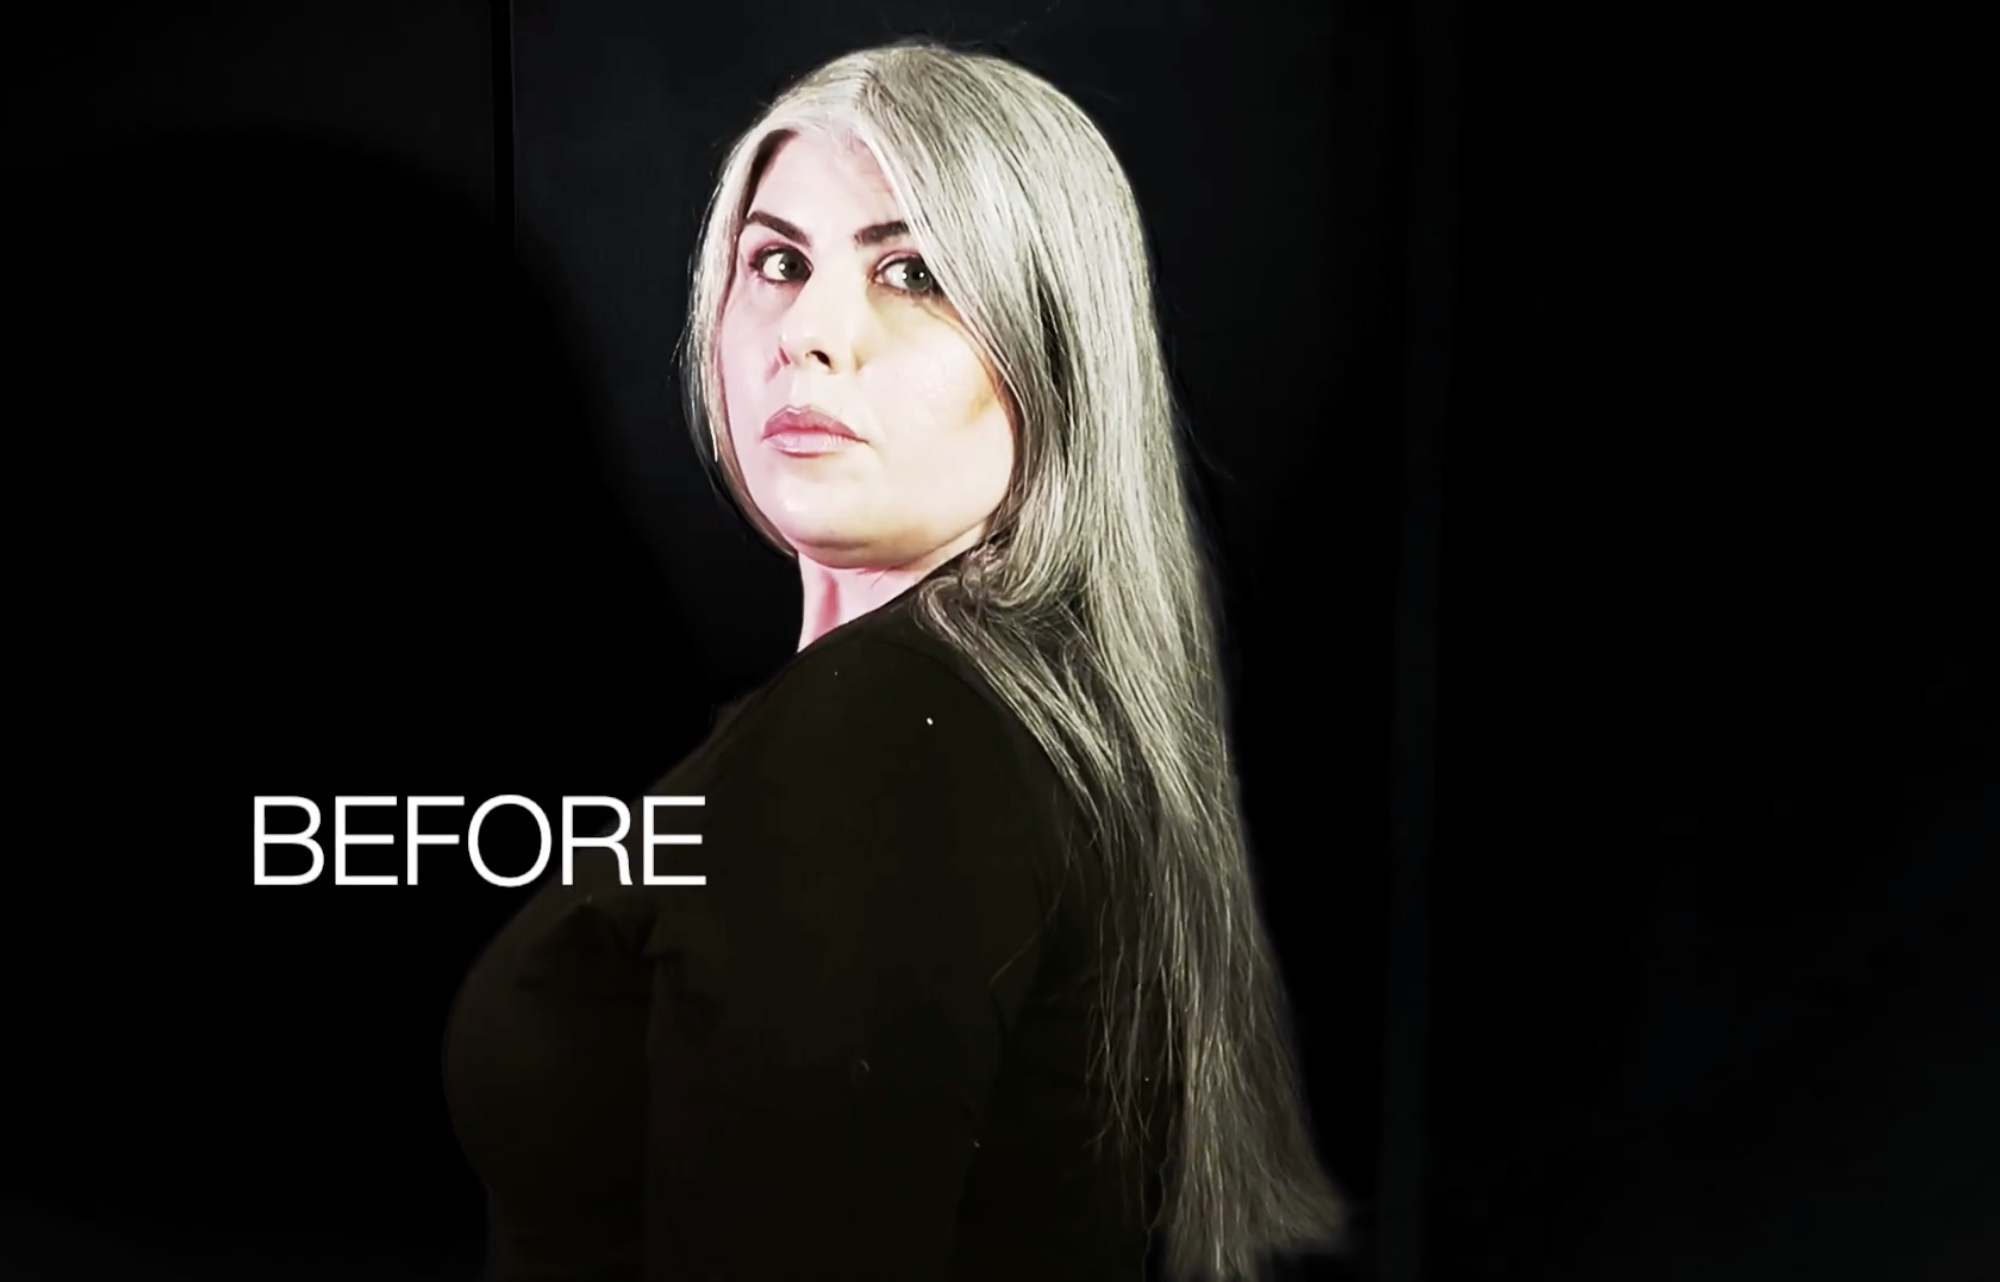
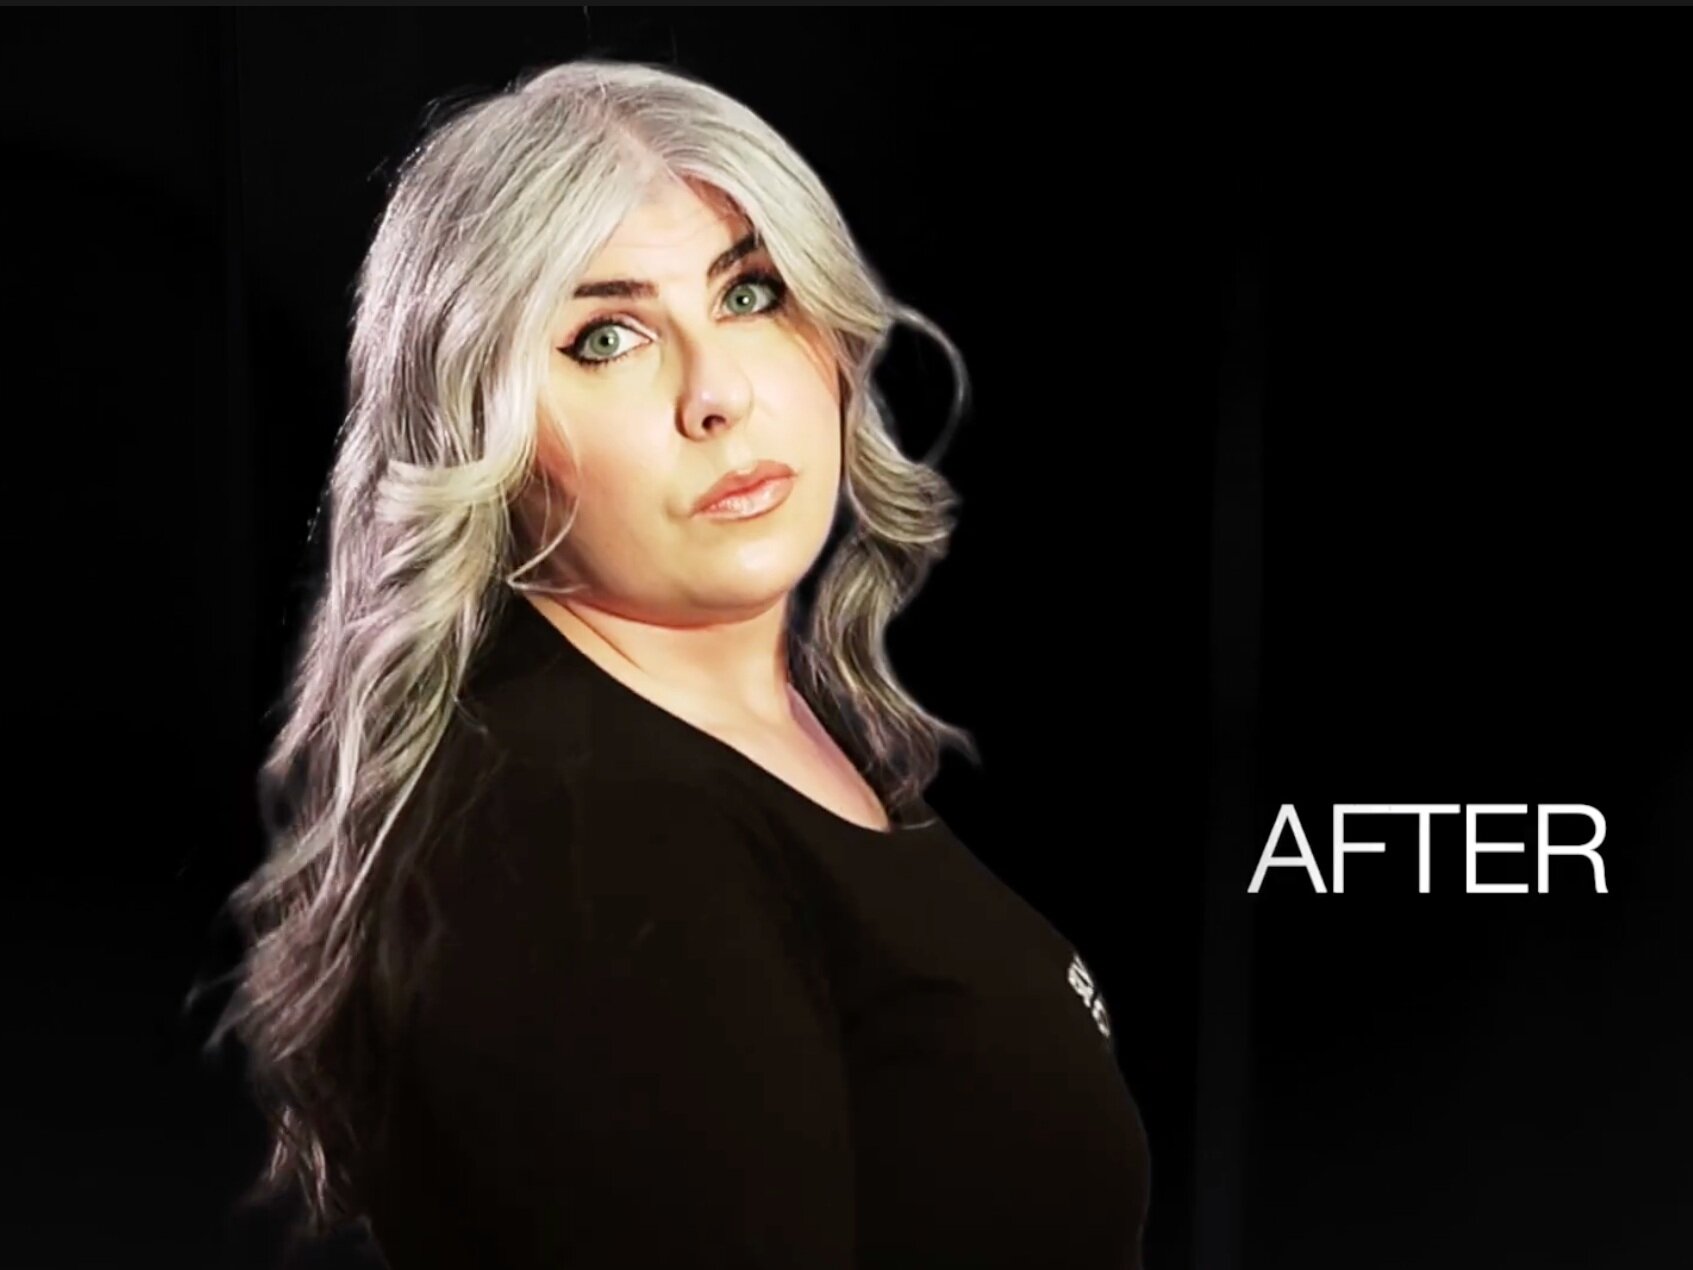
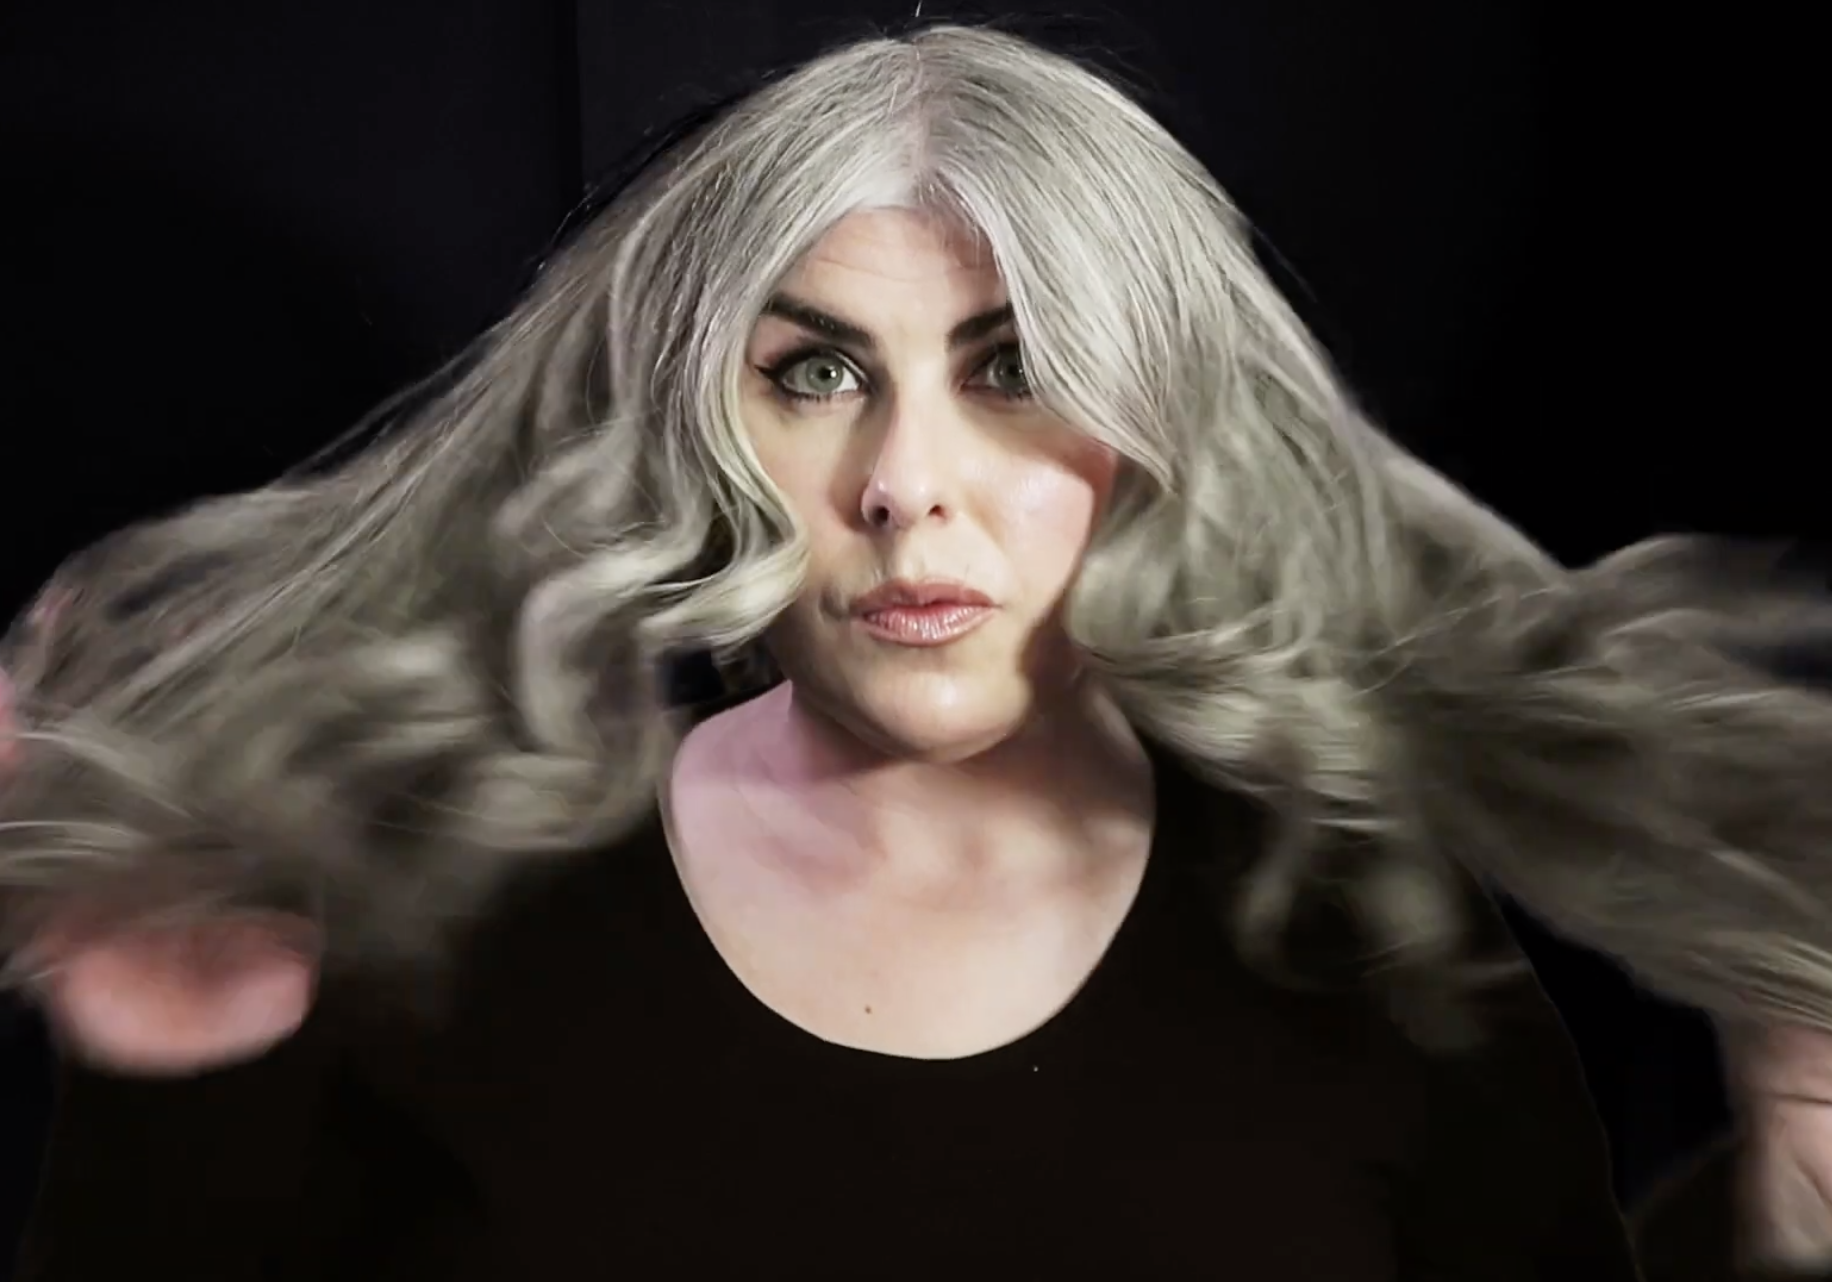
I wanted to be able to show both a straight and curly version of the before and after.

To get this look is pretty easy. I’m just curling each side toward the back. Once it cools, I fluff it out and rake it through with my fingers.
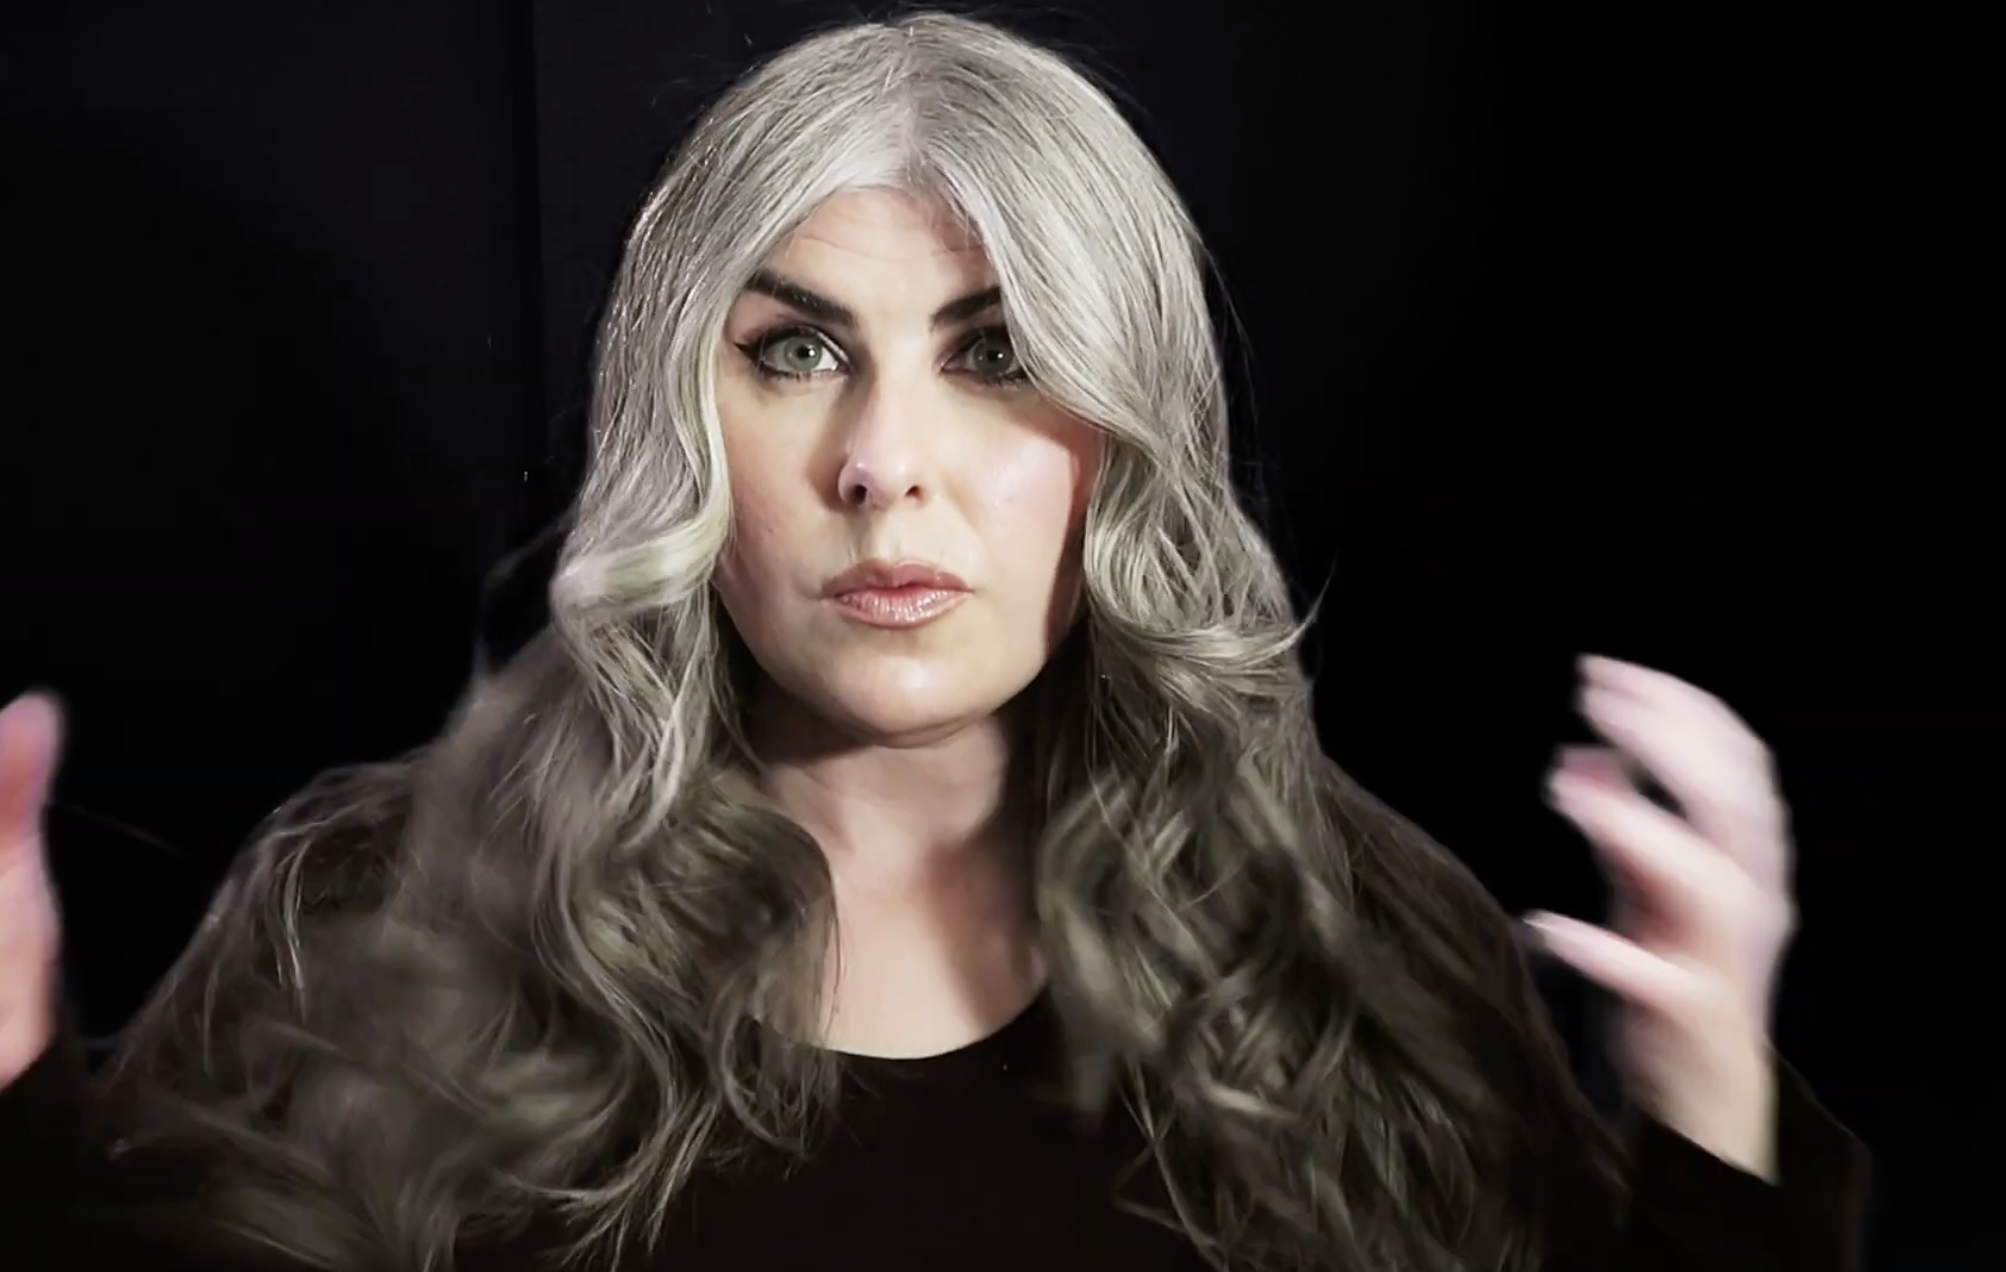


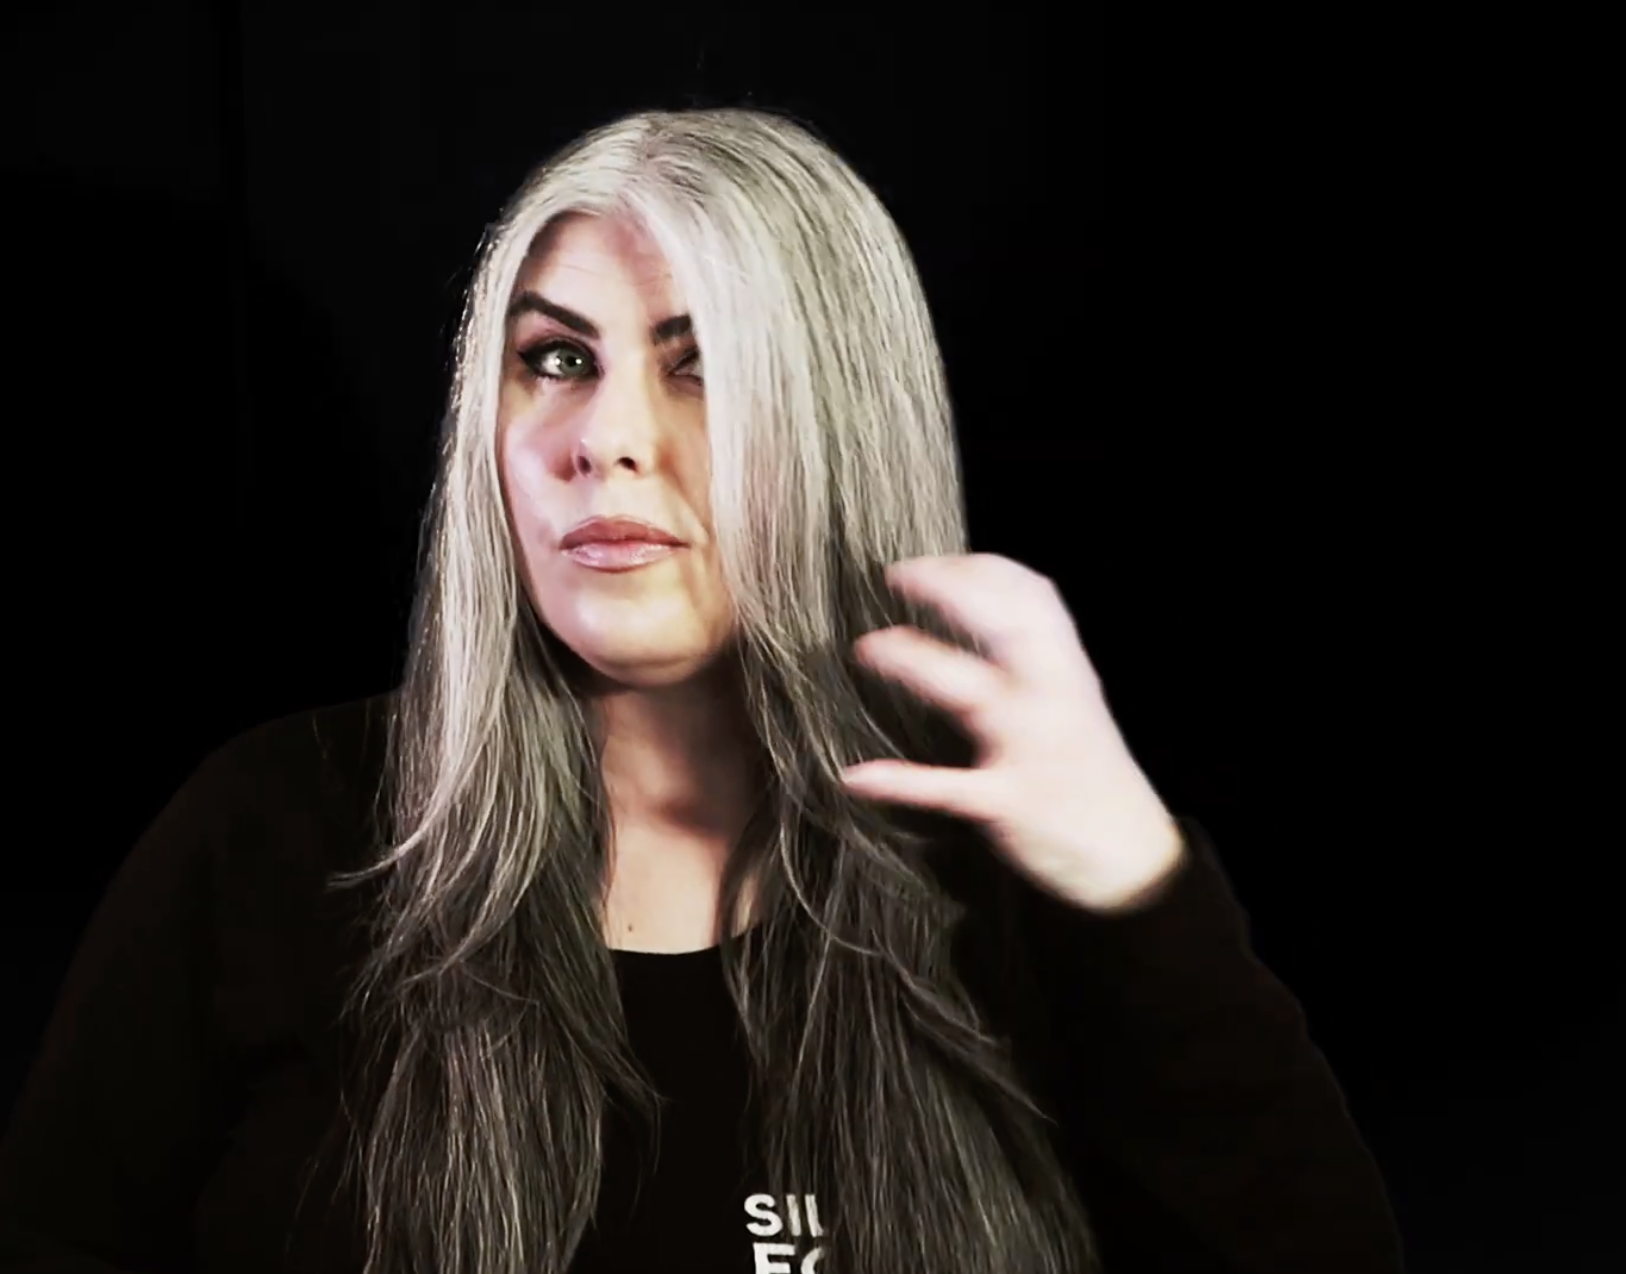
Here’s a little before and after: