

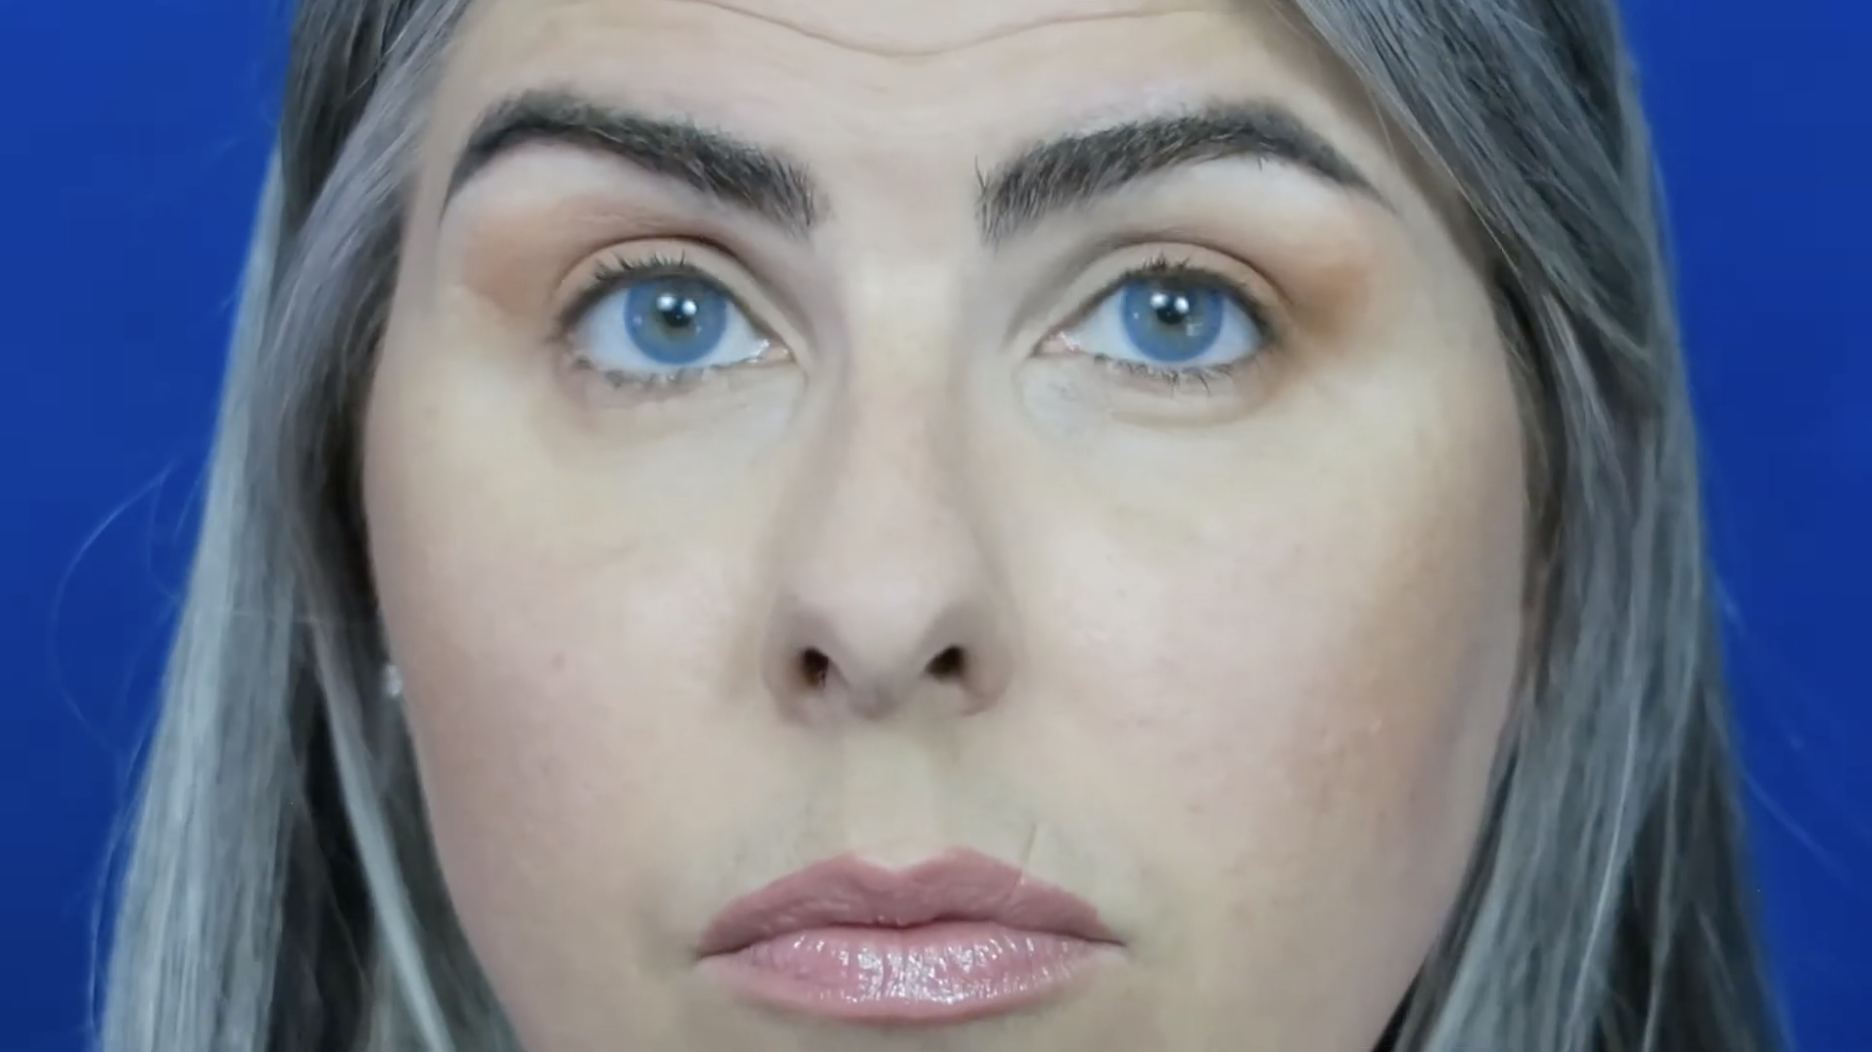
Foxy Eye trend
Hello Foxies, welcome back to my blog!
Today, we’re going to do the Foxy Eye trend

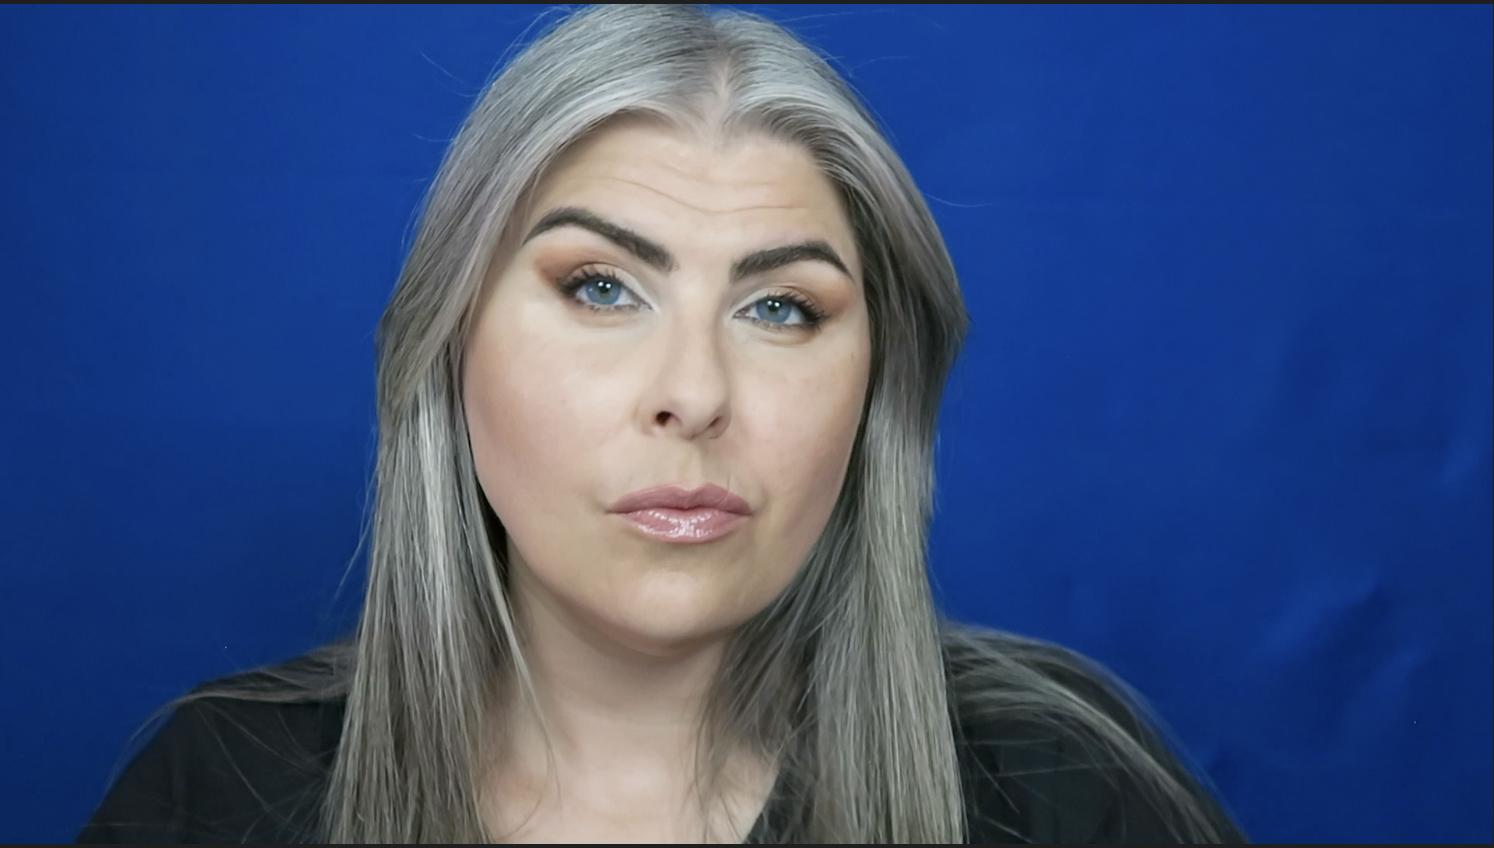
This has been going on all over YouTube and Instagram lately. Basically, it’s a lifted eye look using shades of eyeshadow, neutrals and browns. I’m going to show you how to do this very easily today.
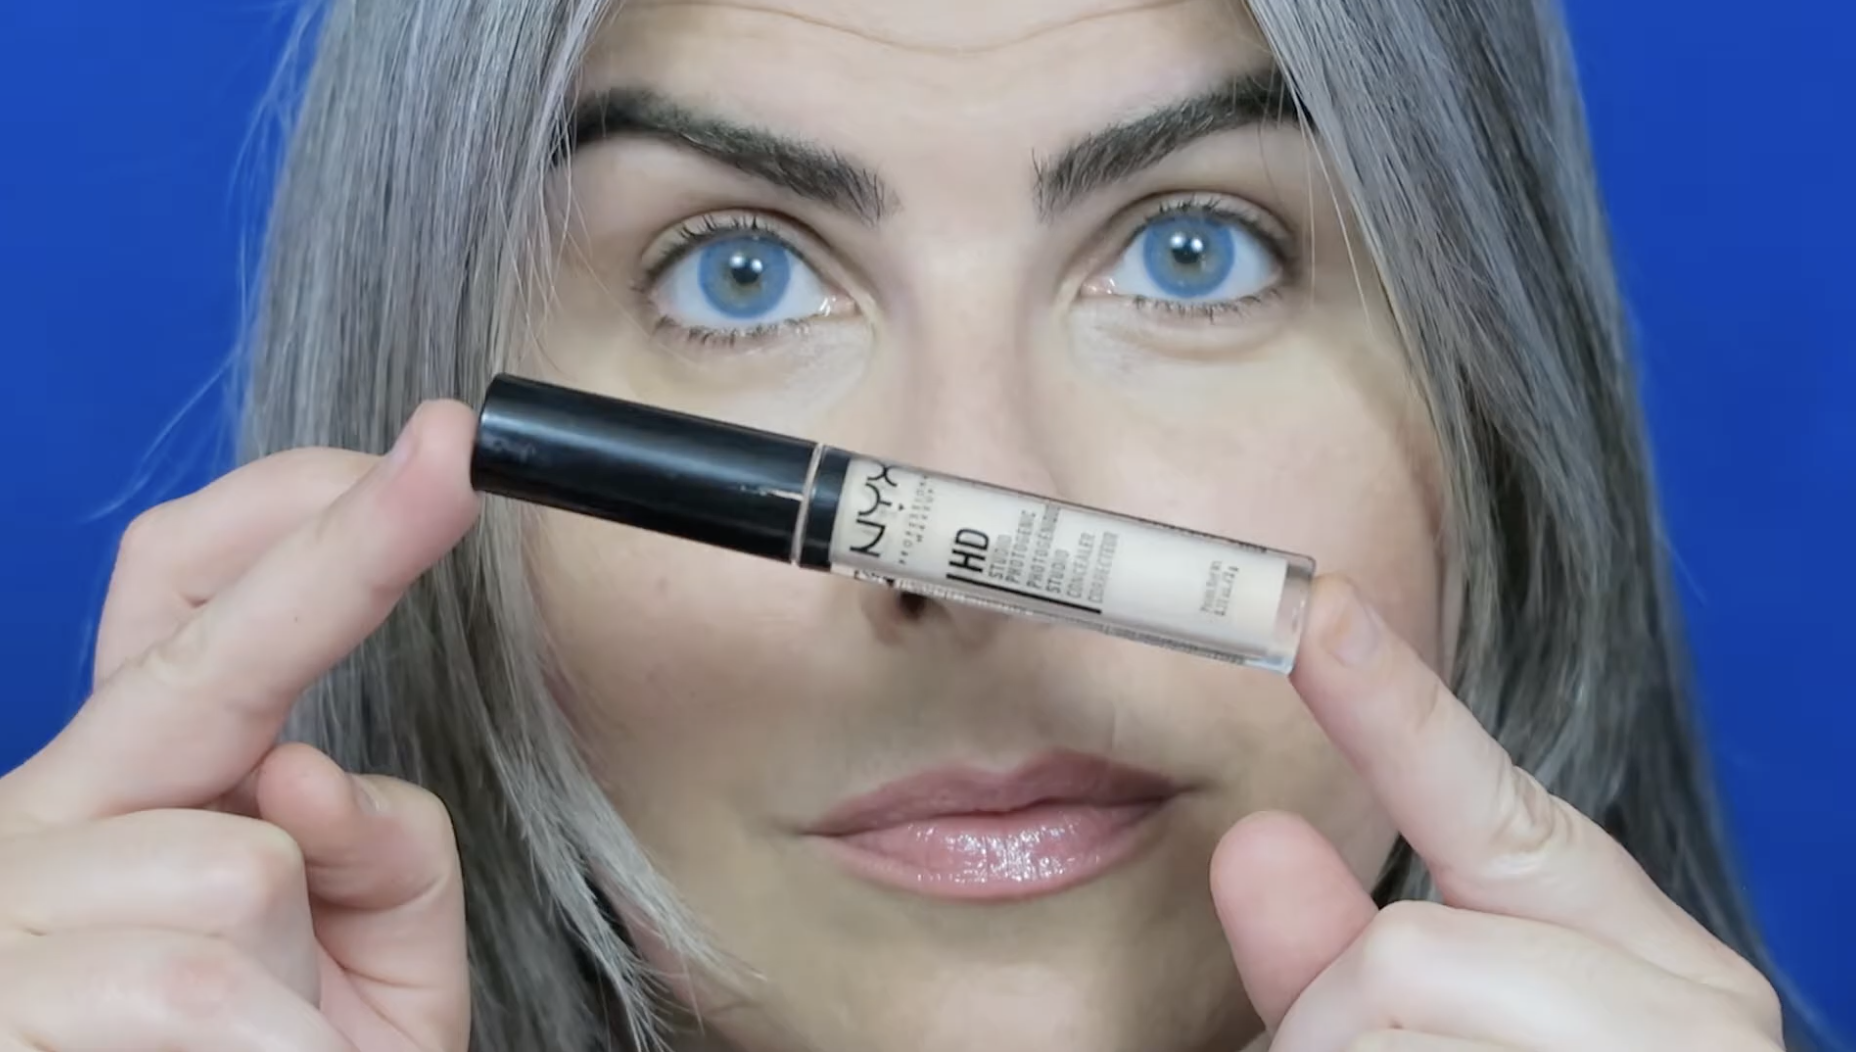
Before adding any shadow, I first prime my lids. Today I’m using NYX HS studio concealer.
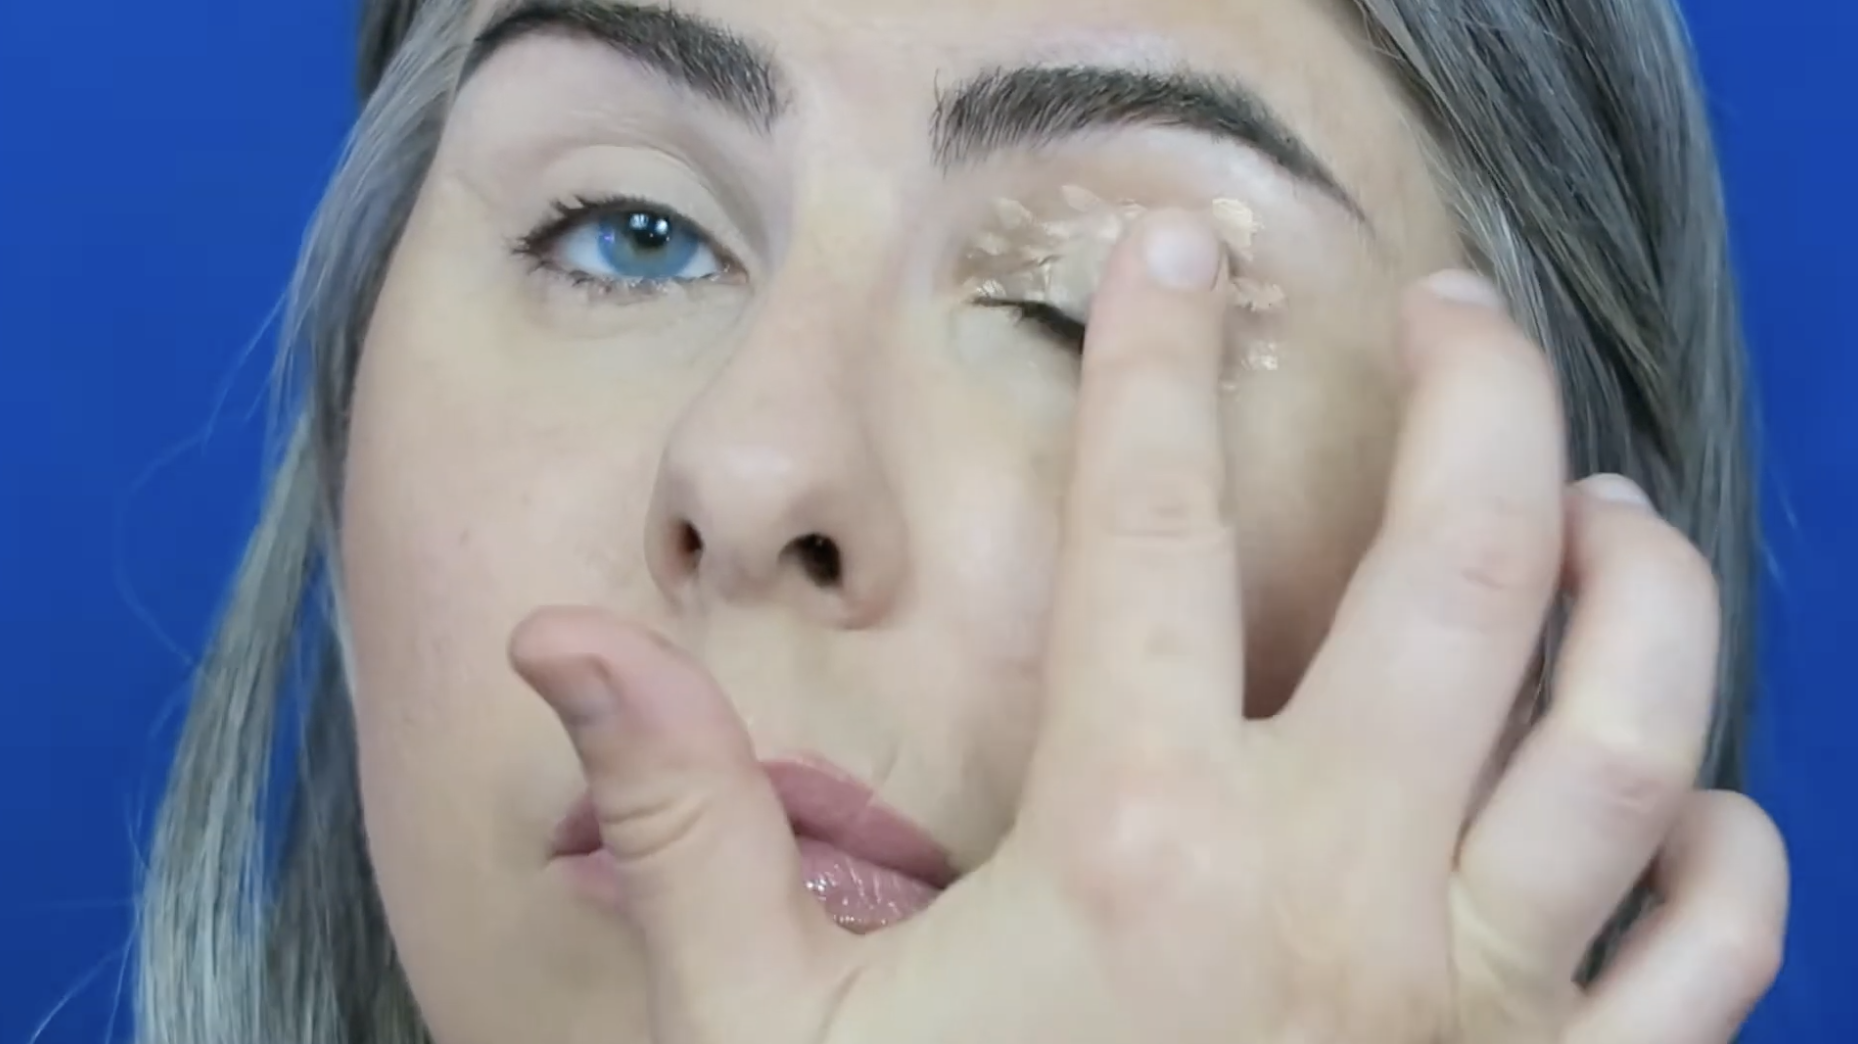
I dab several small dots over and under my eyes.
With a light tapping motion, I spread the concealer so that all of my lid space is covered evenly.
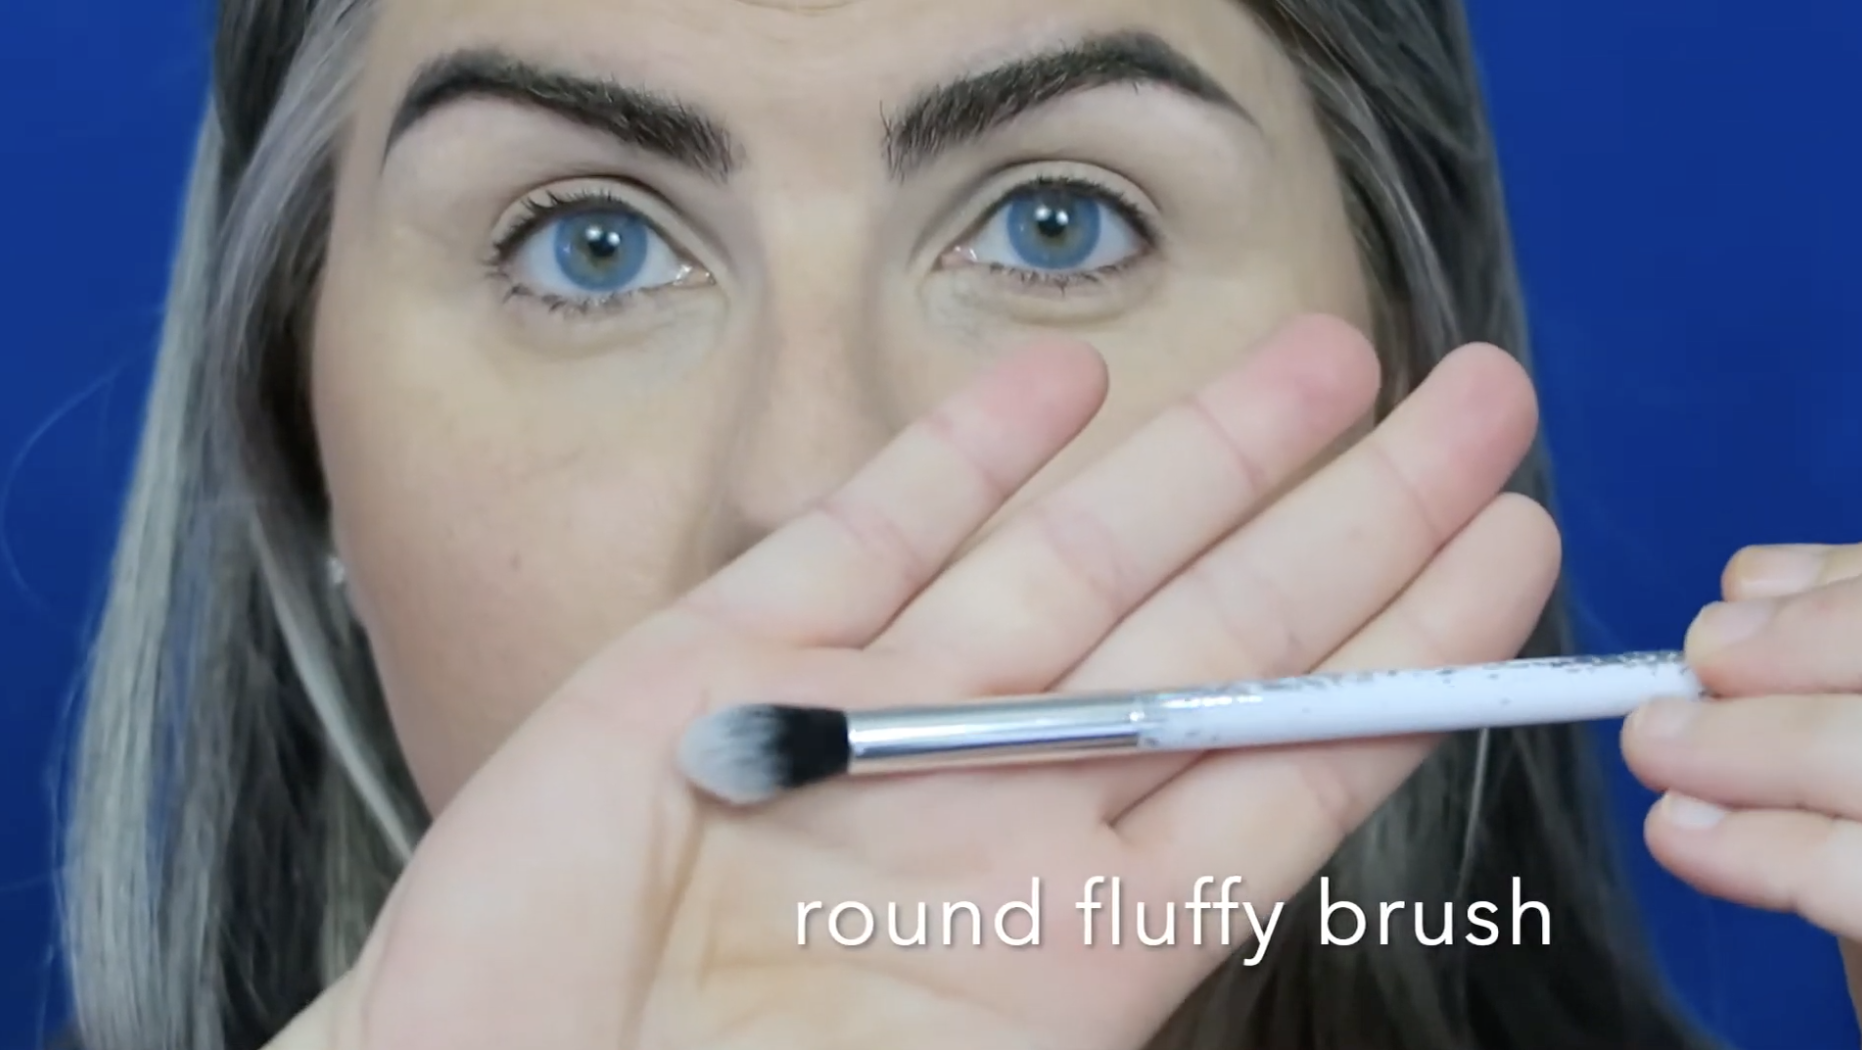
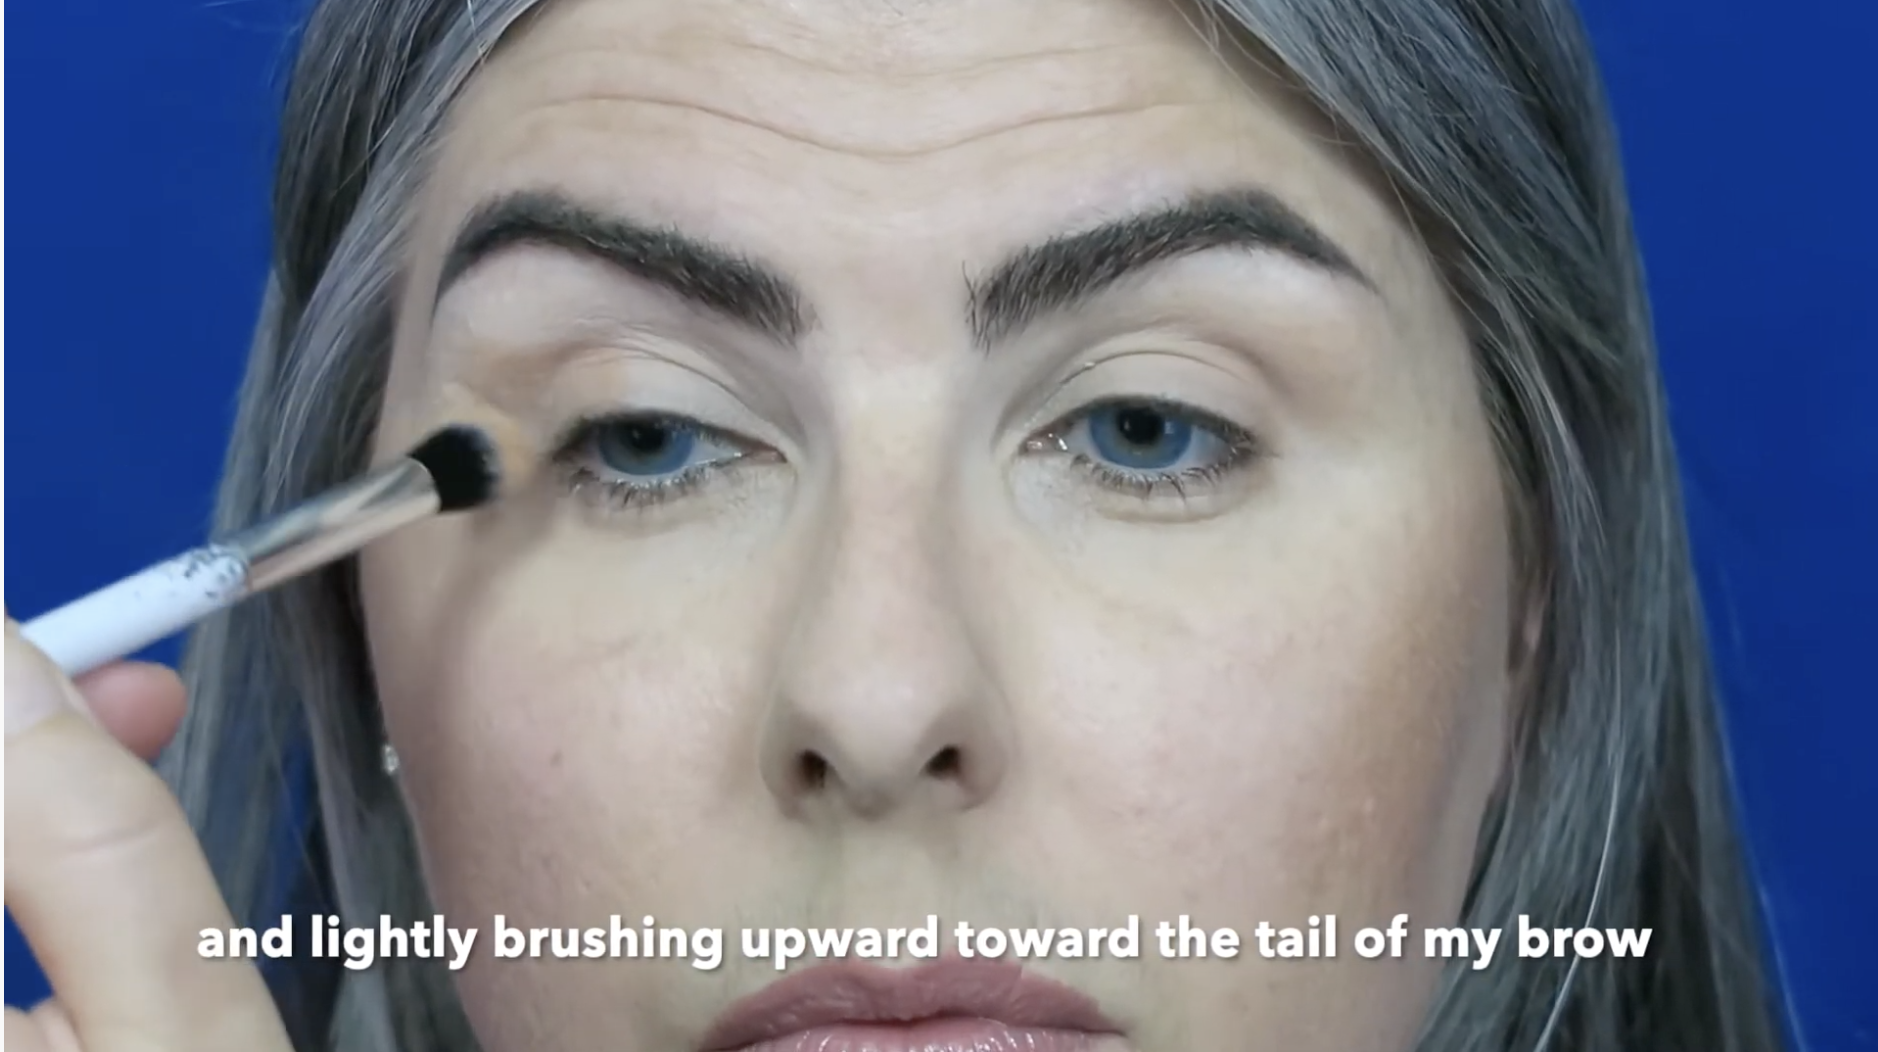
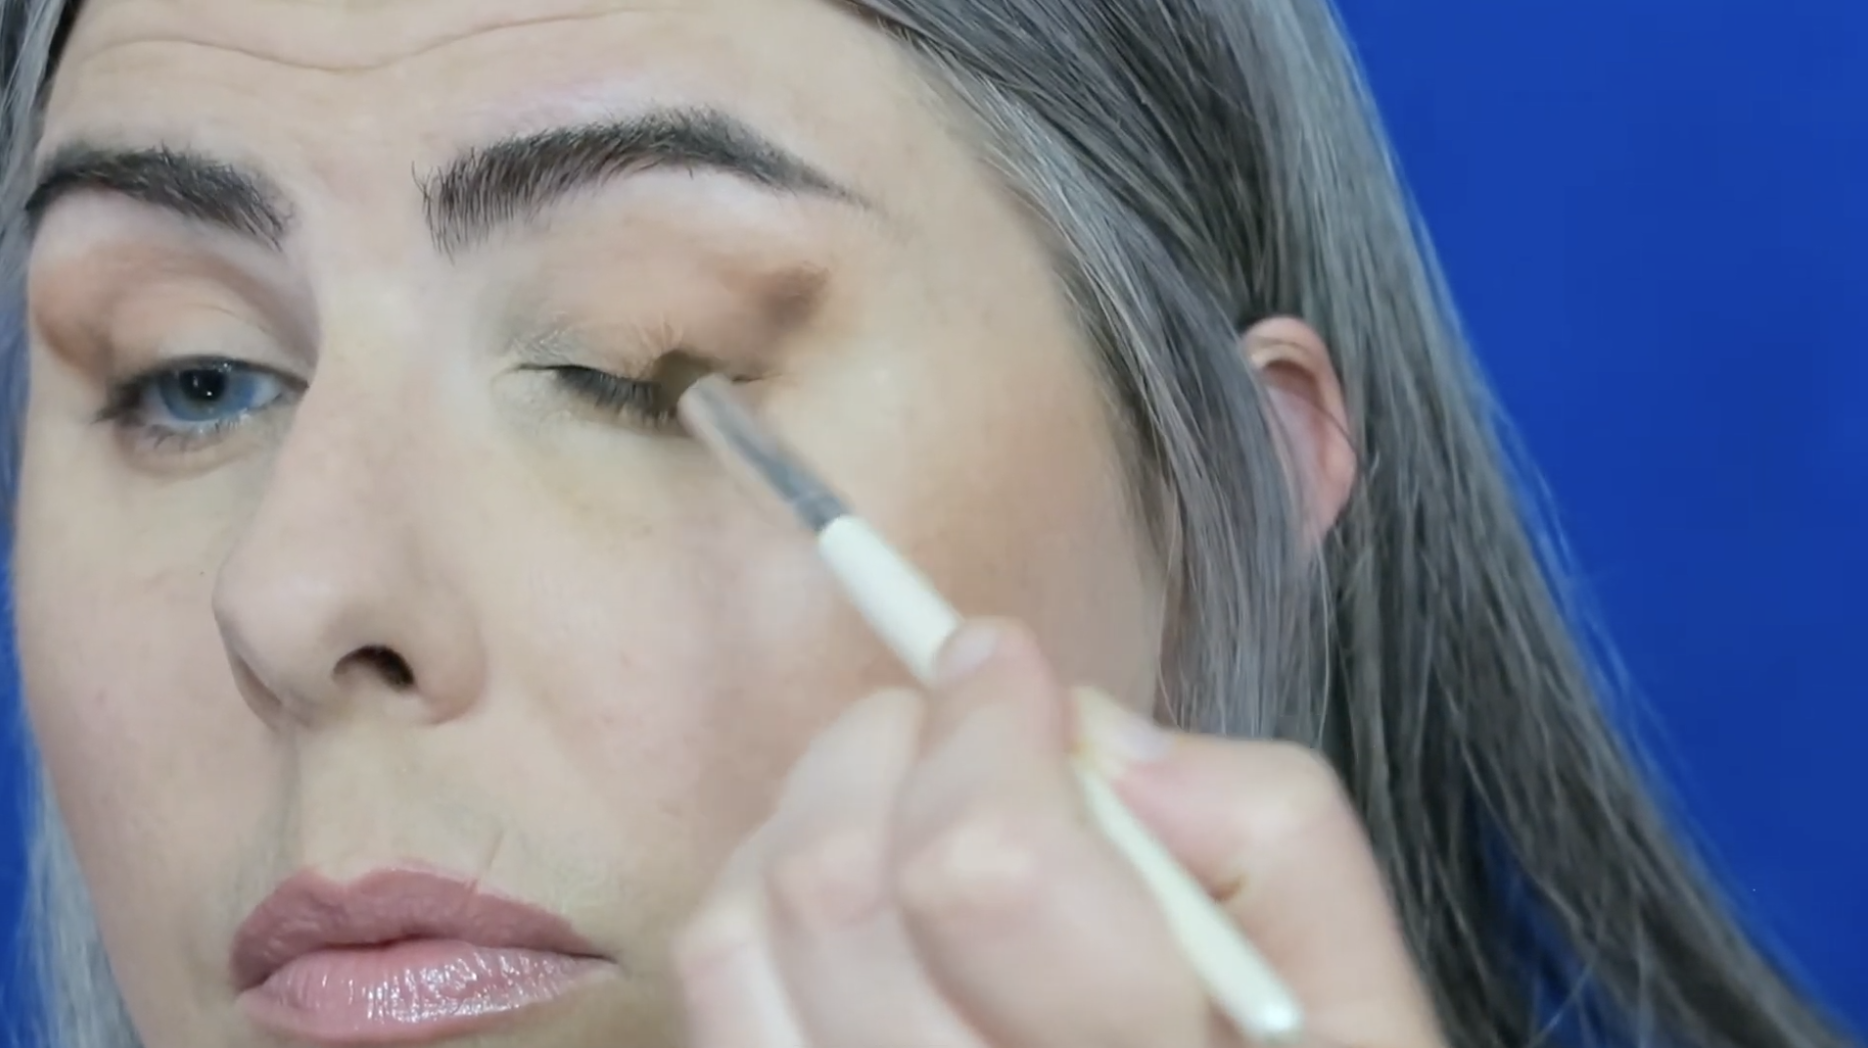
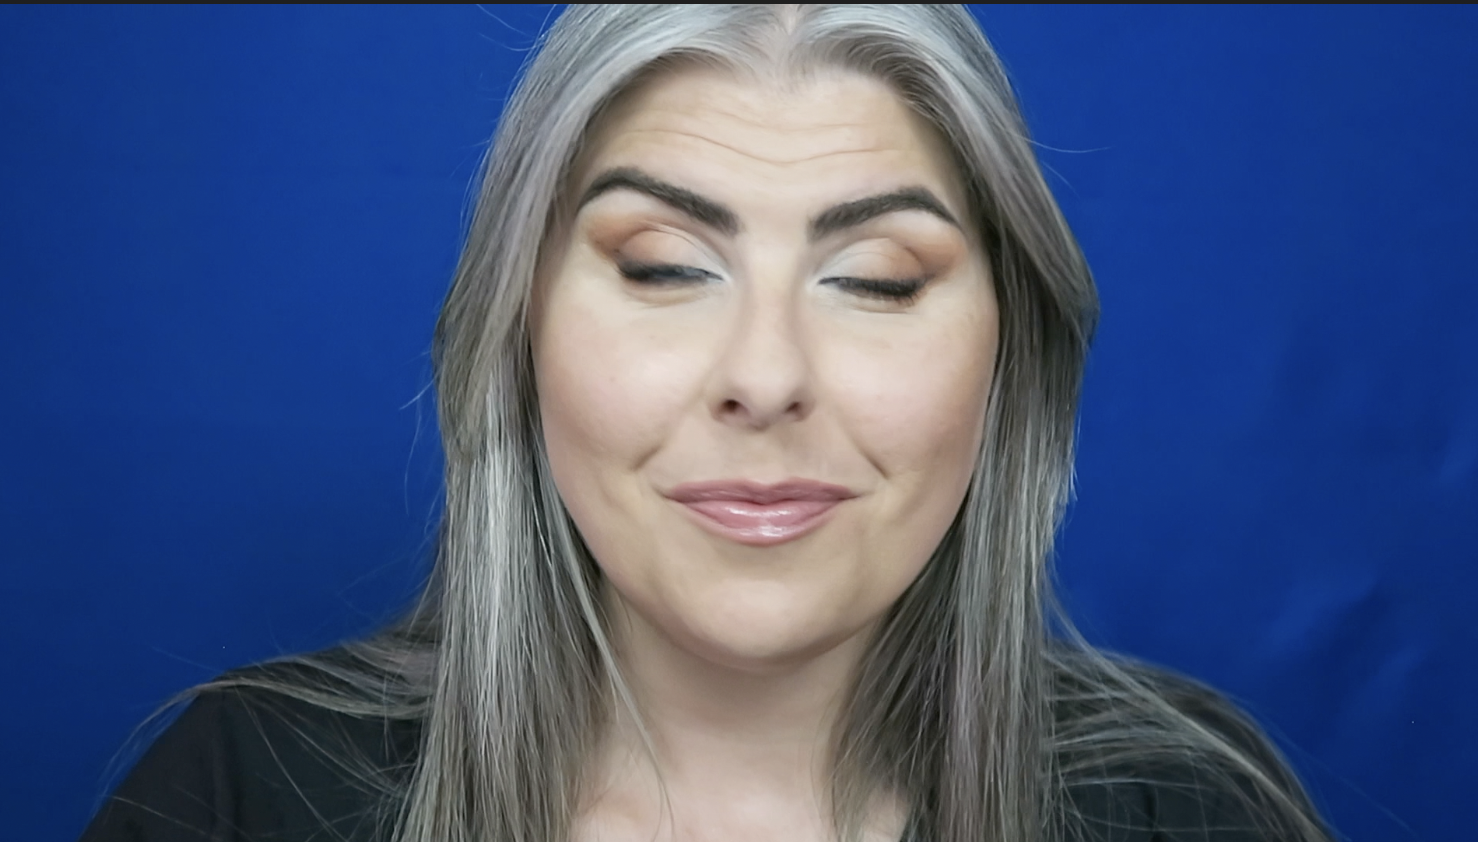
With my largest round fluffy blending brush, I pick up my lightest peachy/natural shade. With a light feathering motion, diffuse the color upward from the outer corner up to the tail of the eyebrow. This transition shade will help to blend the darker colors later.
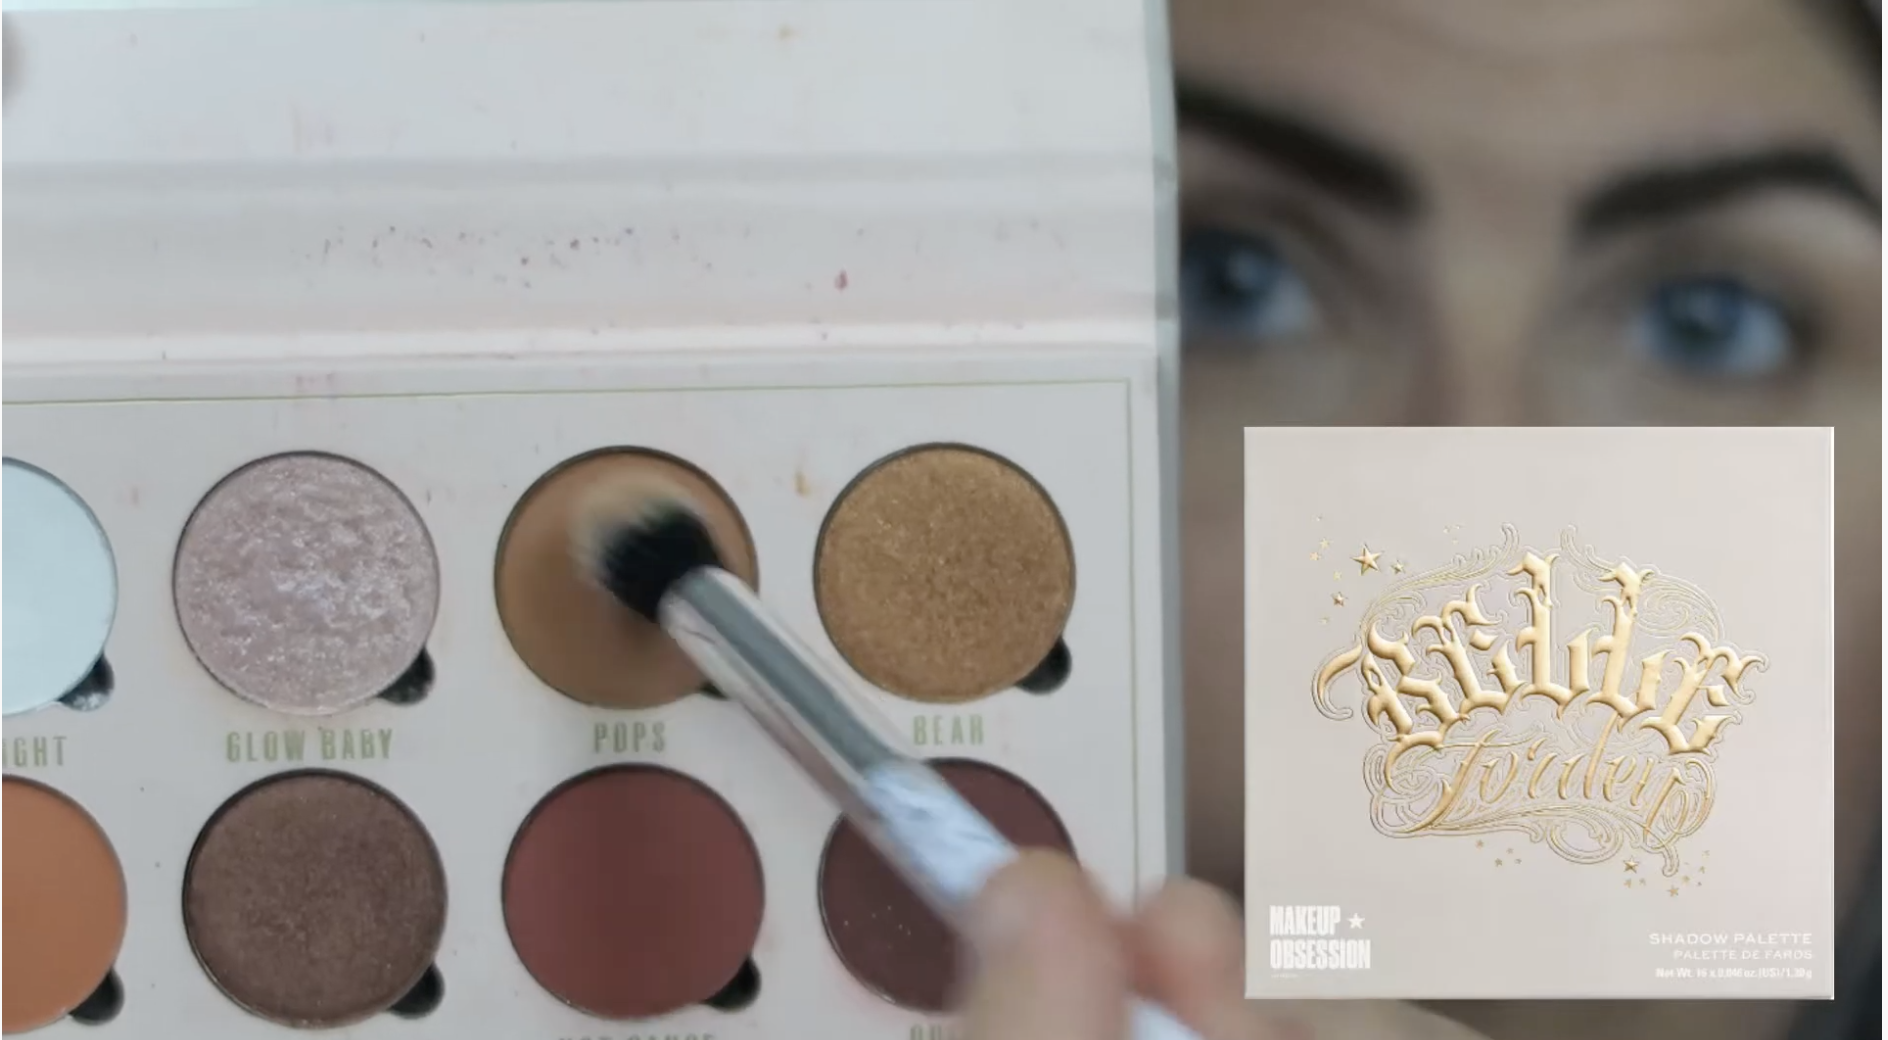

The next color darker is a beautiful tawny. This particular eyeshadow is heavily pigmented, so I want to only touch the shadow lightly and slowly build up the intensity on my eye.
I’m still going to use a sweeping upward motion, however I’m going to start to create large and very diffused wing. I also apply a little just below the outer lower lash to create more balance to the eye.
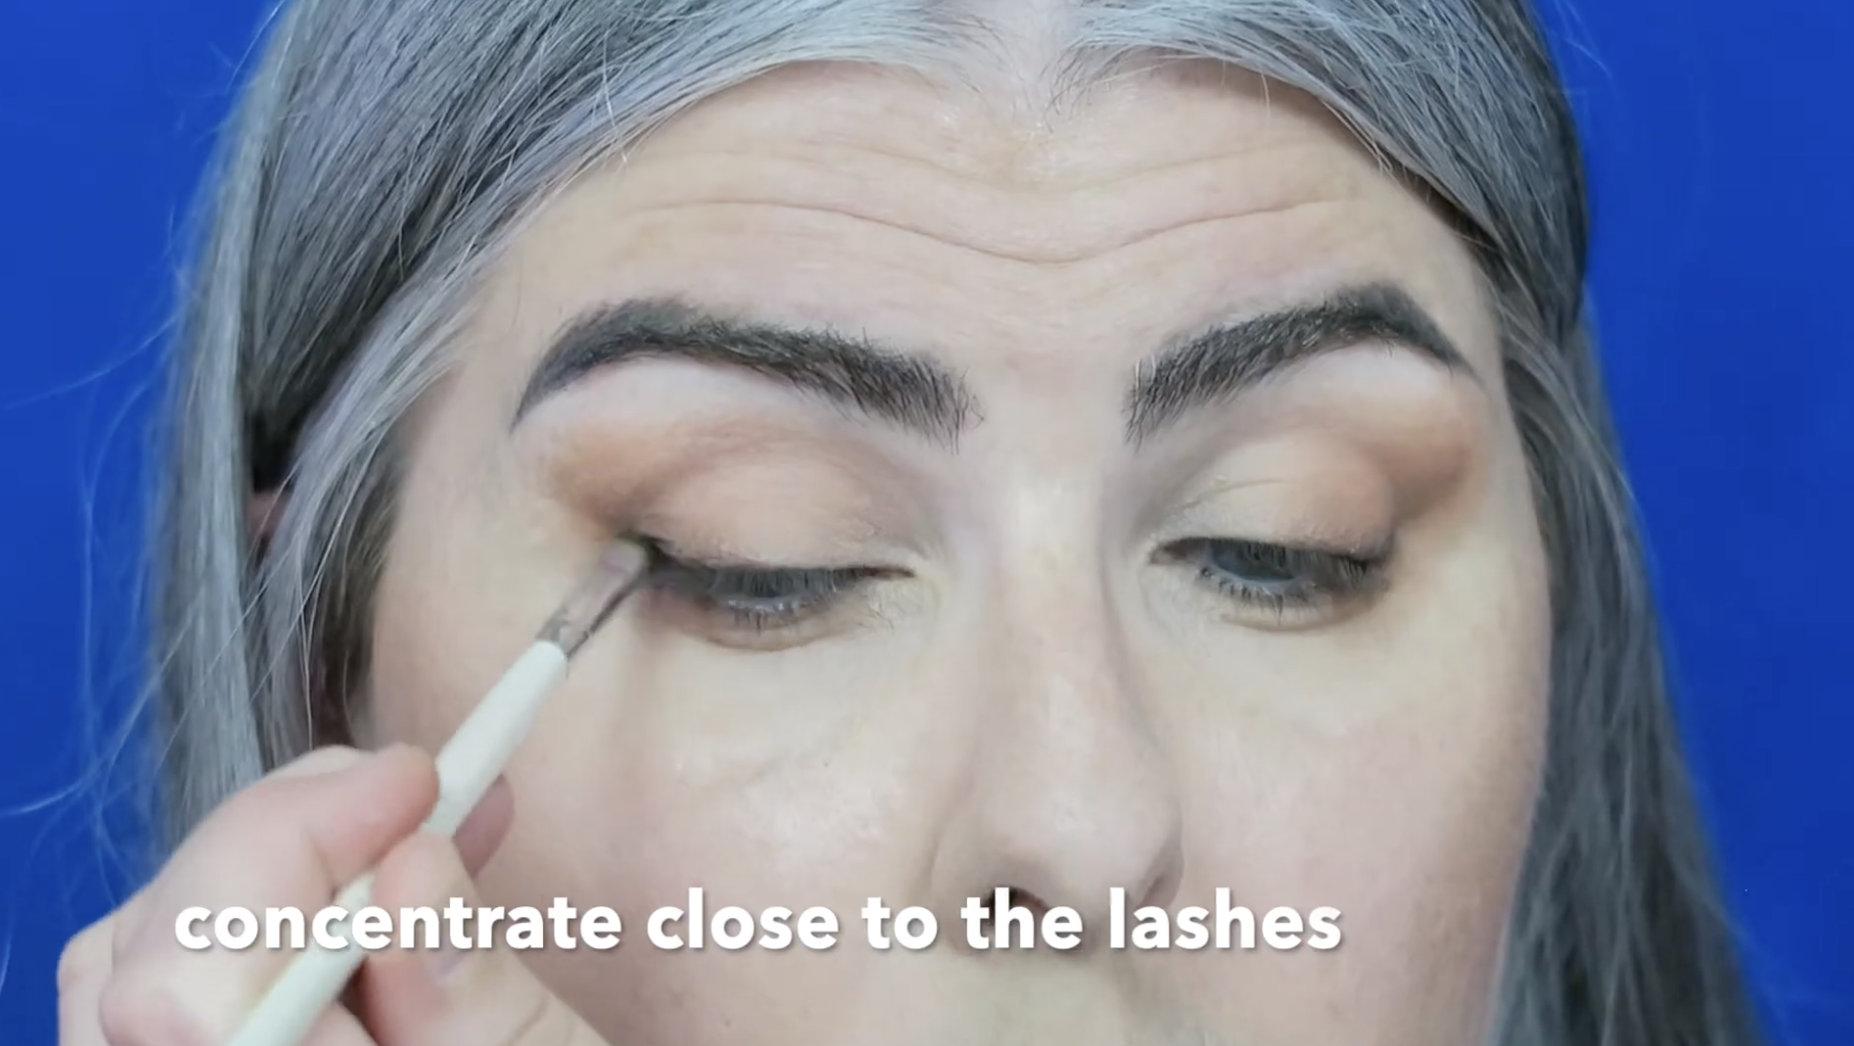
With each new color, try to concentrate closer to the lashes.
Keep each layer light and blended out well.
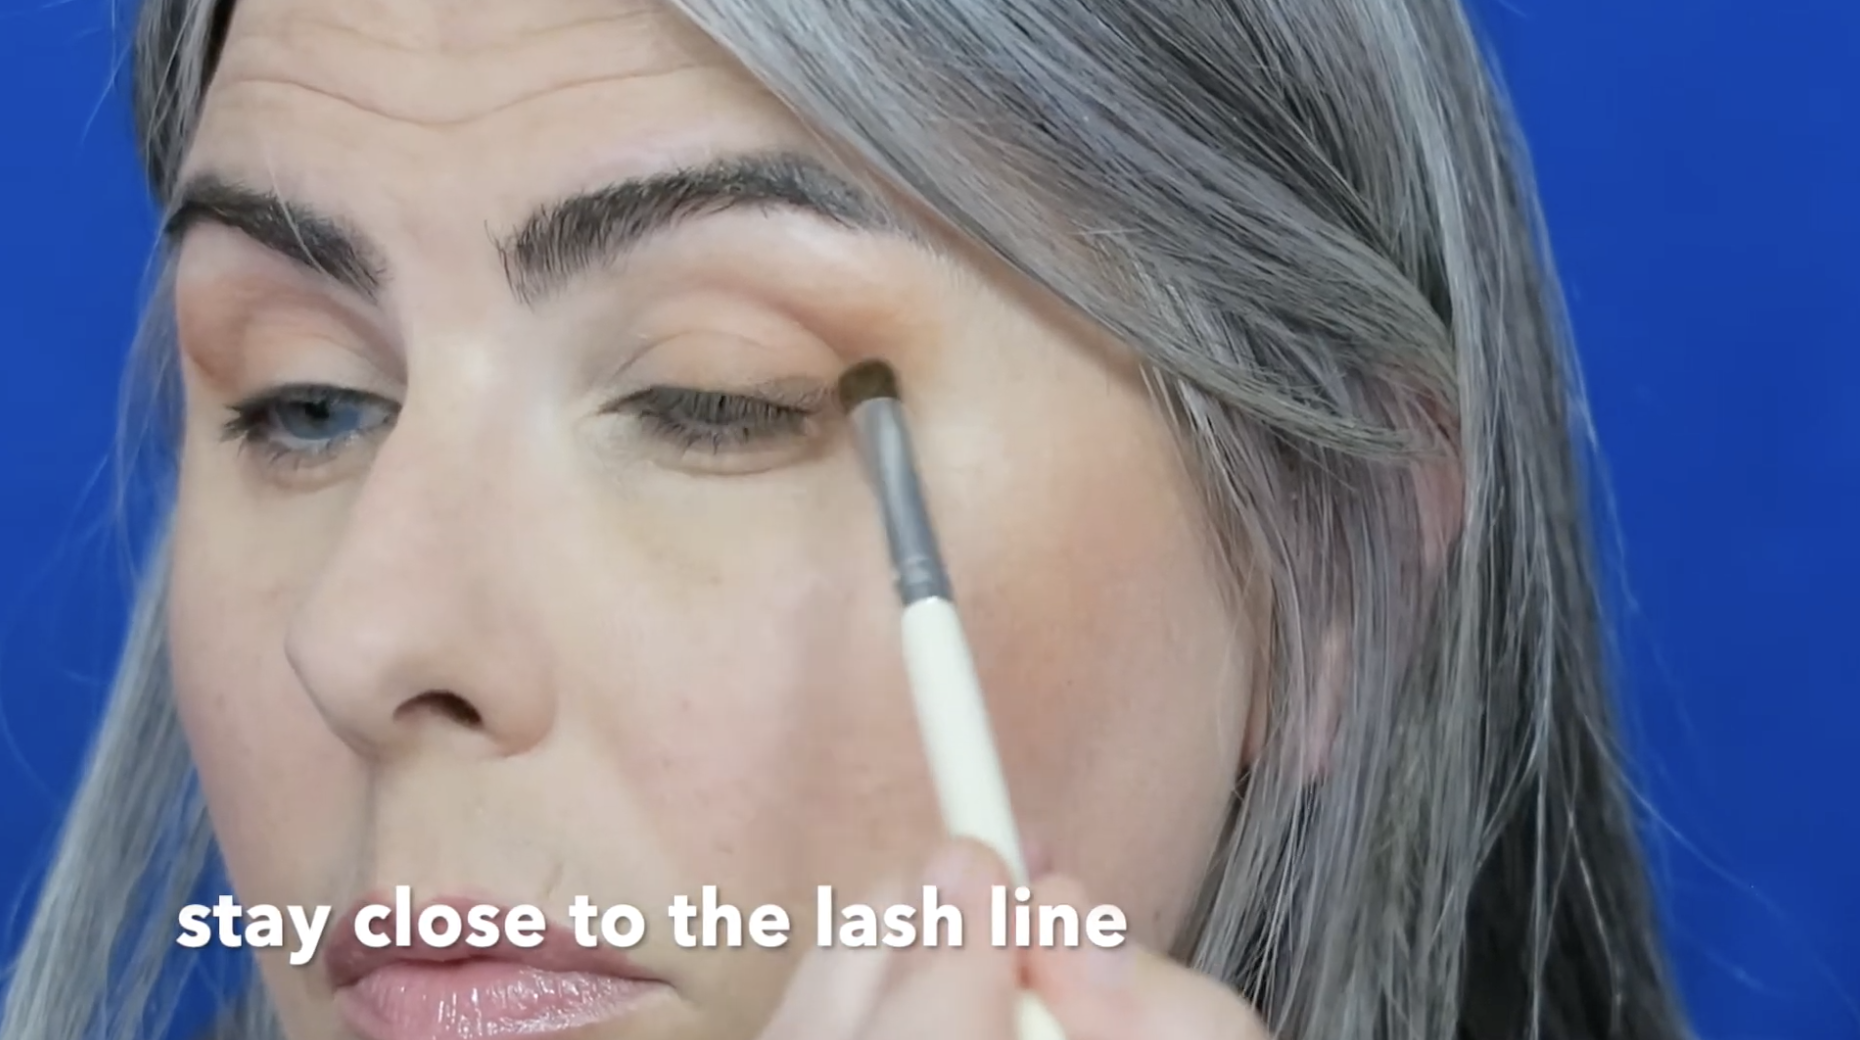
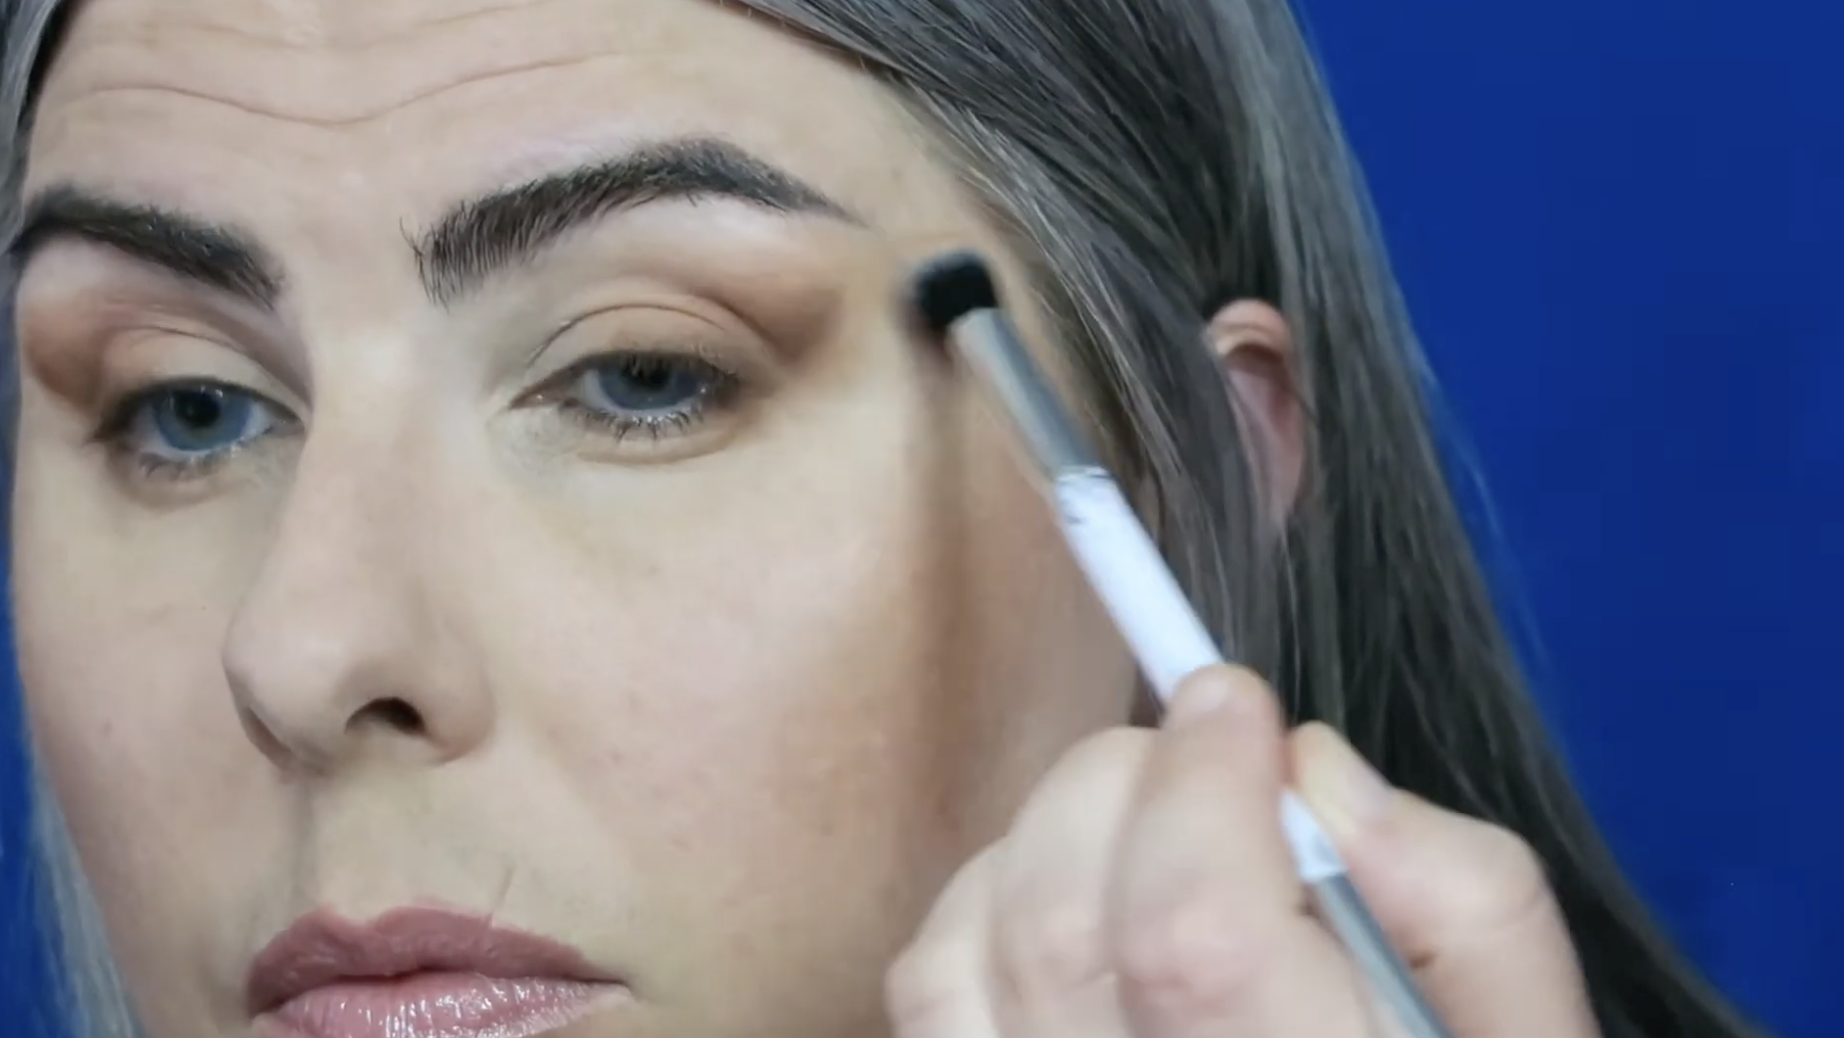
My third color is a sandy brown color. This is a more traditional brown color. I’m now using a smaller fluffy brush to concentrate the wing to the outer corner and close to the lash line. Here is where you start to see the wing develop.
Keep the shadow on the outer third of the lash line.
Some people choose to complete one eye and then apply makeup on the other. I prefer to apply both at the same time to help me keep the eyes looking even throughout the process.
I Prefer to work on both eyes at once.
Now, with a tapered brush (smaller, more concentrated and slightly stiffer) I’m going to select a gorgeous sultry brown. With a small dab on the tip of the brush, I trace the out third of the lower lash line in a slightly upward motion only large enough to wing up and out past the eye. I take my time at this stage; I want the wing to be controlled and more defined.
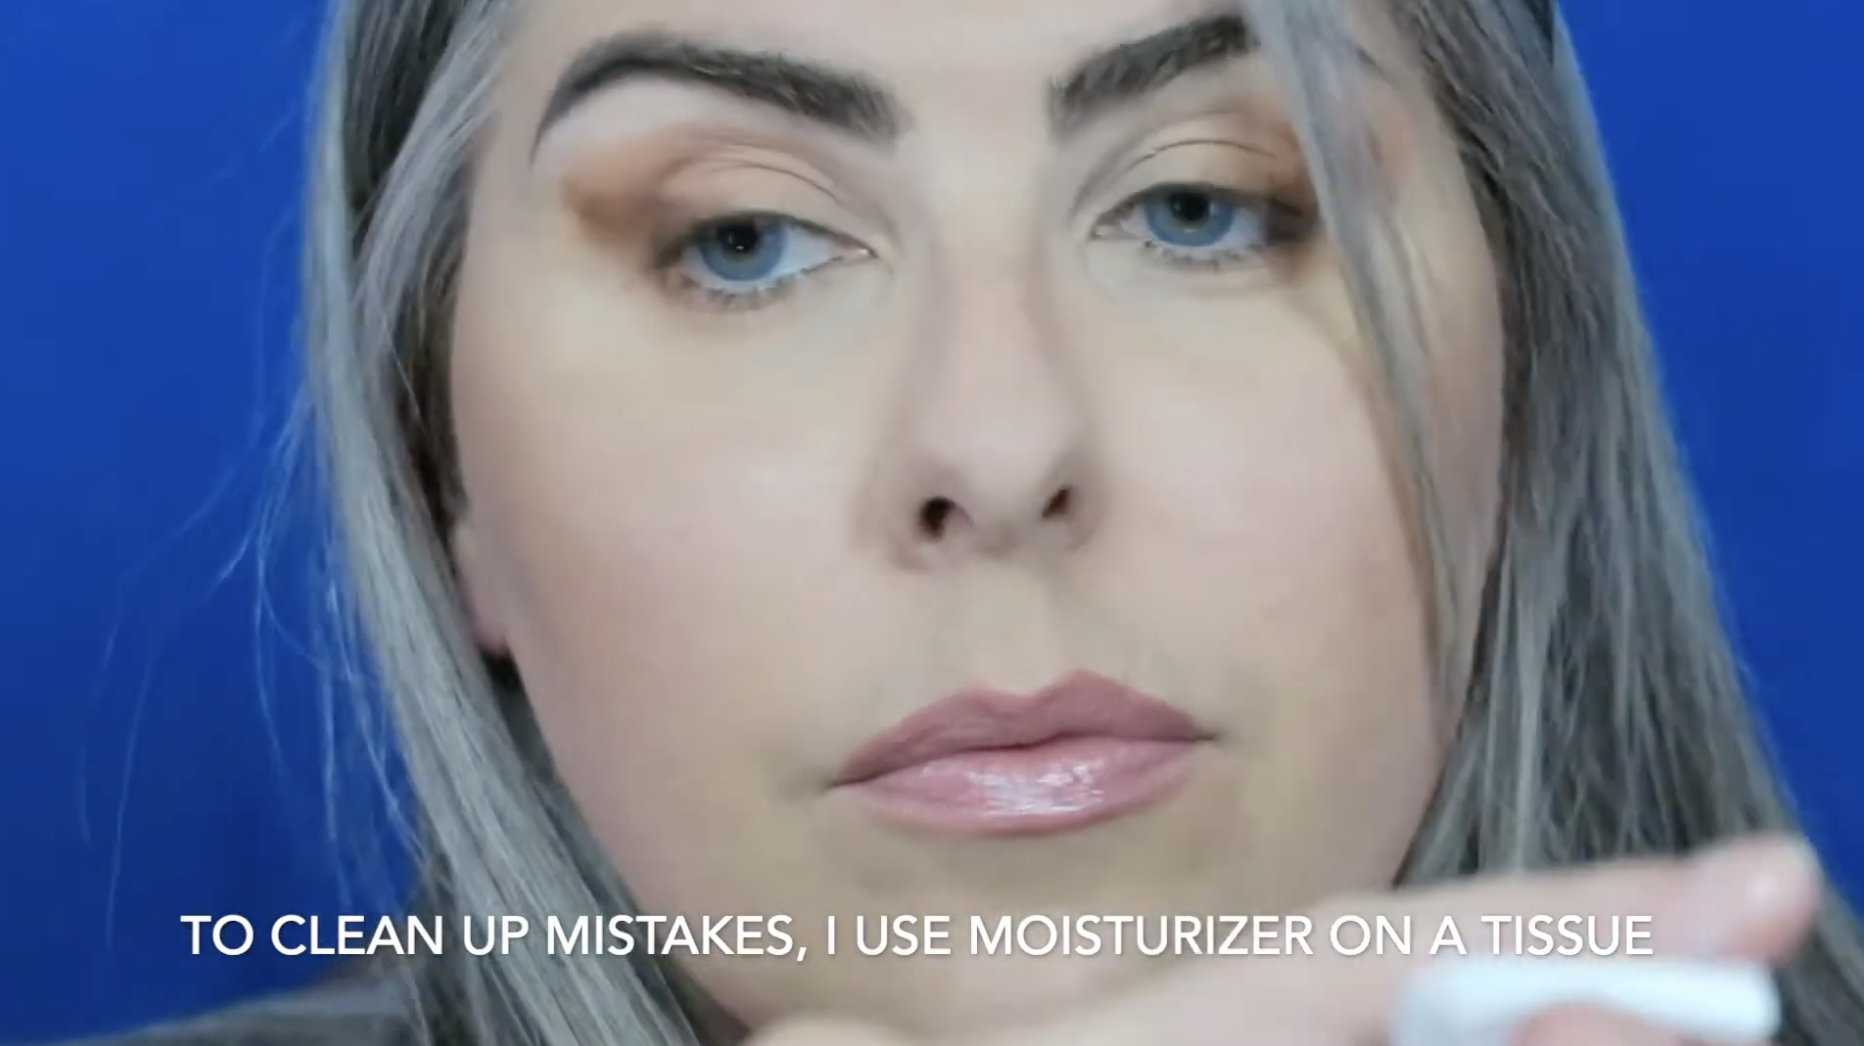
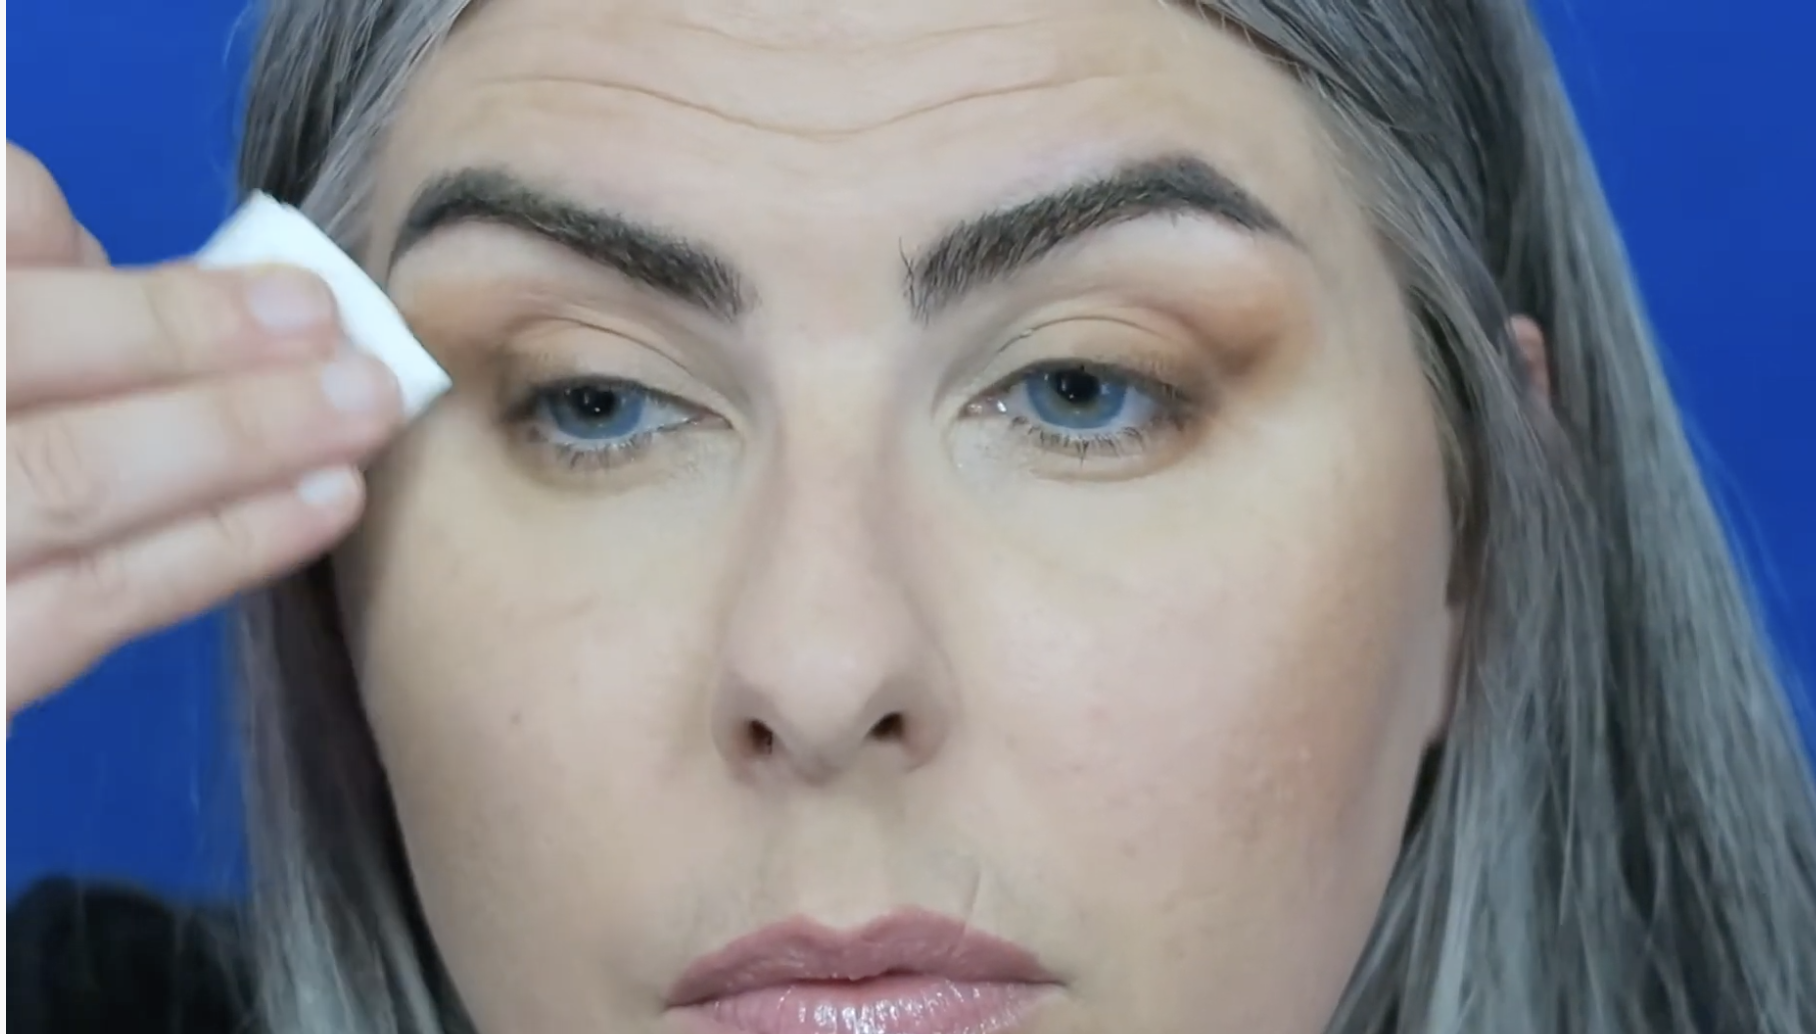
Sometimes mistakes happen!
When I make a mistake with eyeshadow, I can easily clean it up by applying a small dab of moisturizer on a tissue and wipe the excess shadow away.
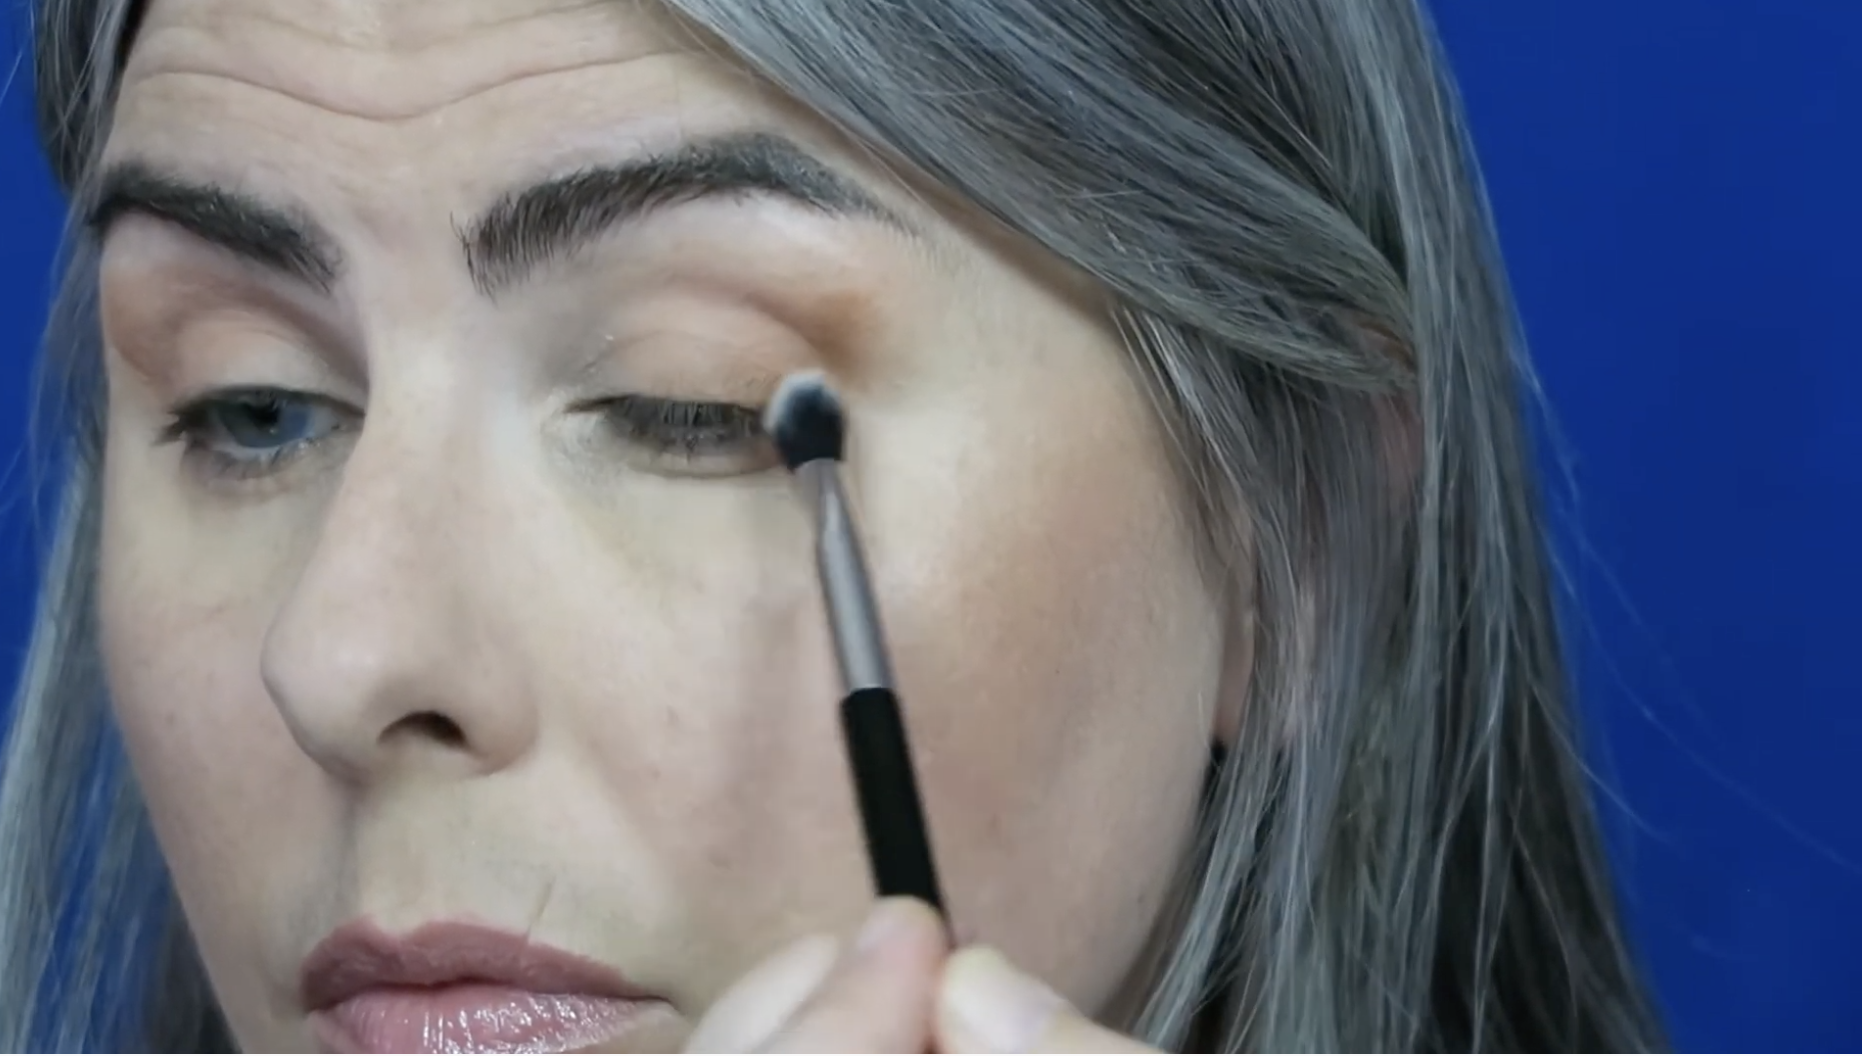
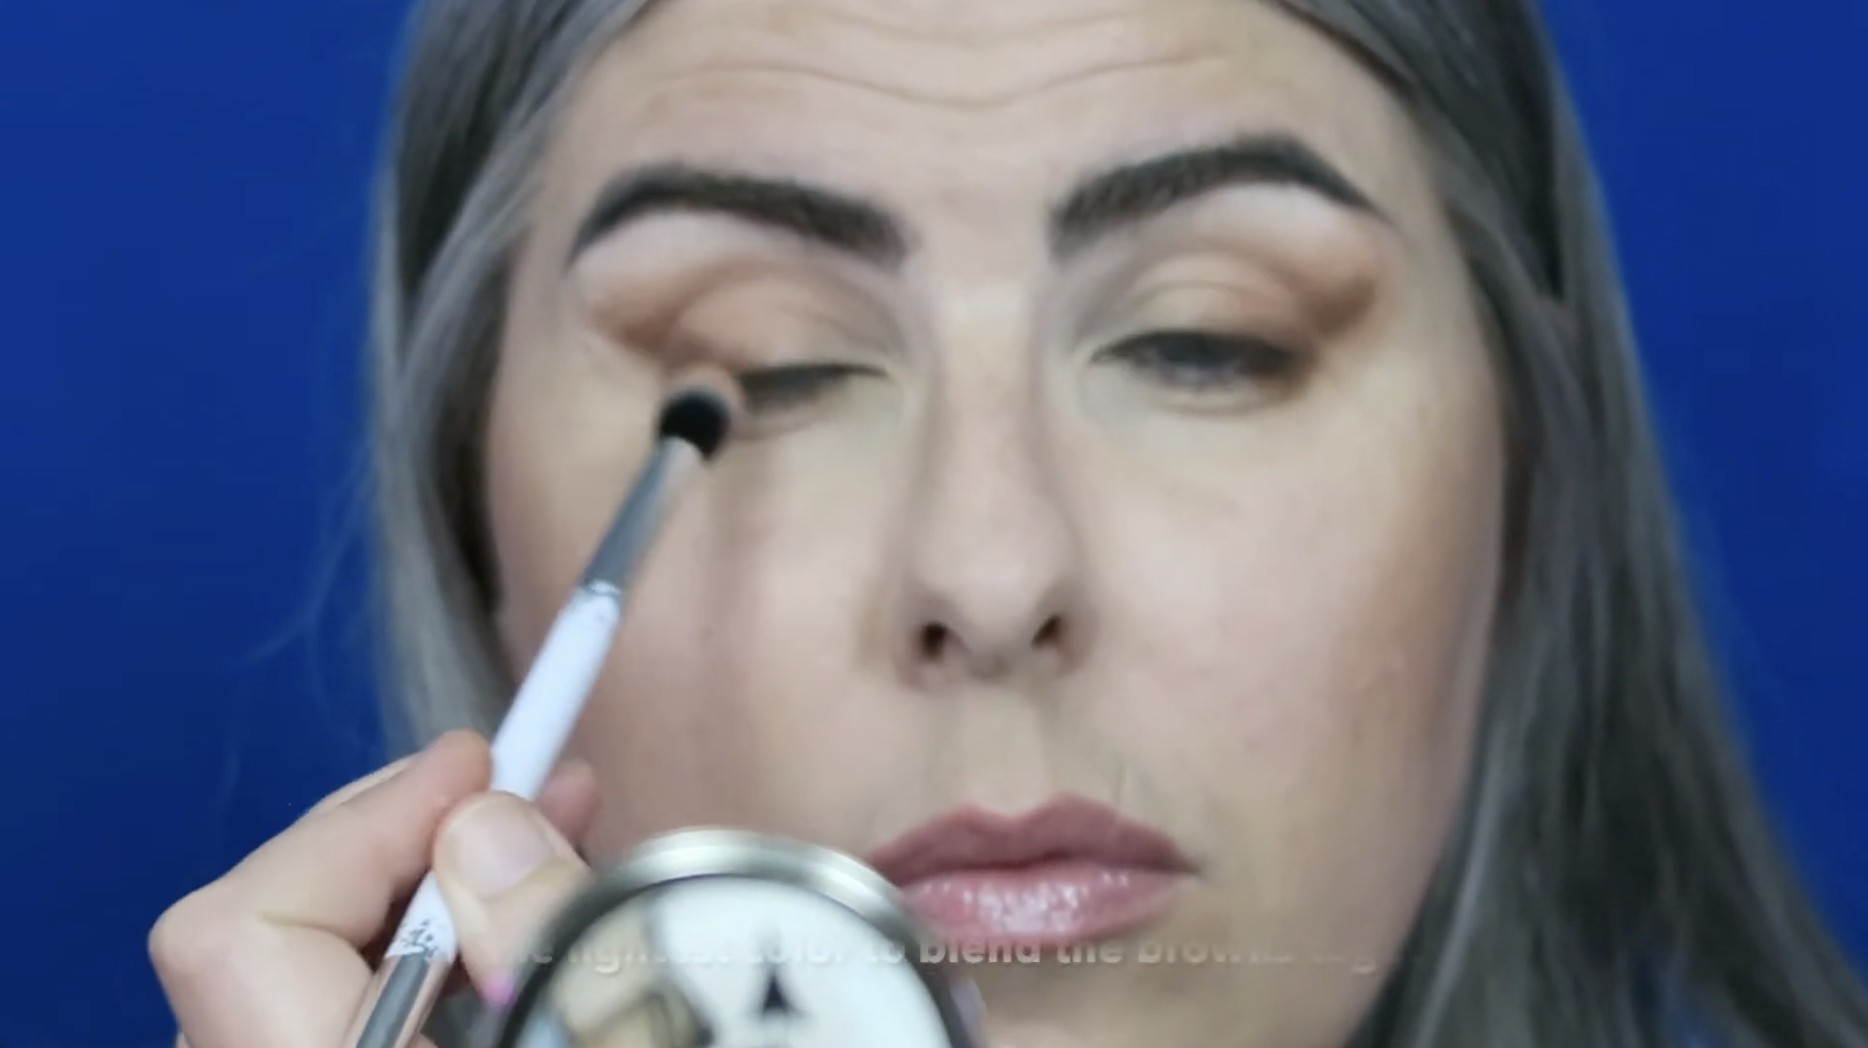
After creating wings of equal size and shape, I go back in with my lightest shade and buff that in between the other browns to soften the transition.
Blend the browns with the transition color.
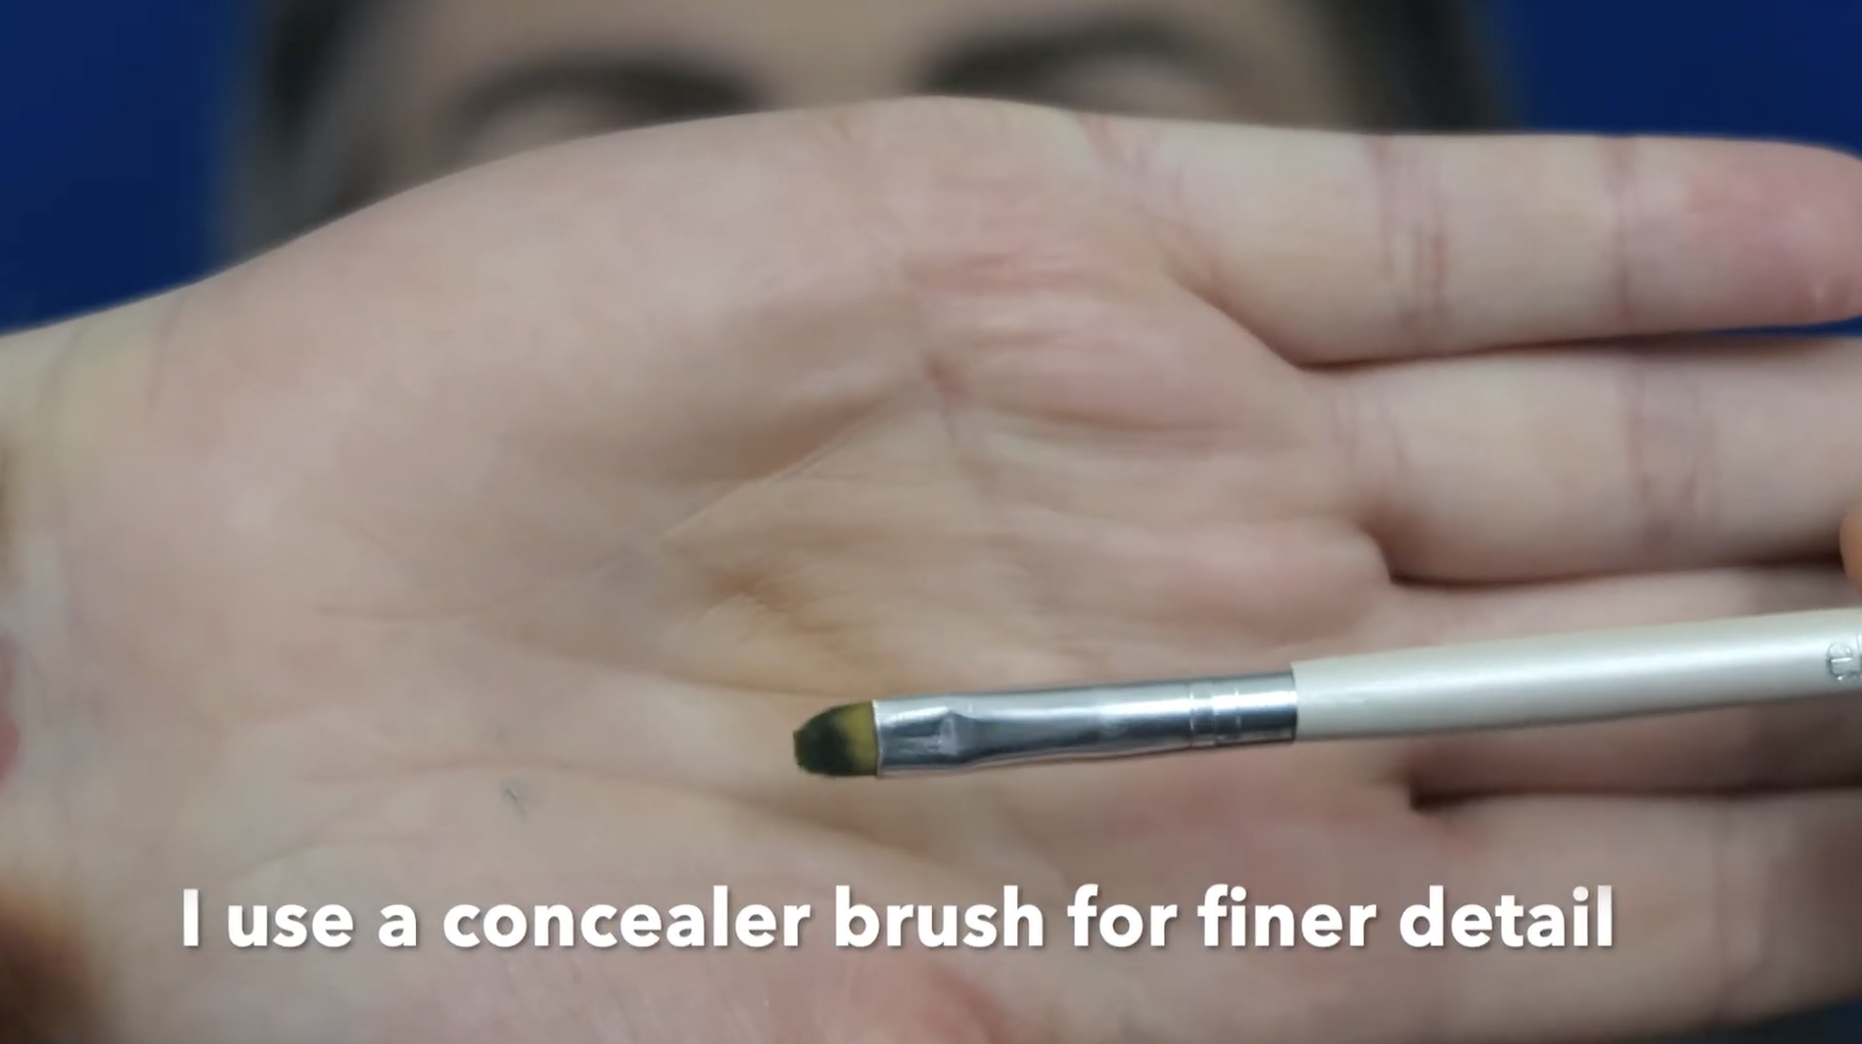

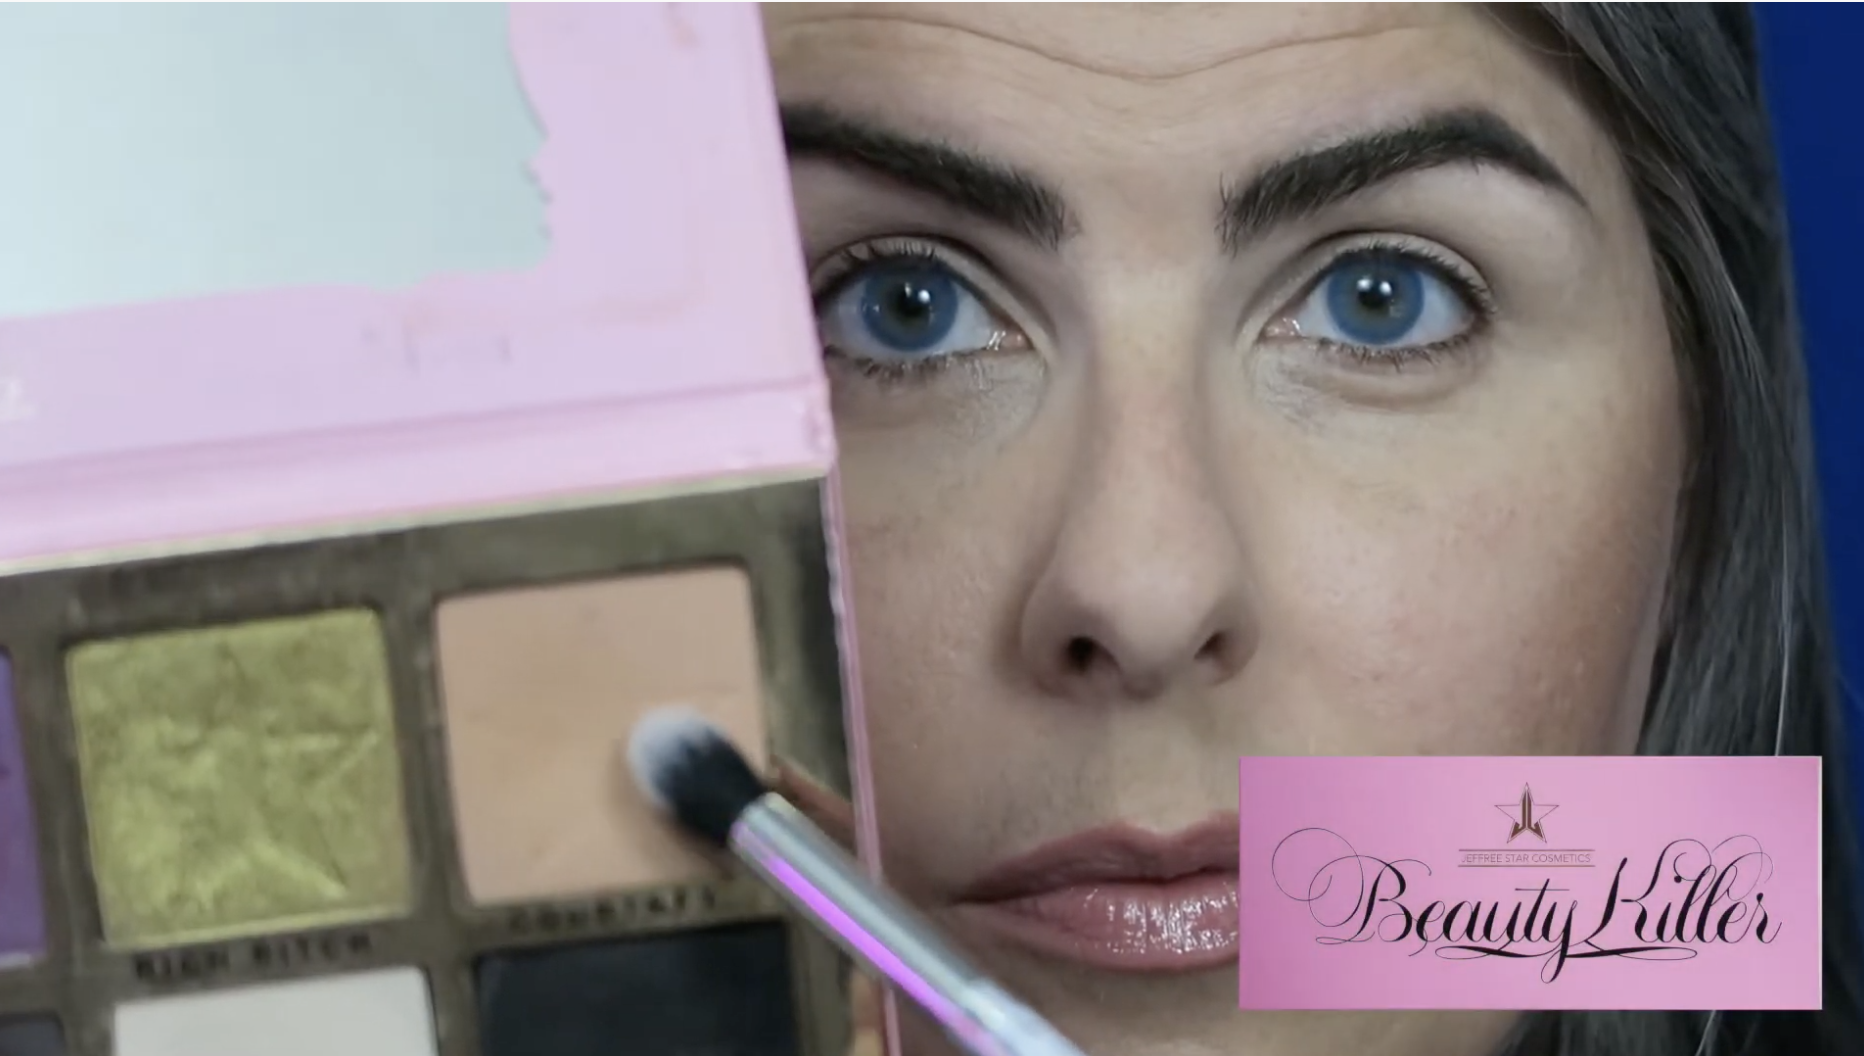
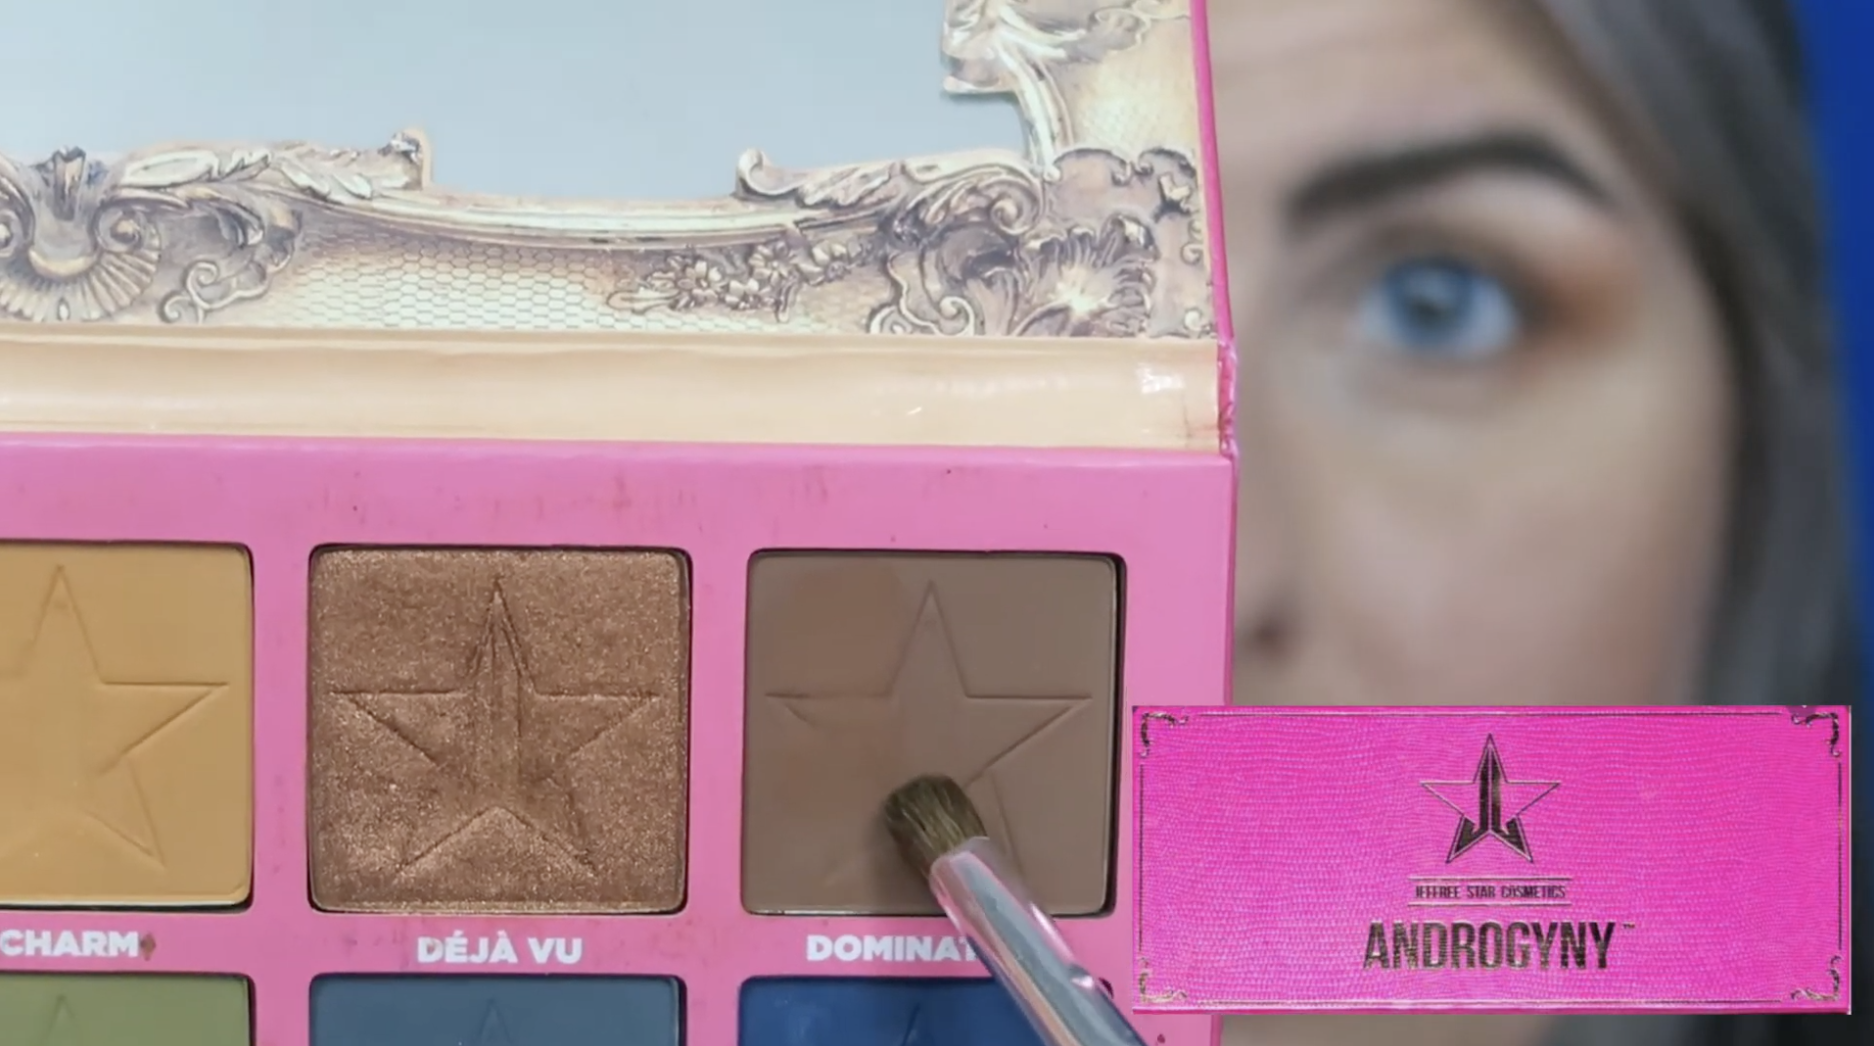
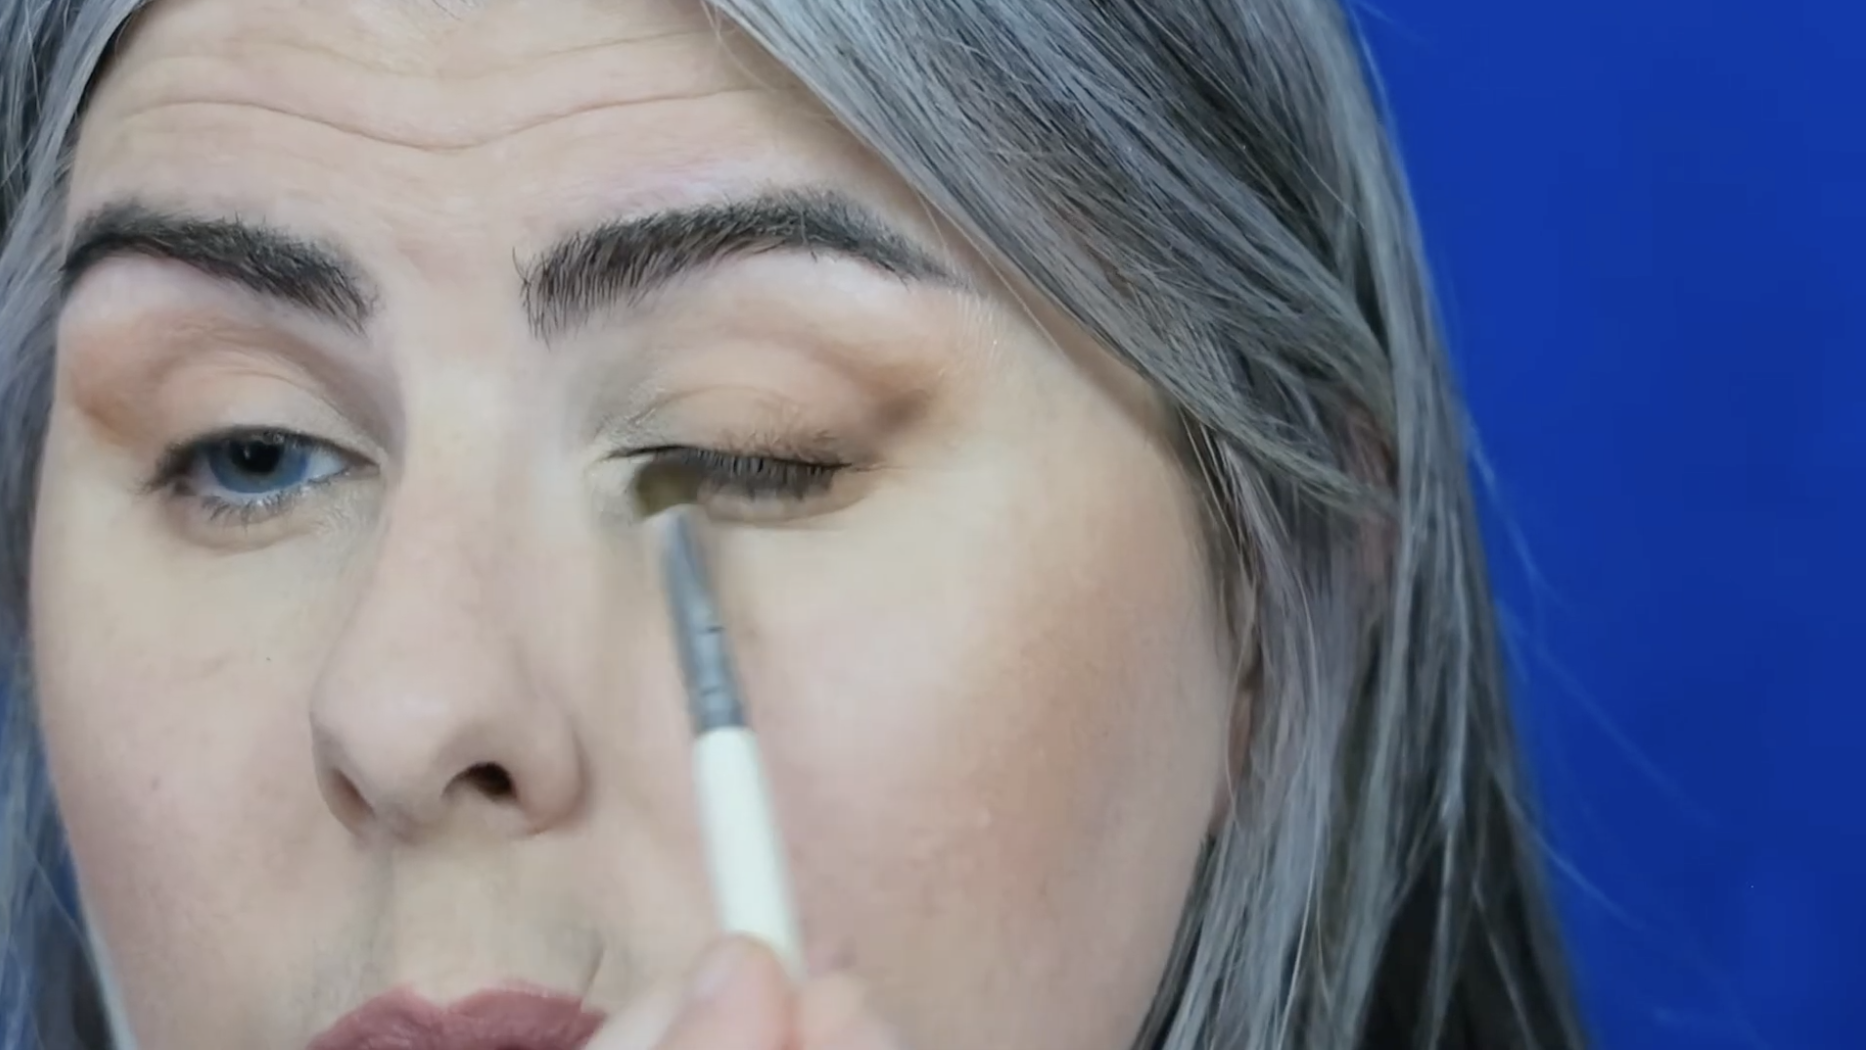
To apply the finest detail in our Foxy Eye look today, I am using a small concealer brush and a rich espresso brown called “Vanity” by Jeffree Star Cosmetics (Beauty Killer Palette).
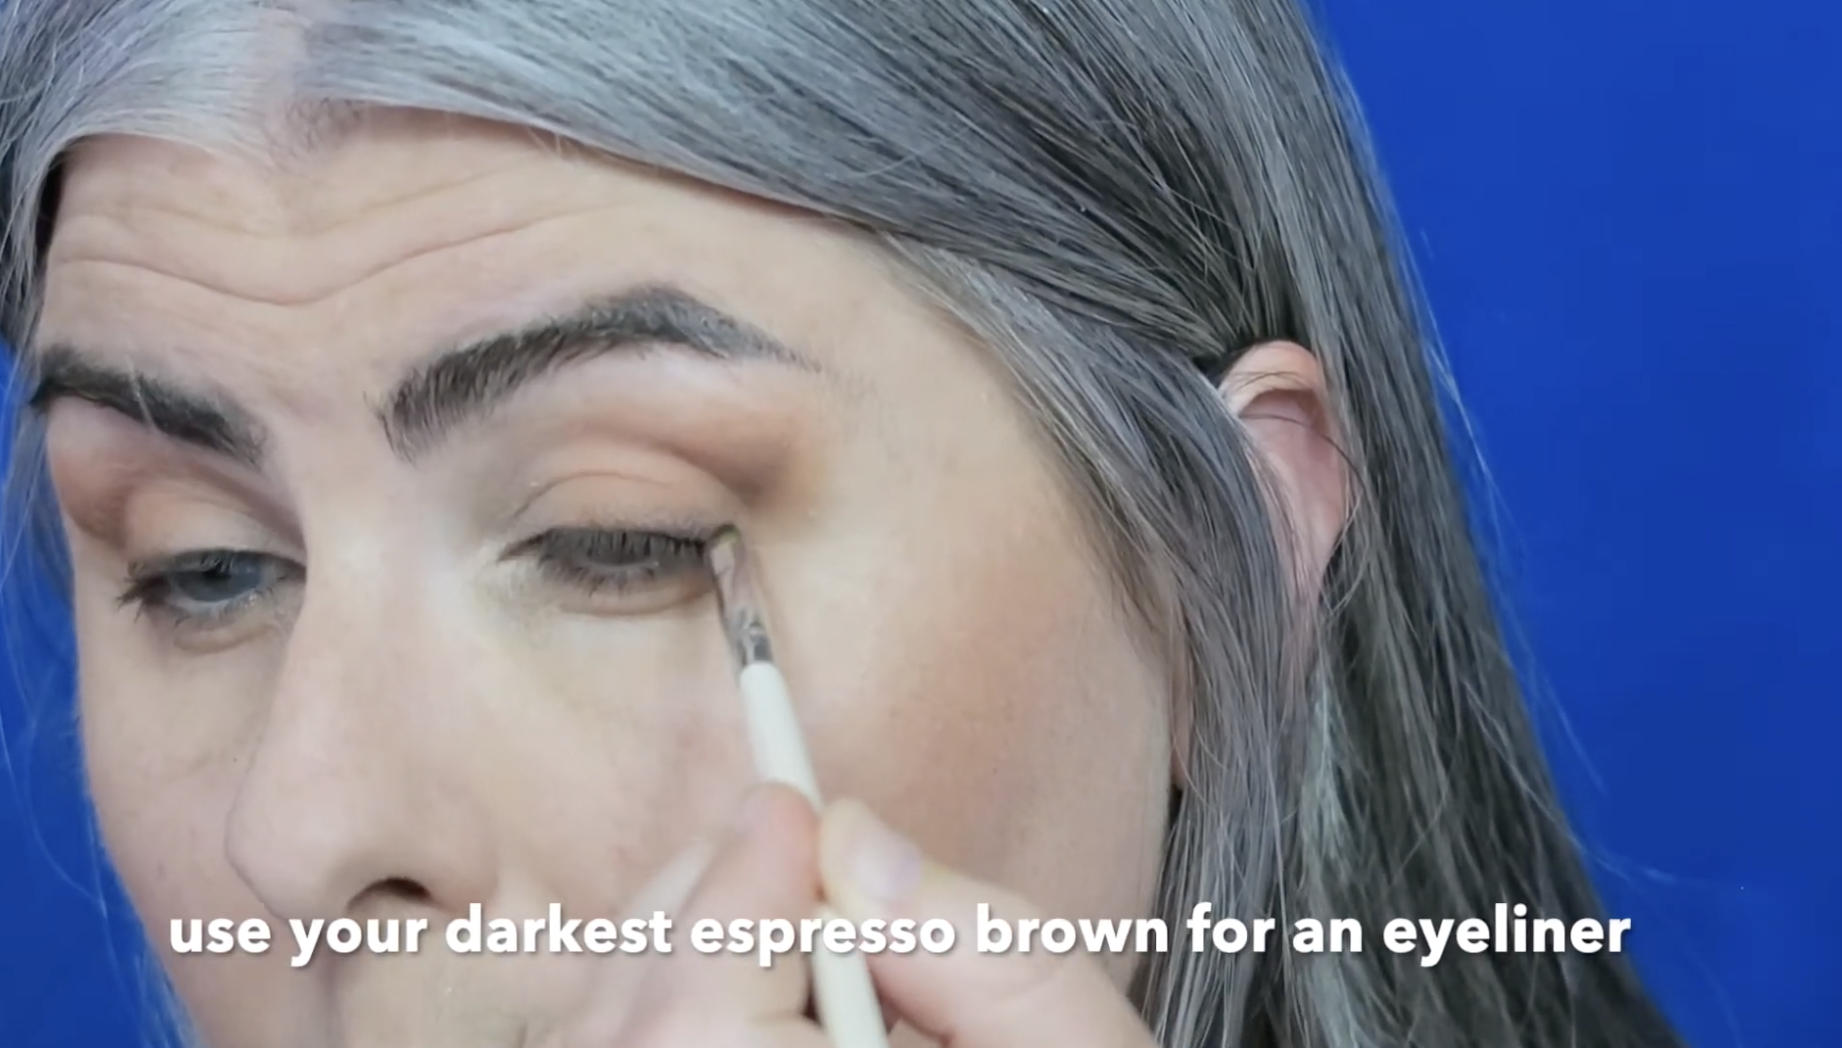
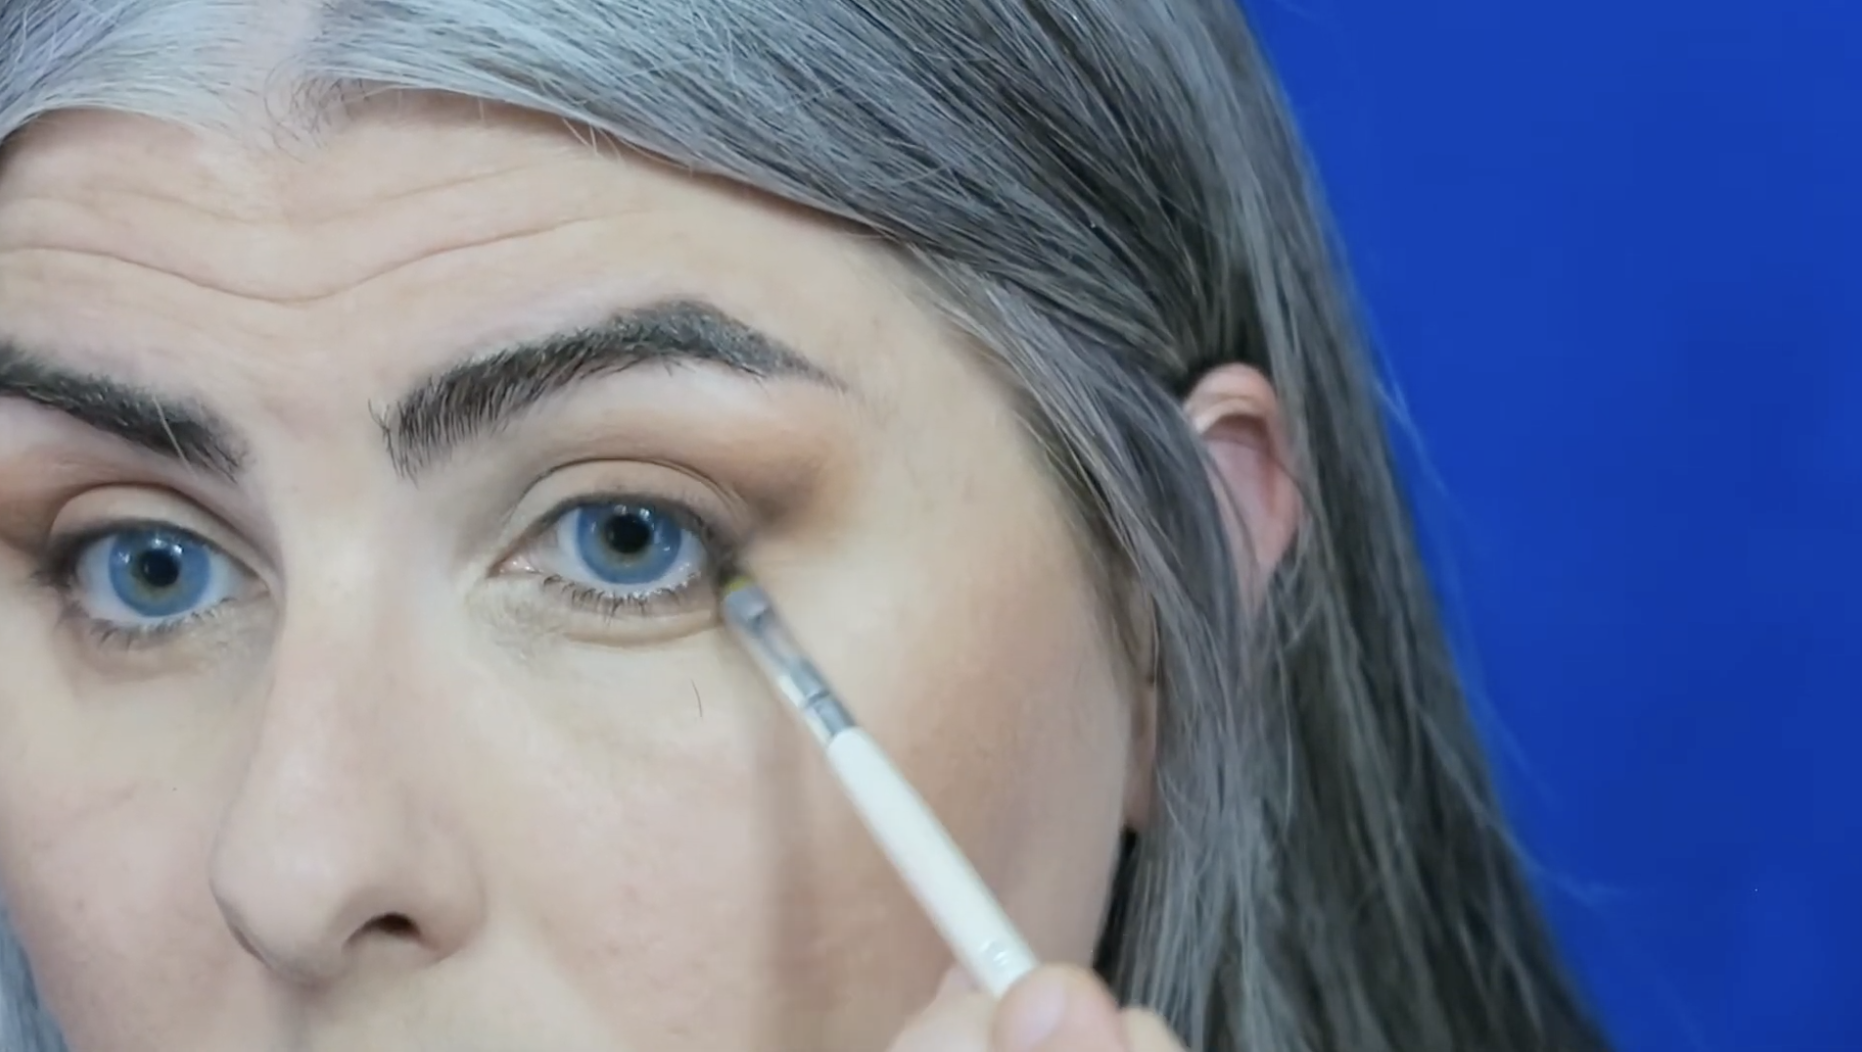
Staying very close to the lash line, I press the dark brown into the base of the eyelashes acting as my eyeliner. Lightly tracing the previous upward curve, I create a small wing or flick extending to only just beyond the outer corner of the eye. I also use this color close to my lower lash line, but only on the corner.

For a more Foxy look, I want to also define my inner corner with the same espresso brown. Just in the upper and lower inner corner. I want to create a point.
At this point, I feel the shape of my eye looks nice with this brown contouring.
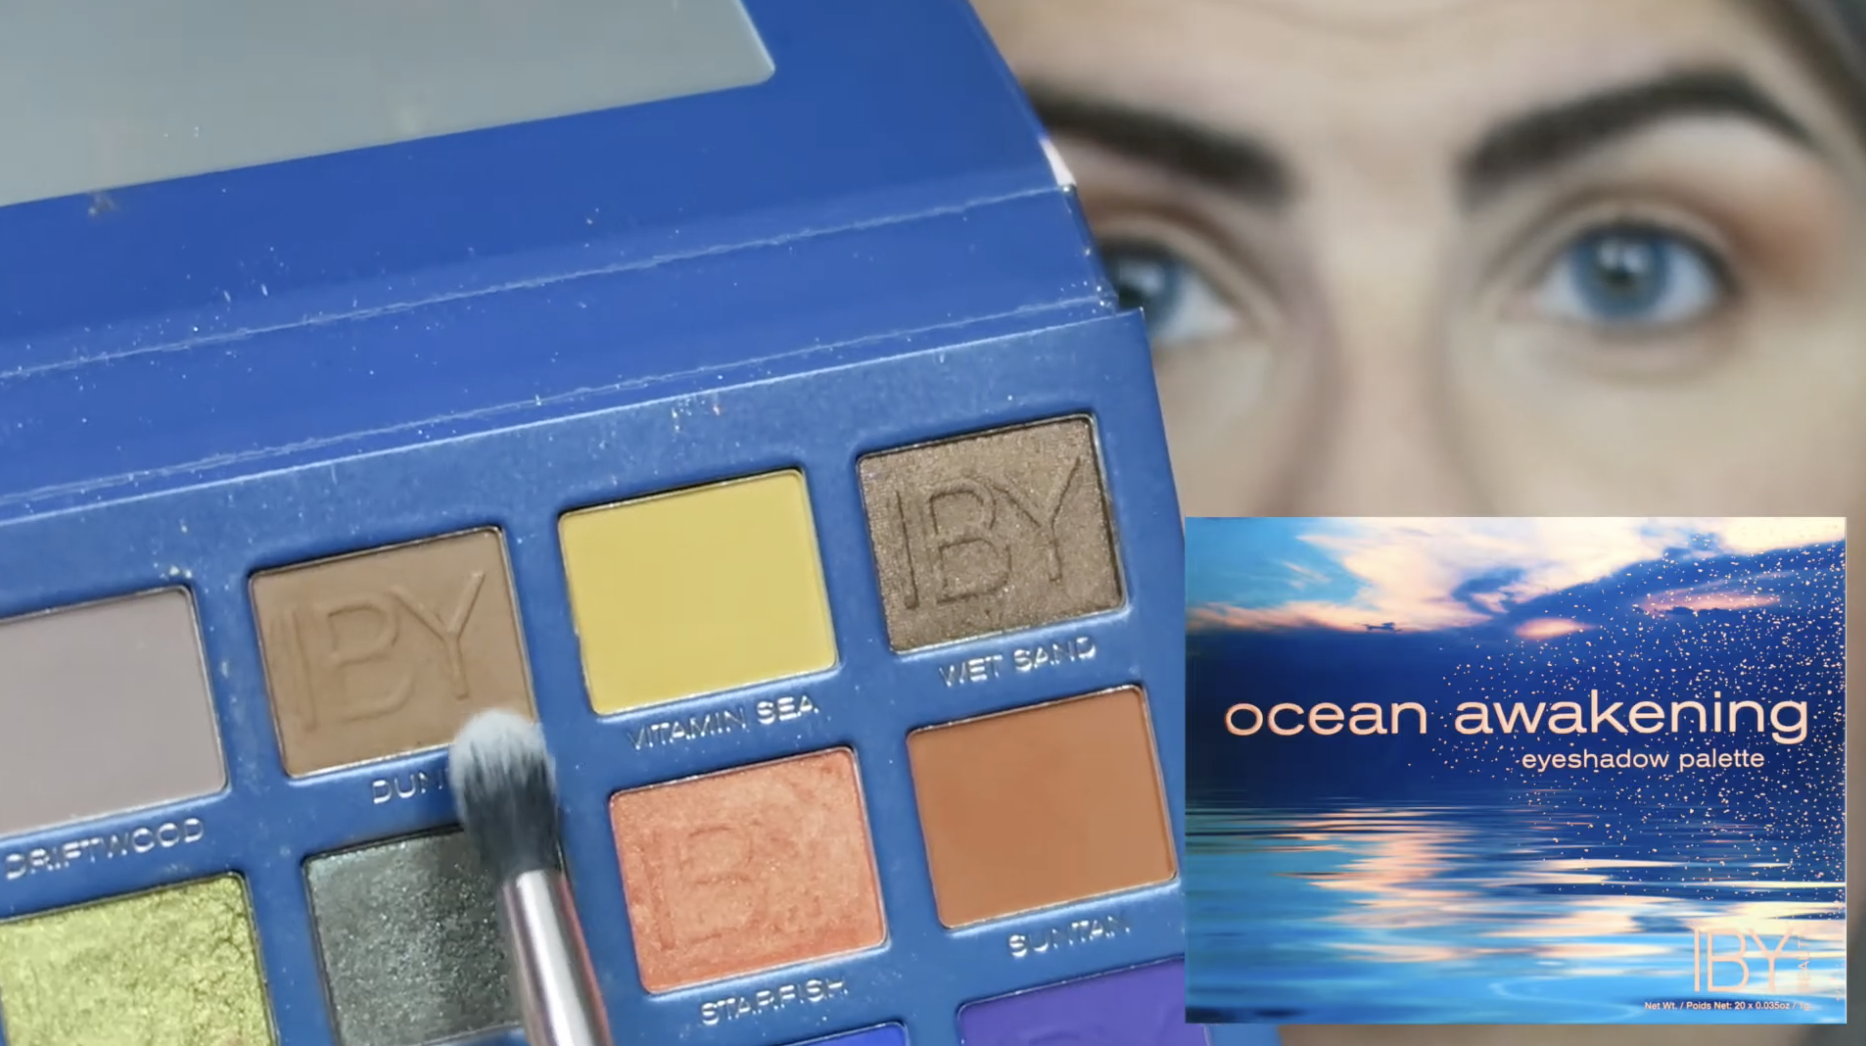
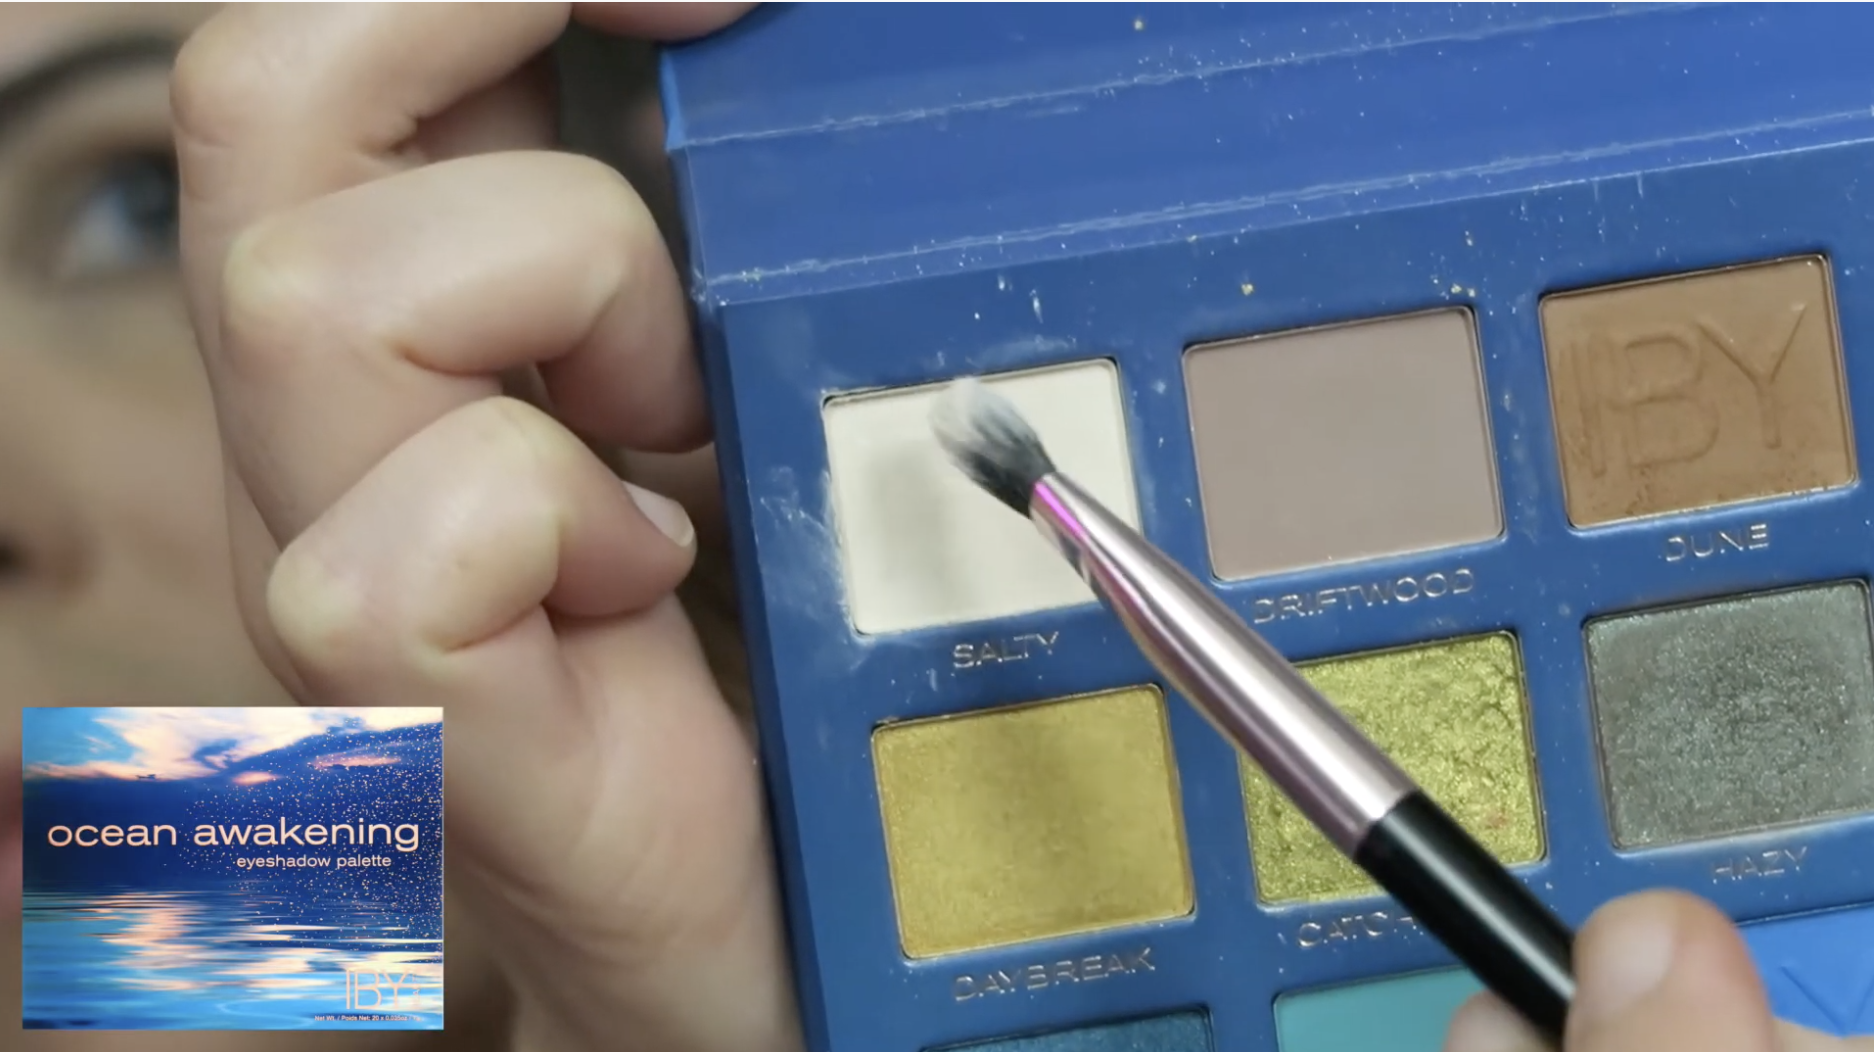
Let’s highlight the inner corner of the eye!
From the Ocean Awakening palette, I’m going to use a cream colored shade called “Salty.” I love lightening the inner portion of the eye. I feel it gives the color more dynamic range and really opens up the eye. With a dense packing brush, I’m applying this shade to the inner third of the lid.

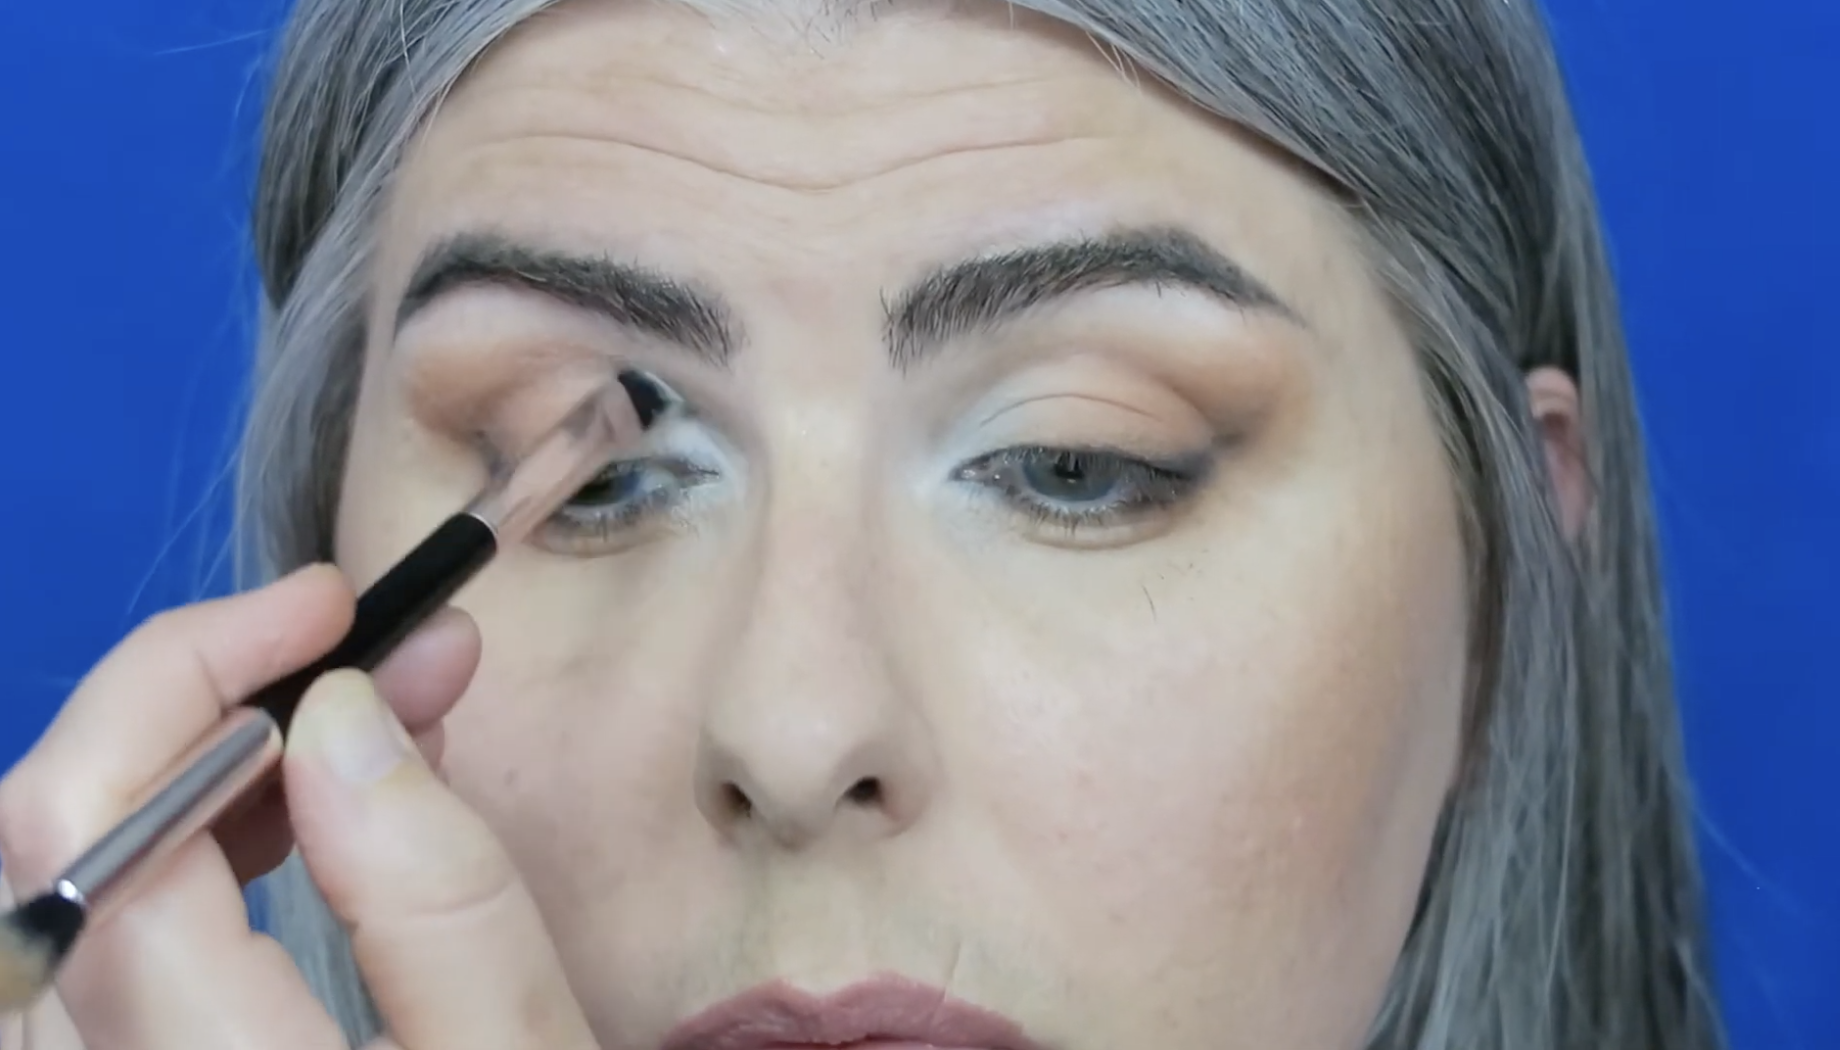
Clean up the wing —

With moisturizer on a tissue, I can easily wipe away any fallout from the eyeshadow or areas that I blended out too far.
Now, that I’ve removed the foundation that used to be under my eye, I’m going to use my concealer to repair that area.

I make a few small dots under the wing and tap into the skin (beauty blenders and buffing brushes also work well—I’m a very fingers-on kind of makeup artist).
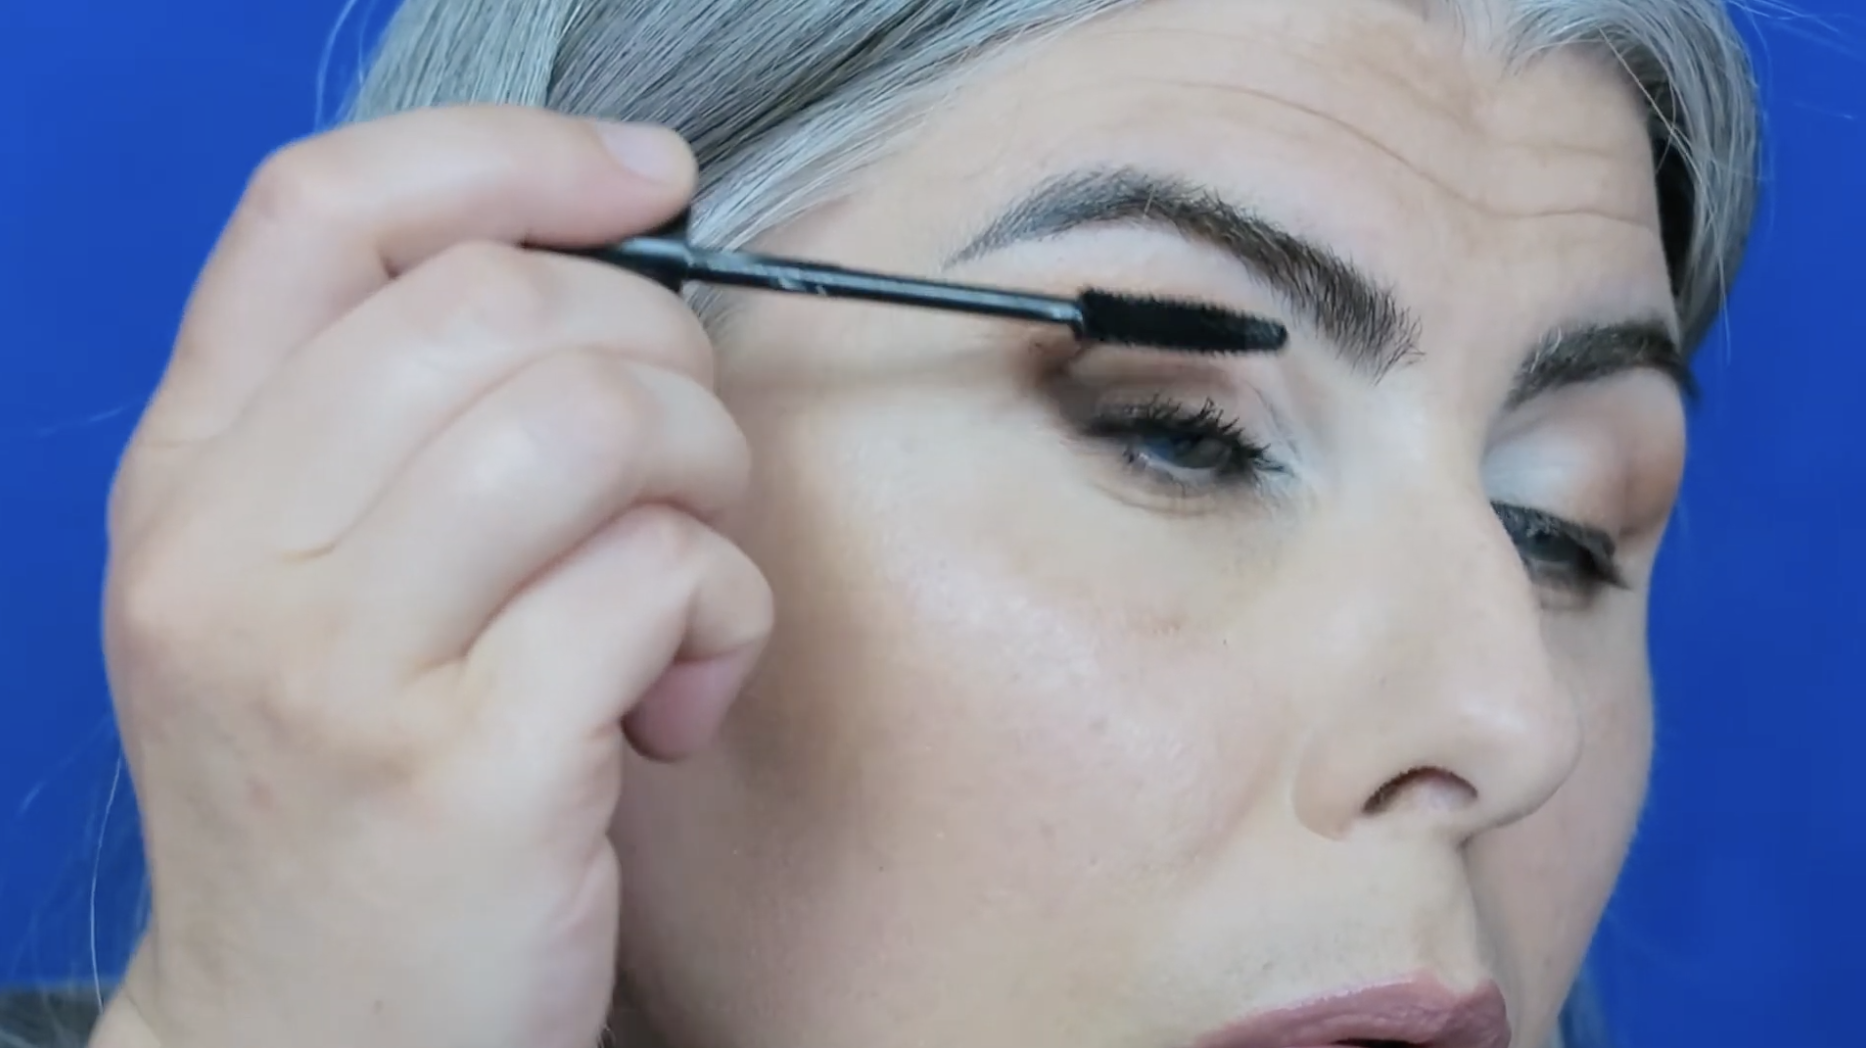
Mascara!
The trick to the Foxy Eye is the long sleek upturned almond eye. To help accentuate this look, brush the mascara more outward than upward. Concentrate the most mascara on the lashes at the very end for an upward flick. No mascara on the lower lash for this look.
——-The Completed Look!——-
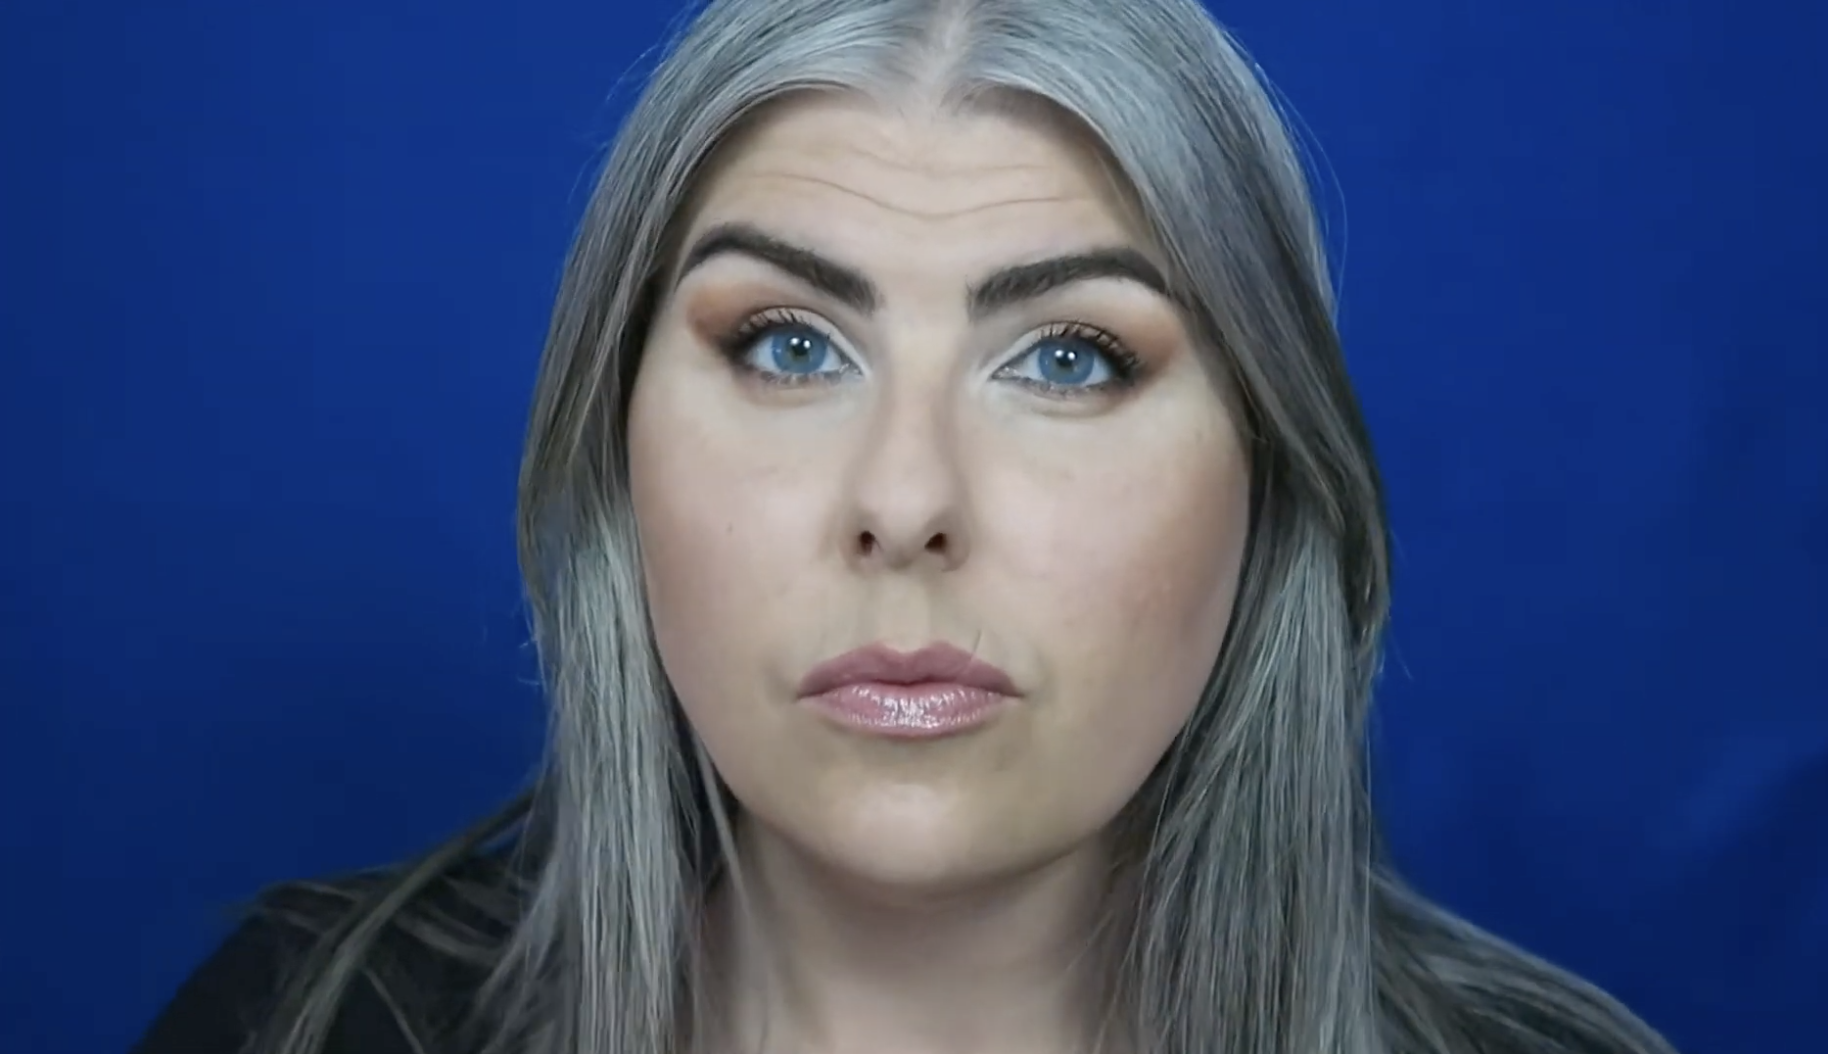
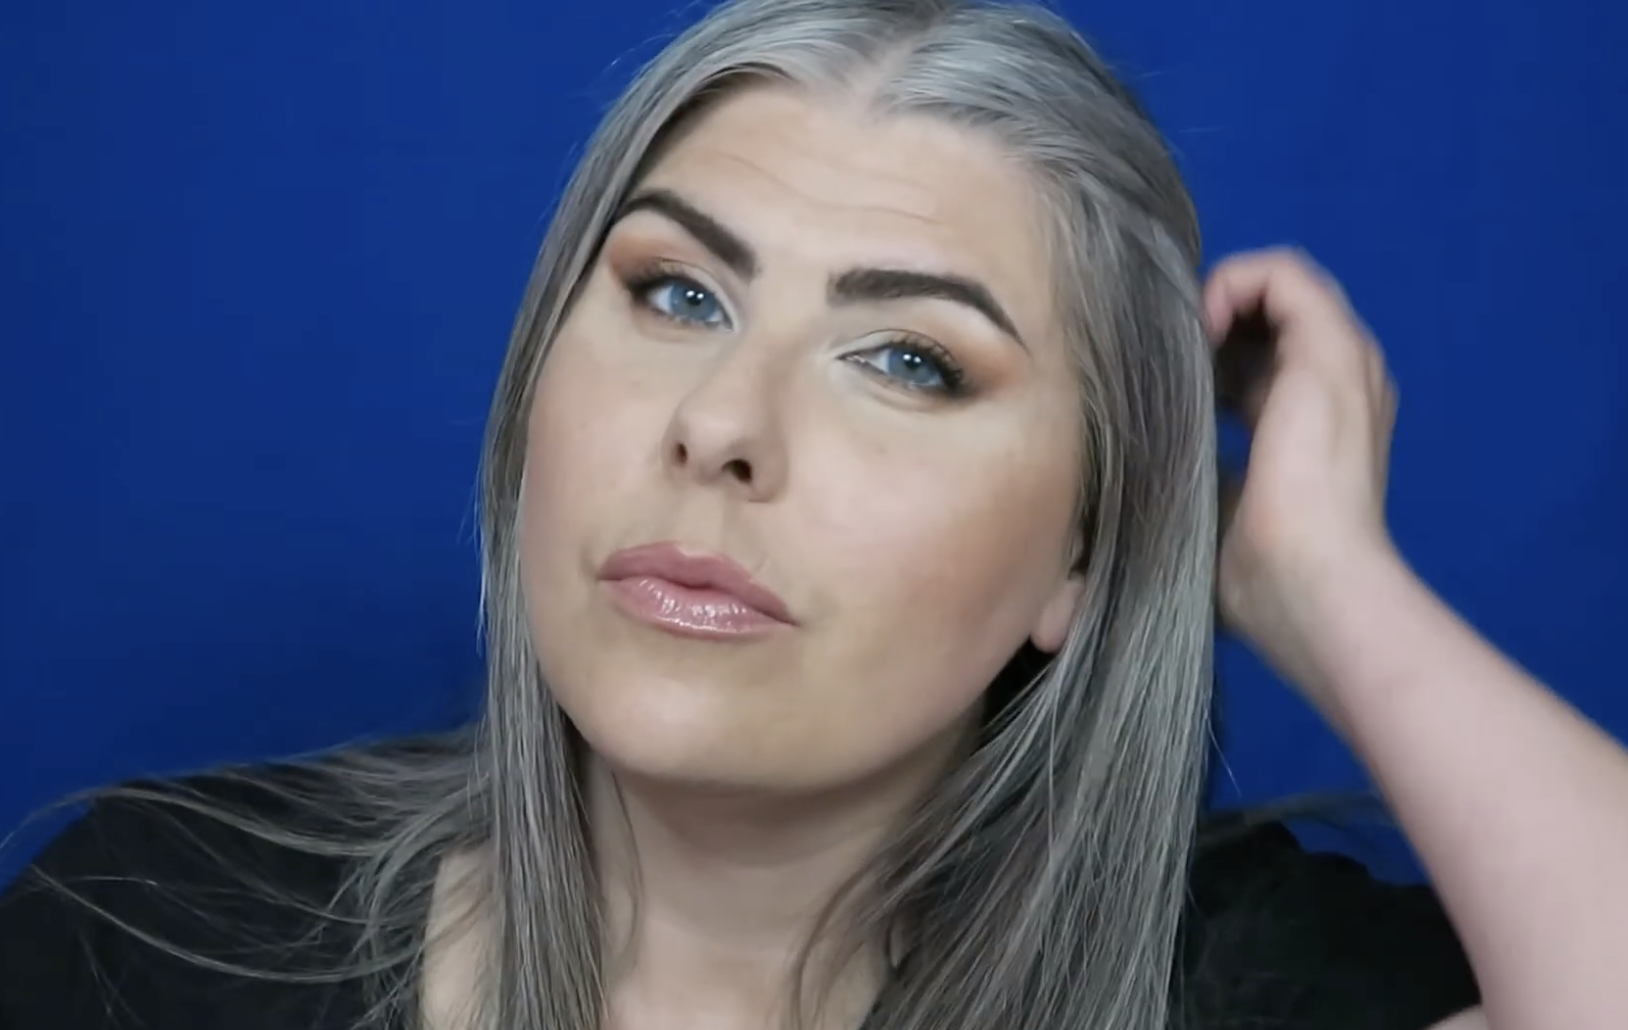
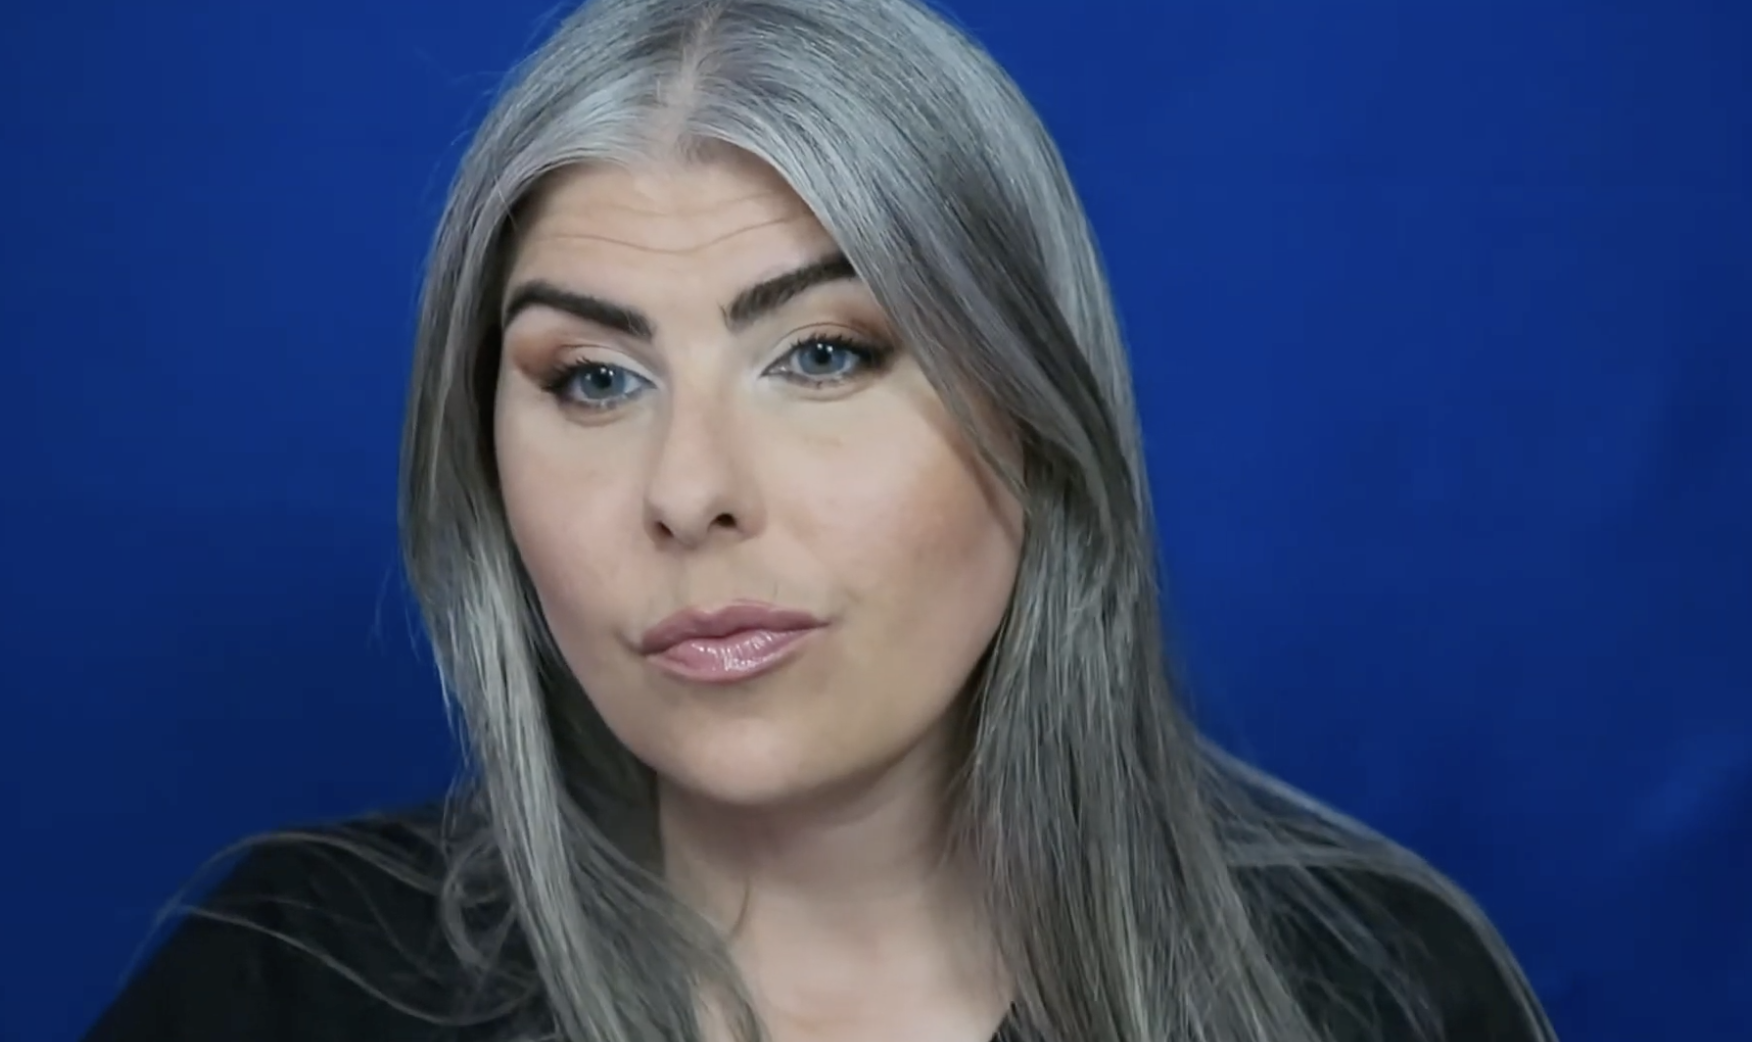


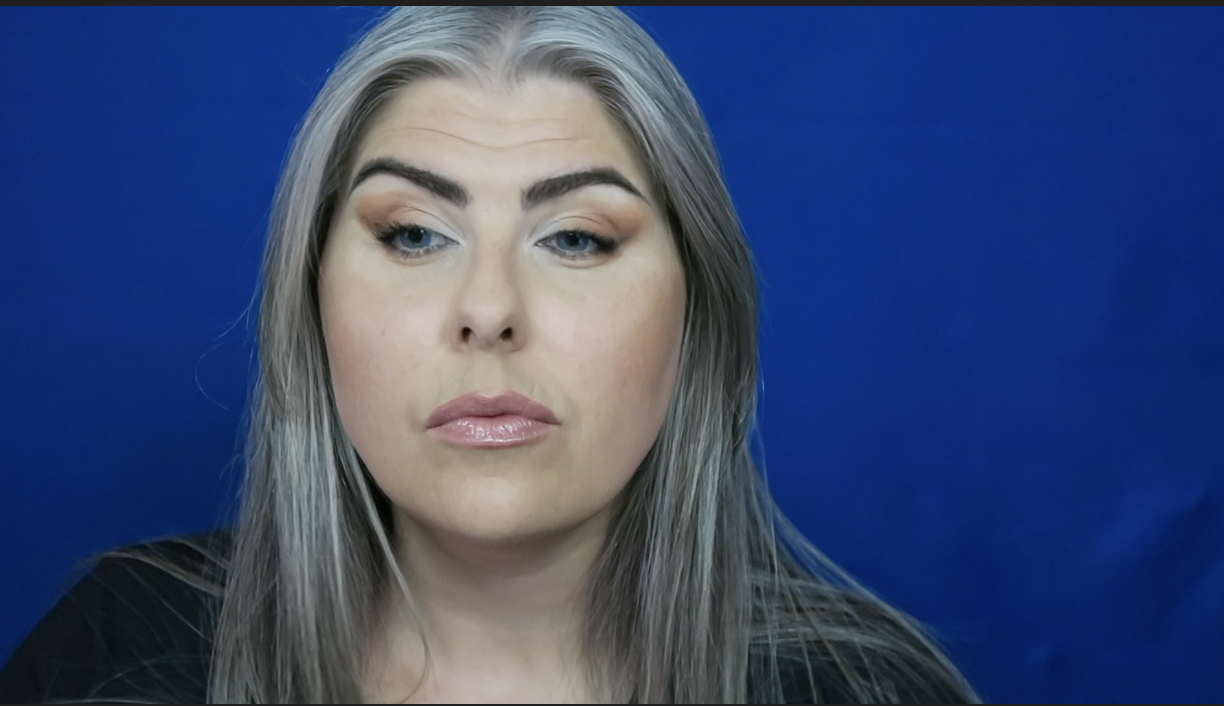

Thank you so much for reading this makeup tutorial on how to get the Foxy Eye Look.
Please SUBSCRIBE to my channel and select the notification bell so that you know exactly when I have a new video ready for you.
If you’re not already a member of the Silver Foxy silver hair support group on Facebook, then join us on Facebook.
Until our next blog&video,


