

How to NOT look WASHED OUT when going grey
Hello Foxies!
Welcome back to my blog. Today I’m going to explore a topic that I get asked a lot. This is, “How do I not look washed out when I have grey hair?” “I feel like I have no color in my face.” “I feel like I am invisible.” I hear a lot of comments pertaining to looking kind of “washed out,” and that’s what this video is going to be all about.

watch video
*disclaimer—what I’m about to talk about today is not going to work everybody. Everyone has their own skin type, texture, and color. These are just products and techniques that I’m using that are currently working for me. I thought I’d share it with you, and hopefully some of this information could be helpful to you.
As I see it, there are three factors that contribute to you possibly looking washed out. They are: what colors you’re wearing on your face, what colors you’re wearing on your body, and what colors are in your background.
Today, I’m just going to focus on the face. The colors that I will be using today are not going to work for everyone; these are the colors that work well with my skin tone and type. Hopefully, if anything, it may inspire you to try new colors.
Along the way, I’m going to recommend some makeup products you may like to try.
As an Amazon associate, I earn a small commission if you click-thru and make a purchase.
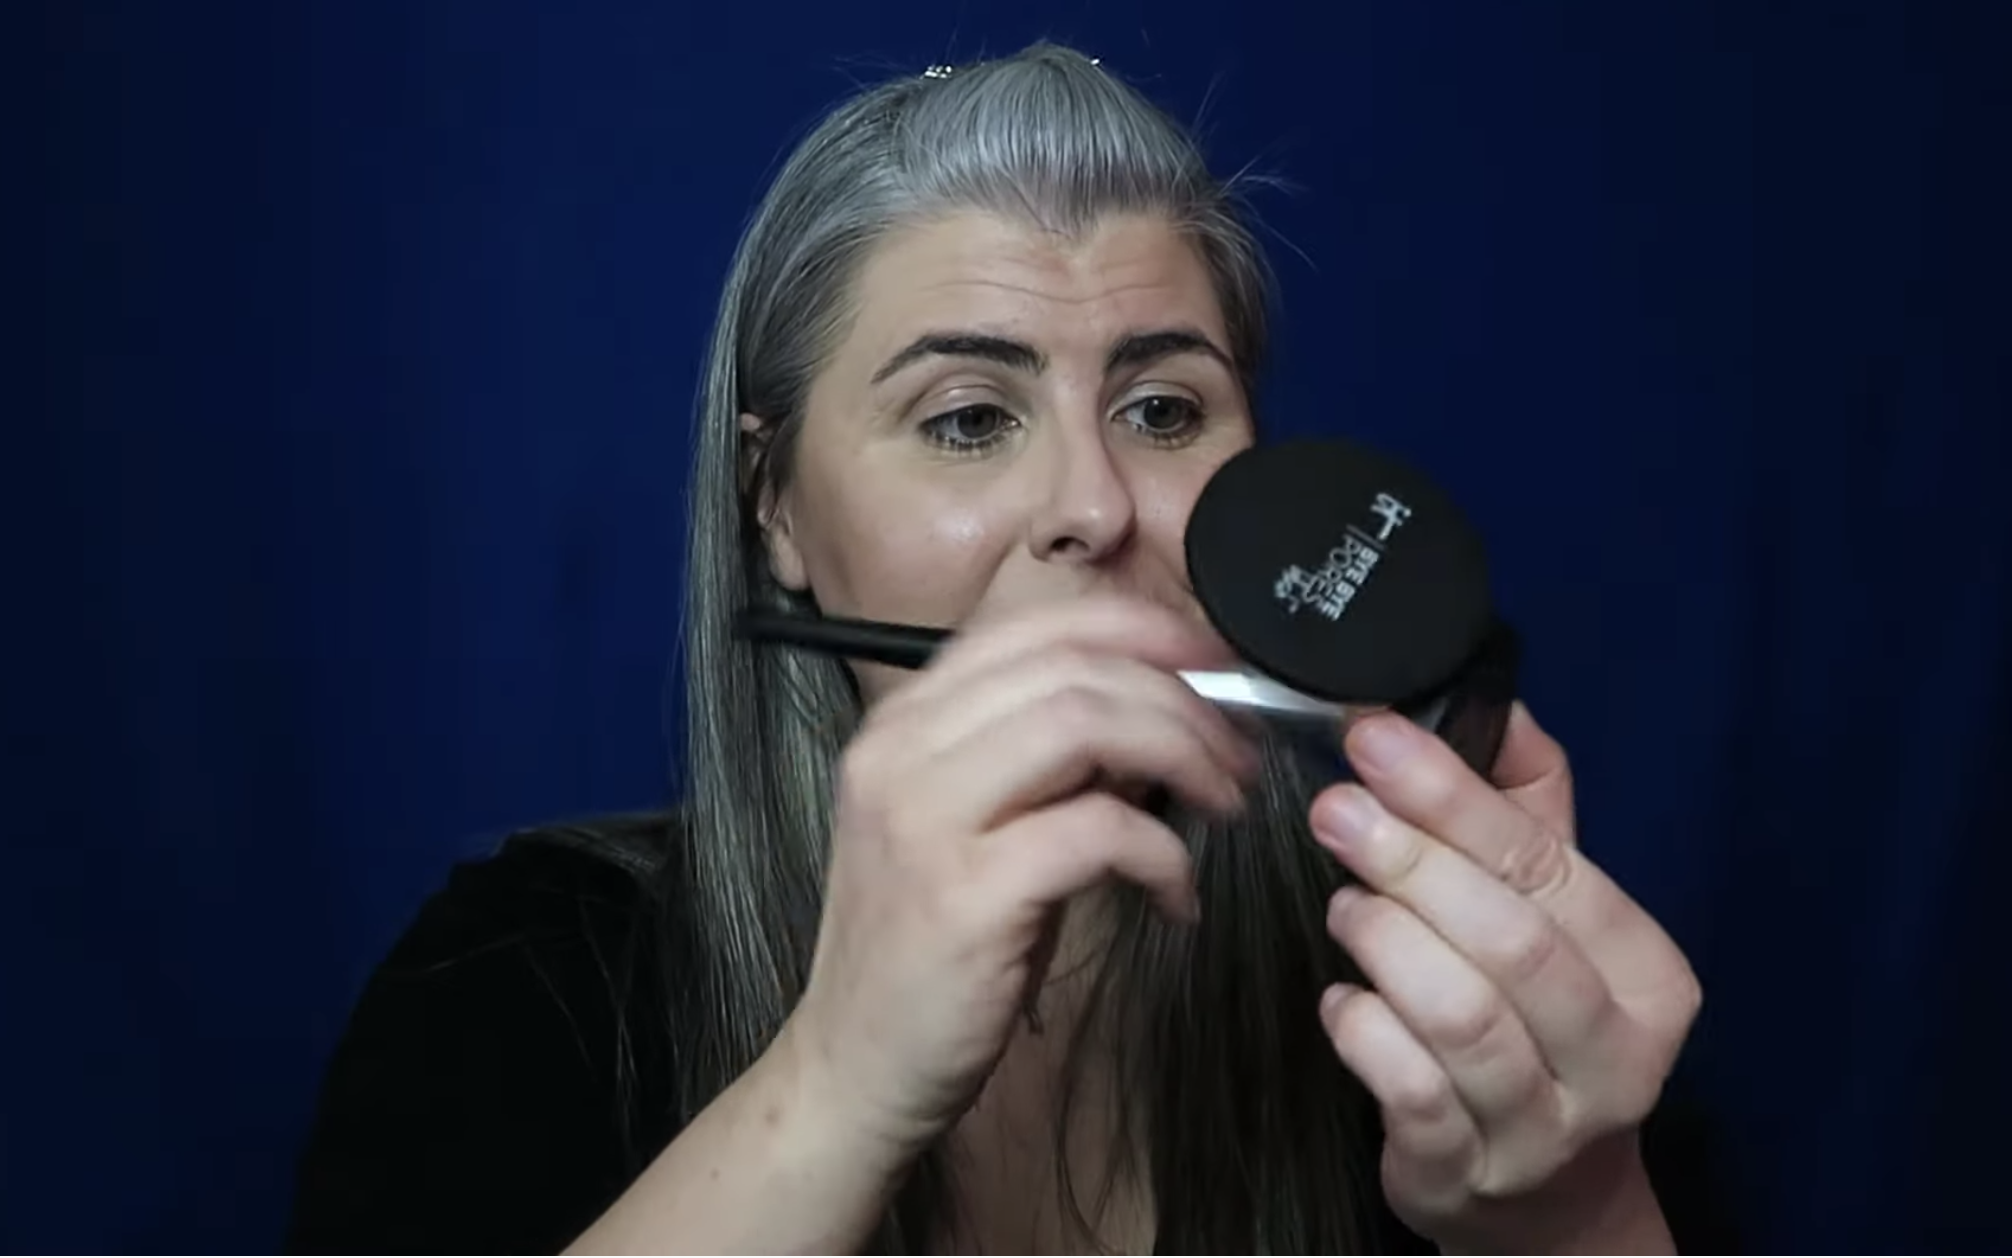
I’m starting with a plain single foundation base. Because I naturally have thick black eyebrows, I will not be focusing on eyebrows at all—just remember they are an important part of framing your face.

The first thing that I do after applying my base is to apply contour. It doesn’t matter whether you use a powder or a cream contour; I just happen to have a cream contour stick. What is important is that it is darker than your skin tone and a cool tone (as opposed to a warm Reddish brown tone).
I tend to apply it higher than I actually want my contour to be. I’m going to start near my hairline and draw the line going forward and angled downward. I’m going to make an equal mark on the other side. The angle that I’m using helps to give the face a nice shape. Don’t worry if it looks very dark at first, it will blend in, and you’ll barely see it. We’re just laying down a cool base, so when we start layering warm tones on top, there is a nice range of colors—like a painting!
Contour/Bronzer
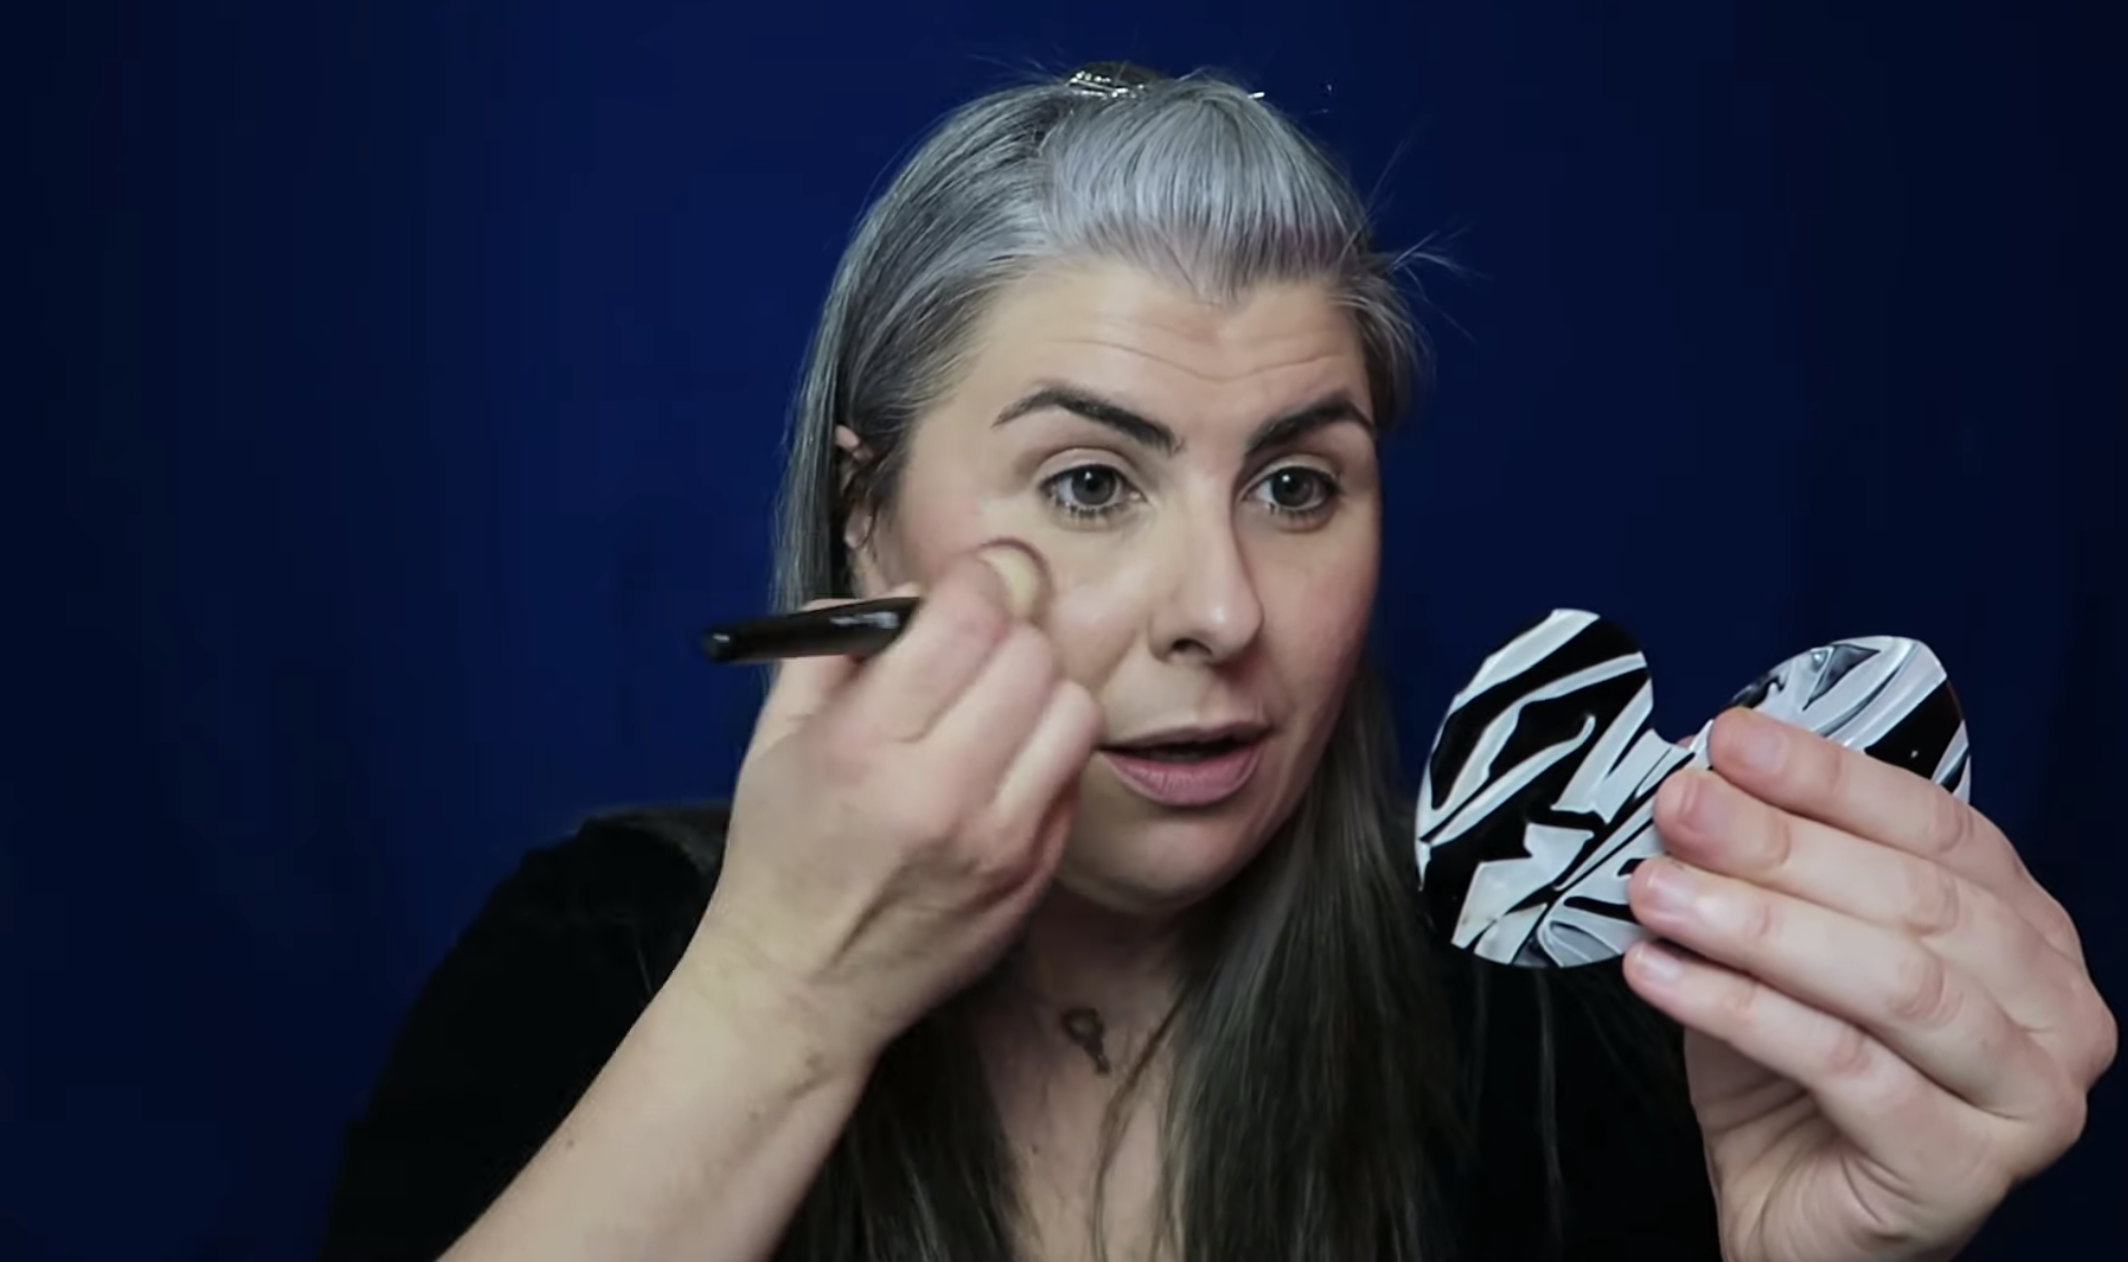
You can use a brush or a sponge blender to blend it in, but I’m going to use my fingers for this. When I use my fingers, I’m not losing a lot of product in the brush or sponge. I’m making a lot of light tapping motions onto the cream contour to diffuse the line and create a natural looking shadow.
The next step I’m going to take it to apply blush.
I have been changing up what I do lately; I’m going to apply blush first and plenty of it! My makeup collection is not very extensive. I have a total of 4 blushes and I often combine 2 to get a color that I like. I like to use this peachy colored one by IT Cosmetics and layer it with this brighter cooler pink by Flower Cosmetics. I keep it above the contour line. In fact, I even leave a space above my contour line.
Blush Sticks
I sweep it upward and in close to the eye. I just keep an inner triangle by my eye without any blush. I used to think this much blush was going overboard, but now i’m really liking how this looks. It may seem like I have a lot of pink on my face right now, but it will get better in a minute.

Let’s move on to bronzer.

Before, I was always unhappy about my bronzer; it was too yellow and looked funny in videos. I tried a darker and warmer tone one and it looks much better. If you don’t like how a product looks, it’s important to try others!
Powder Bronzers
I’m going to apply bronzer to only the perimeter of my face, so that my face receeds into a cool-toned background. You’ll have a warm foreground giving the face more dimension and color. I’m going to start very light-handed and build up the intensity. I’m going to apply it in between where I applied the cream contour and the blush. I’ll also brush a little on the edges of my jawline and onto my neck.
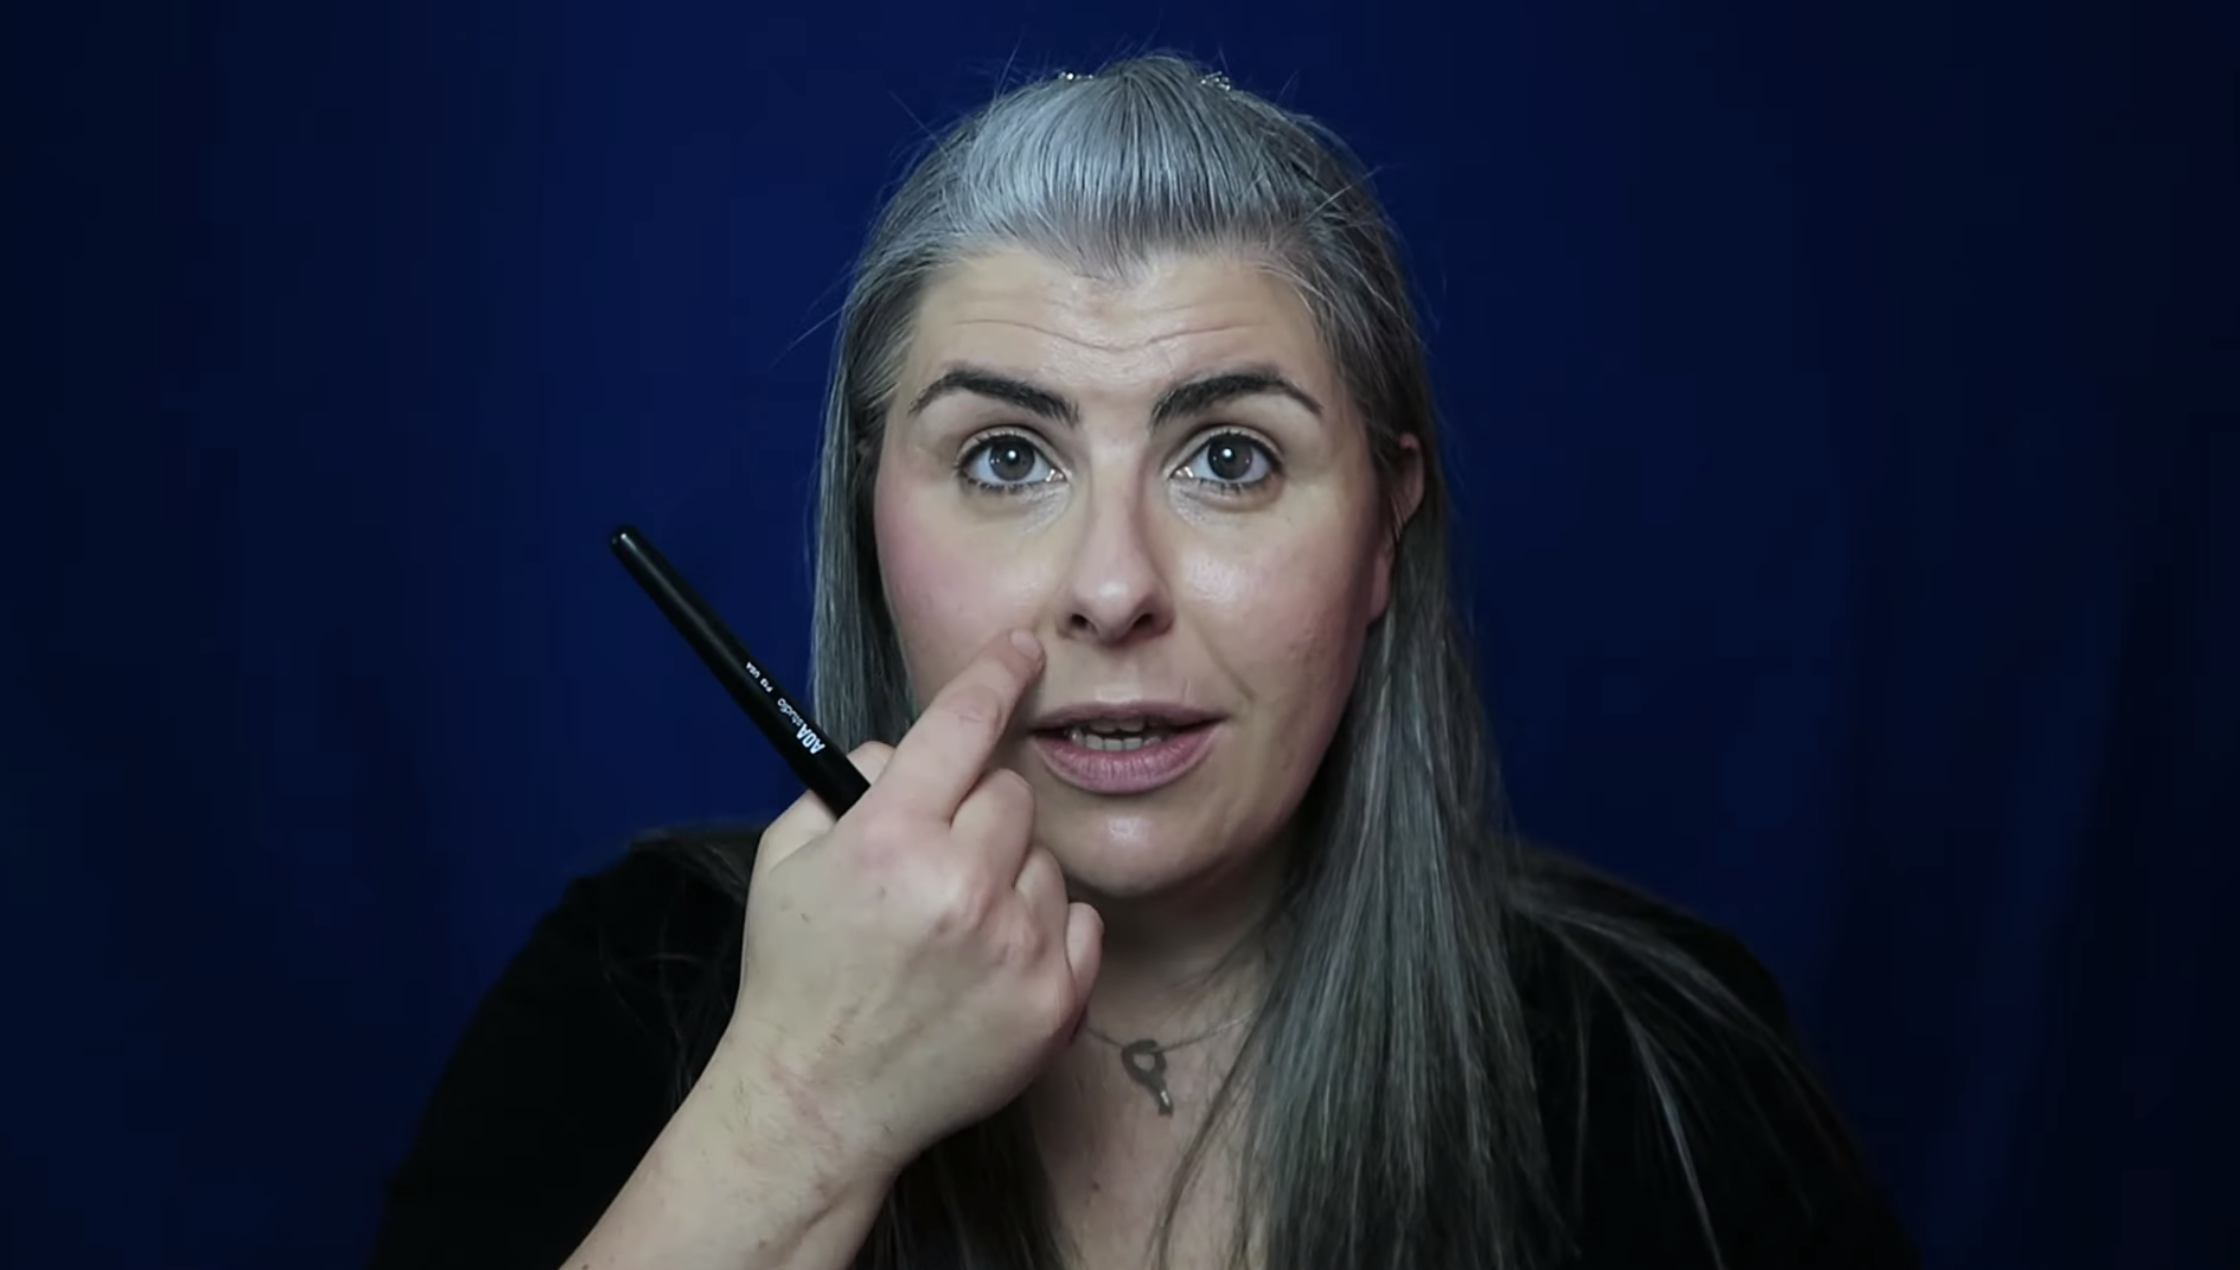
I got this other product recently. It’s a highlighter, but it’s really dark, so I’ve been adding it to my bronzer for a more glowy and bronzy look. I am also going to add a little bit of color on either side of my nose and also under the tip of my nose.
I’m going to do a basic eye look.
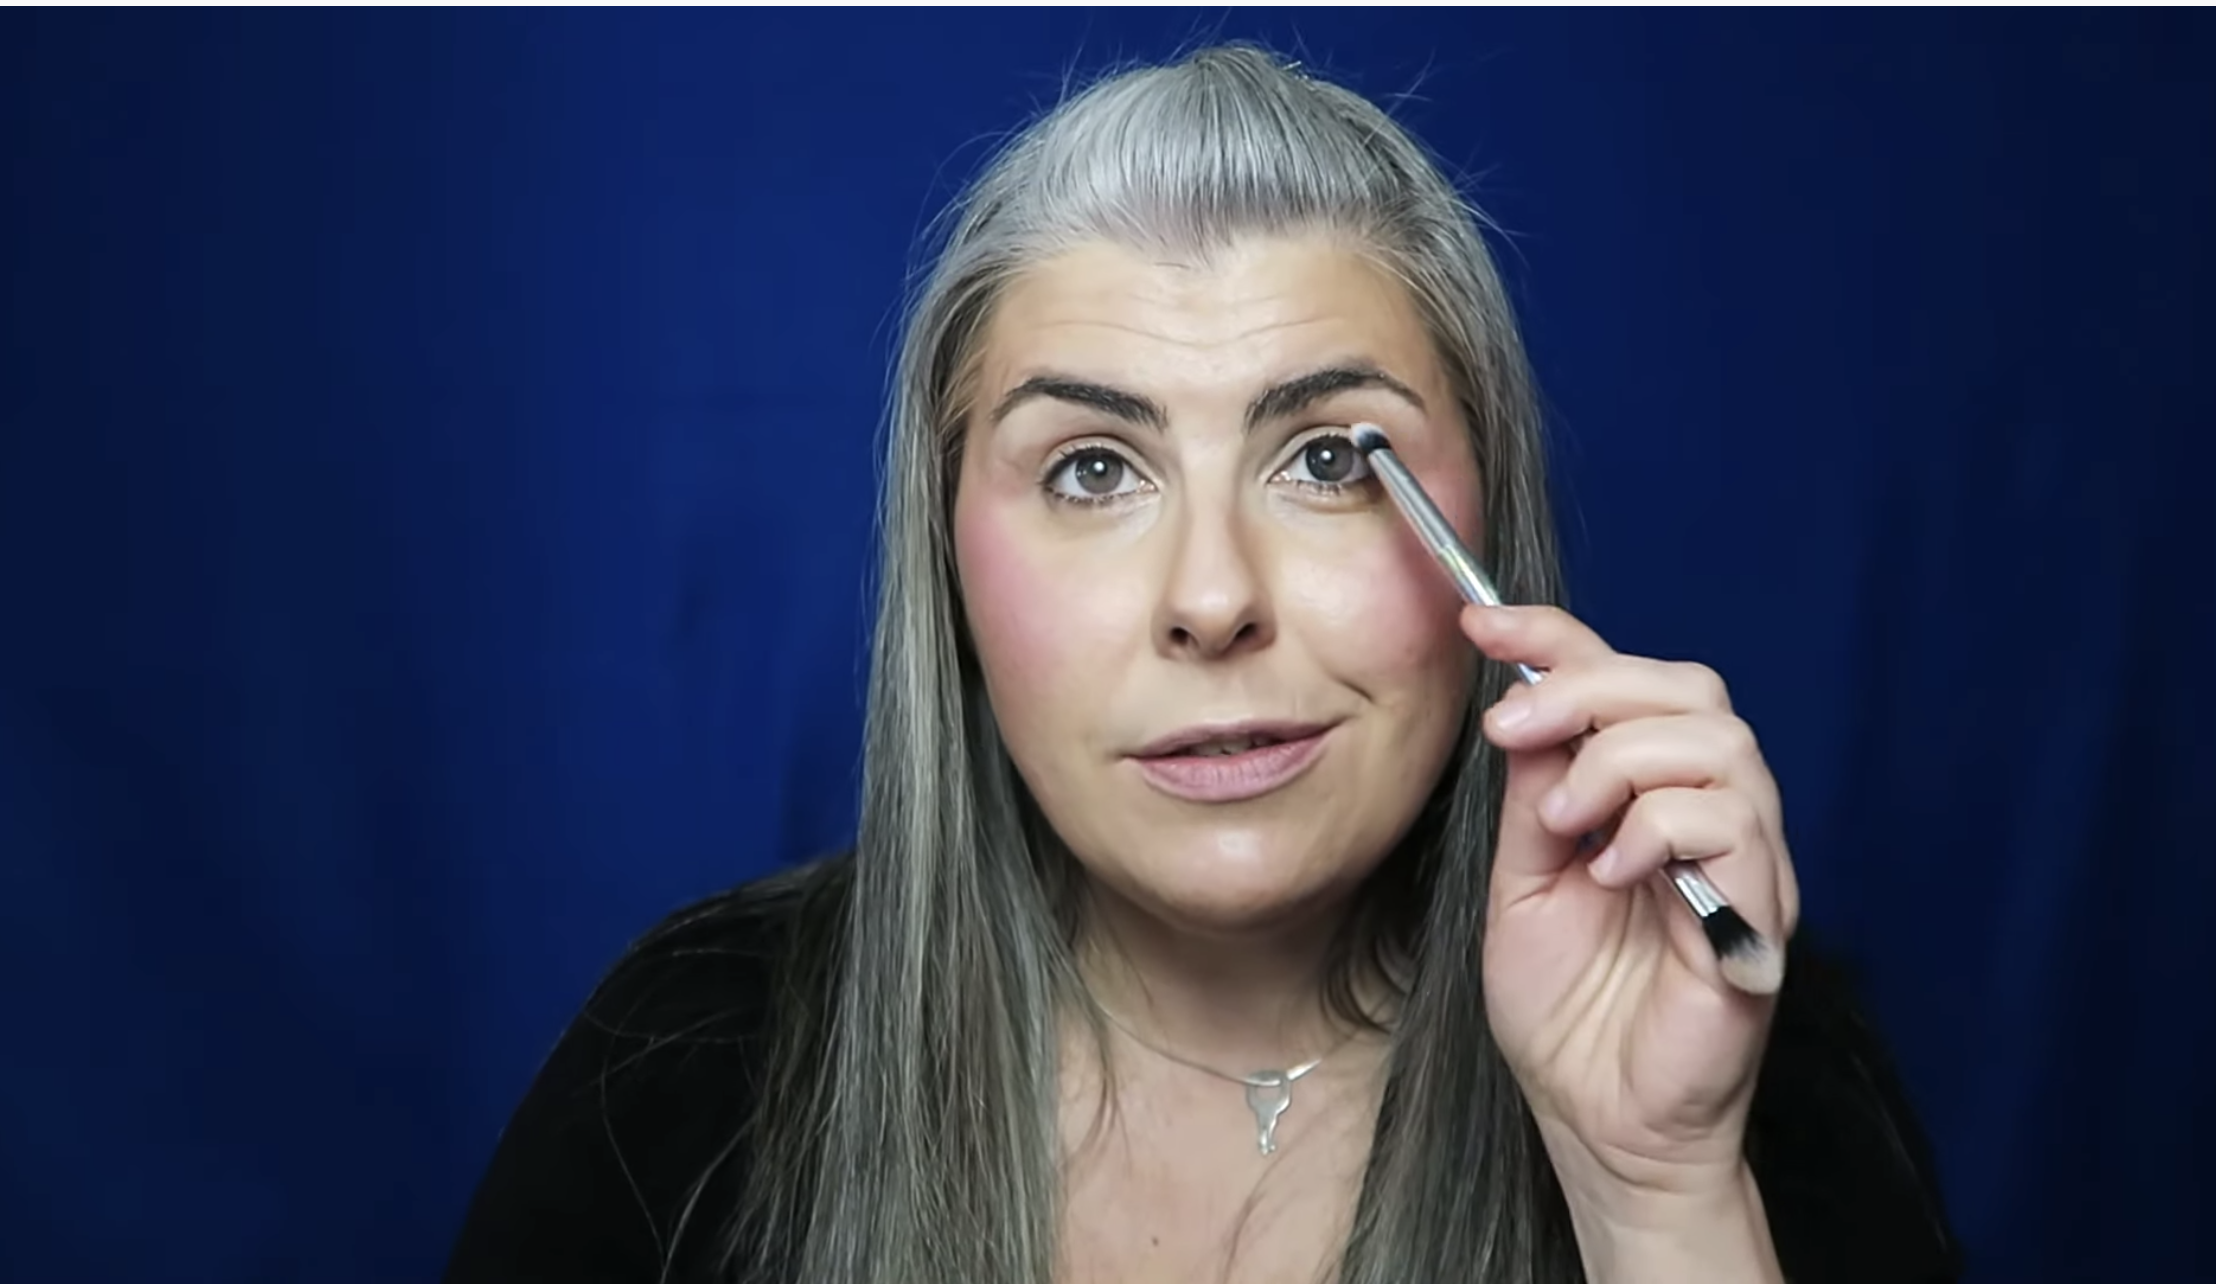
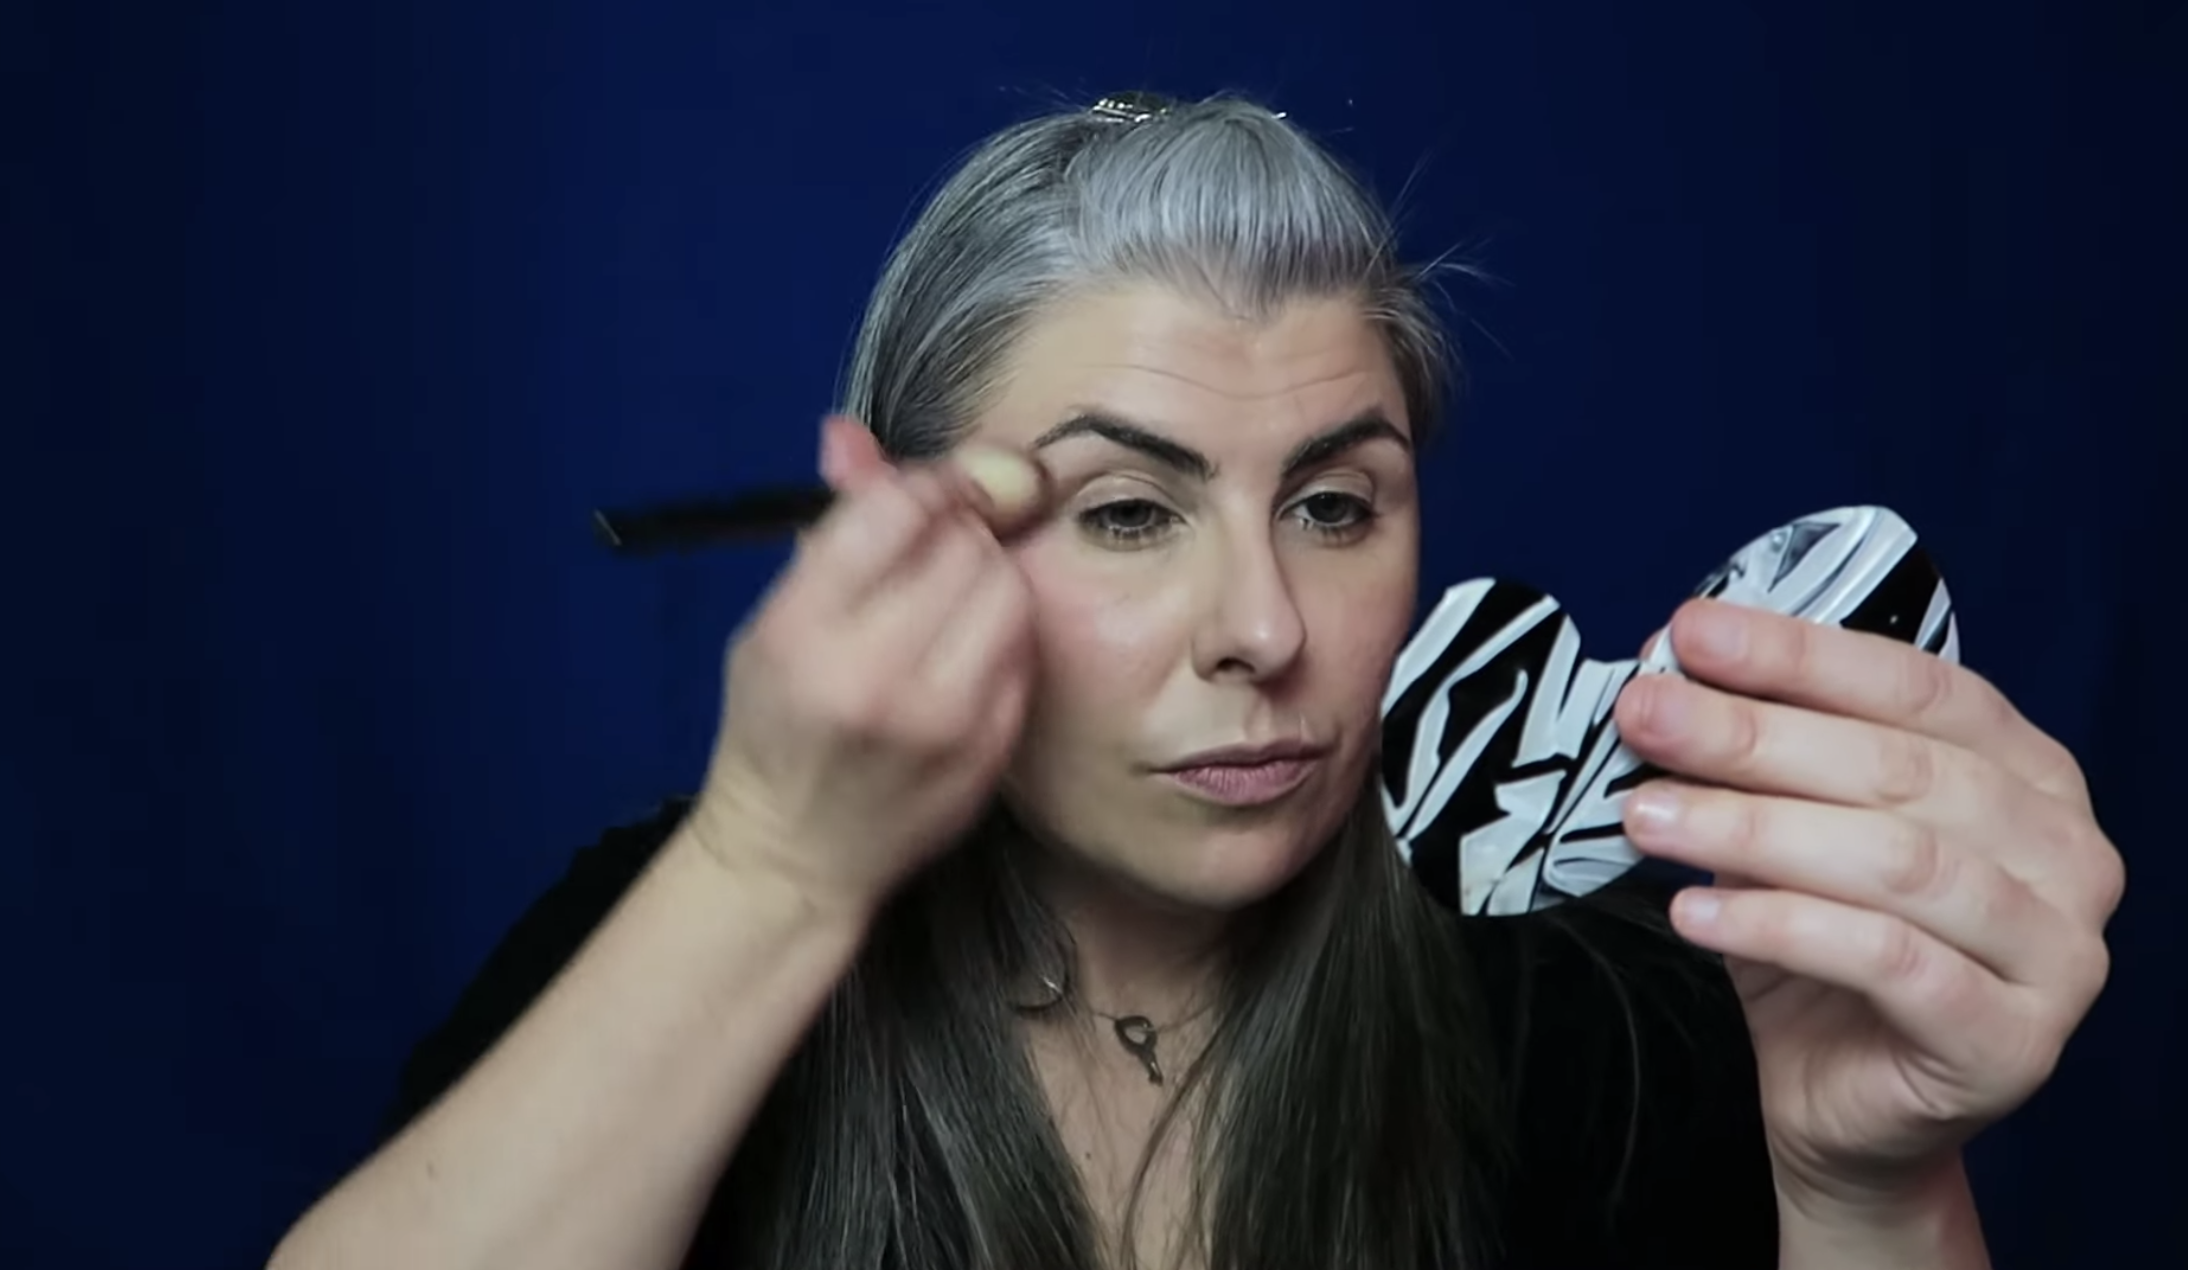
I’m going to stay in warm neutral tones to enhance my natural eyes, but adjust the coloring. I’m going to use a peachy skin tone colored. I’m applying this to my crease and above. This will help to recede a hooded lid. I’m going to pick up some eyeshadow with a fluffy round brush and apply lightly.
I left the lid part open, because we’re going to pop a very light color on the inner corner.
Eyeshadow palette with natural & sophistcated colors
Sometimes I take a tiny smudge brush and pick up a little dark brown or dark purple eyeshadow and smudge it along my lash line to darken them up a bit. I also like to enhance my brows a little with an eyeliner pen close to my brow color. I also apply a nice coat of mascara and it helps to darken around my eyes and makes them look more dramatic.
Today I’m going to try to keep a naturalistic look, so for my lips, I’m going to use a color similar to my natural lip color. I love the color “Angel Food Cake” by NYX. It is a pigmented gloss. Having a natural but mauve-y pink on your lips will help to give color to your face.


So what I think we can take away from this is that you should pick some colors that are warm in comparison to your skin. Play around with the makeup and try different color combinations. Try some colors just about everywhere on your face to help give your face dimension and color.


